6.6.2. H-CENTER (525p) CONFIRMATION / ADJUSTMENT
1. Receive 525p signal.
2. Copy the data of 00h to EEROM ADDRESS [333] (525p / H-POS).
3. Copy the data of F5h to EEROM ADDRESS [332] (525p / H-POS).
4. Confirm H-center and if needed, adjust H-POS (525p).
6.7. 625p DEFLECTION ADJUSTMENT
6.7.1. H-CENTER (625p) ADJUSTMENT
1. Receive 625p signal.
2. Copy the data of EEROM ADDRESS [332] (525p / H-POS) to EEROM ADDRESS [330] (625p / H-POS).
3. Copy the data of EEROM ADDRESS [333] (525p / H-POS) to EEROM ADDRESS [331] (625p / H-POS).
6.8. VGA480 / 60 Hz DEFLECTION ADJUSTMENT / CONFIRMATION
6.8.1. V-CENTER ADJUSTMENT
1. Adjust V-POS (VGA) so that center of the crosshatch pattern is center of the CRT.
6.8.2. V-HEIGHT ADJUSTMENT
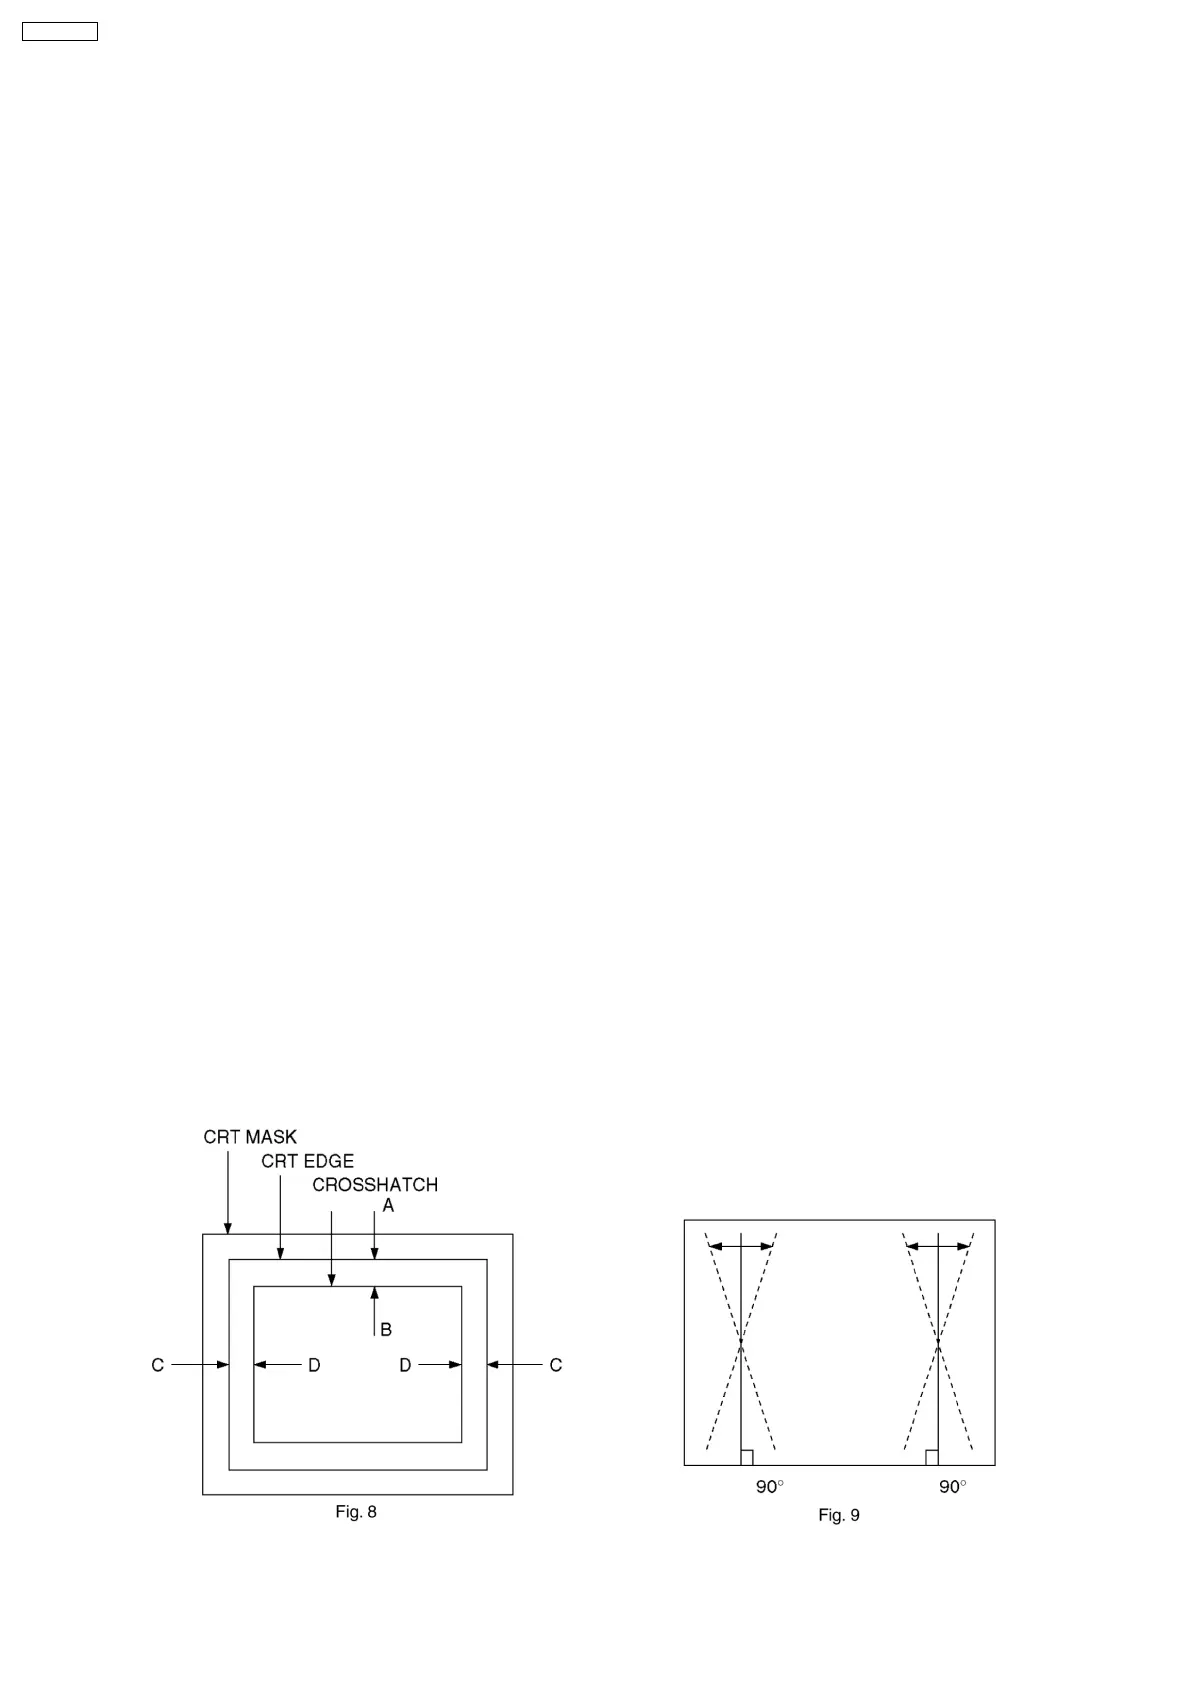
1. Adjust V-AMP (VGA) so that A = B in Fig. 8.
6.8.3. H-CENTER ADJUSTMENT
1. Adjust H-POS (VGA) so that horizontal position is center of CRT.
6.8.4. H-WIDTH ADJUSTMENT
1. Adjust H-AMP (VGA) so that C = D in Fig. 8.
6.8.5. EW ADJUSTMENT
1. Adjust the vertical line to straight line by Parabola (VGA).
2. Adjust the vertical line to straight line of both side vertical line in Fig. 9 by Trapezoid (VGA).
3. Confirm there is no H-Parallel distortion.
If there is distortion, adjust by H-Parallel (VGA).
In that case, repeat 2 and 3 so that there is no trapezoid / parallel distortion.
4. Confirmation vertical pincushion of the corner side.
If needed, adjust Top-Corner (VGA) and Bottom-Corner (VGA).
5. Confirm bow level of the both side.
If it is not symmetrical, adjust C-Correct (VGA).
6. Set H-SIZE in the user control to NORMAL.
(No need, if SELF CHECK is done before shipping.)
22
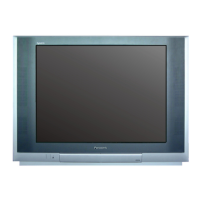
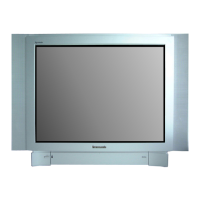
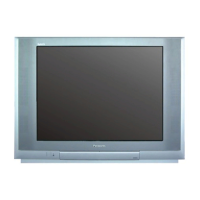
TX-29P180X