41
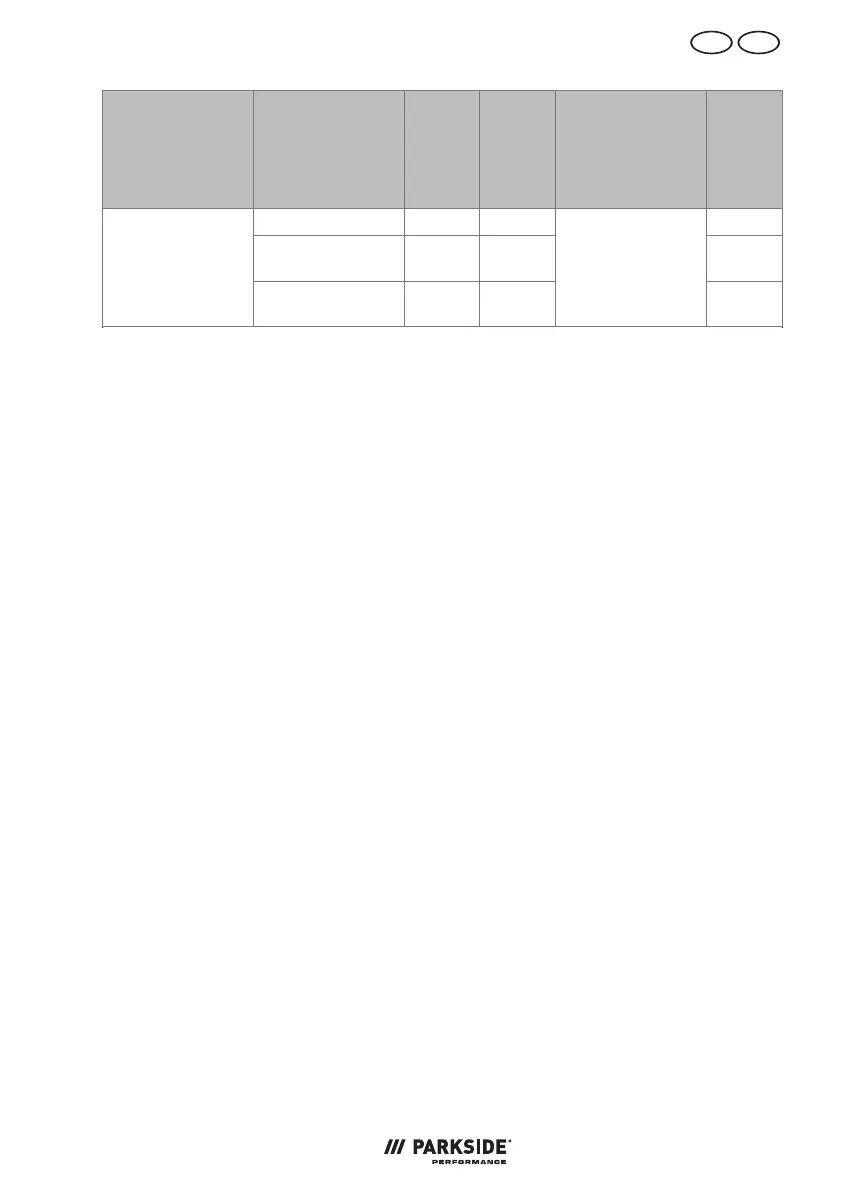
Function Attachment tool
Max.
per-
mitted
speed
[min
-1
]
Speed
level ≤ Use
Protru-
sion a
[mm]
Milling pin (25) 32000 6 20
Spiral milling pin
(27)
32000 6 20
Milling
Milling cutter pin
(26)
32000 6
Machining wood,
plastic and soft
metals such as
aluminium, cop-
per and brass
20
Attaching and removing the
attachment tool
Notes
• The maximum diameter of as-
sembled grinding wheels and
of grinding cones and mounted
points with threaded inserts must
not exceed 55 mm.
The maximum diameter of sandpa-
per grinding accessories must not
exceed 80 mm.
• Mount the following attachment
tools on the corresponding man-
drel before use:
• Cutting disc (29), Cutting disc
(small) (34): Mandrel (cutting
disc) (24)
• Grinding disc (35), Sandpaper
(36): Mandrel (grinding disc) (24)
• Grinding belt (40): Mandrel (ab-
rasive belt) (39)
• Felt polishing disc (large) (32),
Felt polishing disc (small) (33):
Mandrel (polishing disc) (23)
• The mounting key (42) serves as
a spanner for the clamping nut (1)
and as a screwdriver for the man-
drels for cutting and grinding discs
(24).
• Note the protrusion a indicated for
each attachment tool.
• Risk of damage! Never tighten the
clamping nut if no attachment tool
is inserted in the collet.
Requirements
• Battery removed.
Mounting cutting discs on the man-
drel
1. Loosen the screw on the mandrel
for cutting discs (24).
2. Guide the screw through the hole
of the cutting disc (29, 34).
3. Reattach the screw to the mandrel
for cutting discs (24).
NOTICE! Breaking the disc. Tight-
en the screw by hand only.
Mounting grinding discs/sandpaper
on the mandrel
1. Loosen the screw on the mandrel
for grinding discs (24).
2. Guide the screw through the hole
of the desired disc (35, 36).
3. Reattach the screw to the mandrel
for grinding discs (24).
Mounting a grinding belt on the
mandrel
1. Slide the grinding belt (40) onto the
mandrel (39).
2. Pull a worn abrasive belt (40) back
off the mandrel (39).
 Loading...