■ 10
│
GB
│
IE
│
NI
│
CY
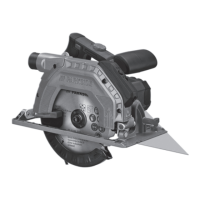
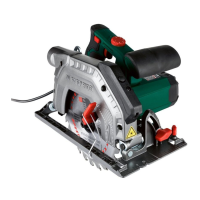
PHKS 1350 C2
WARNING!
► The arrow on the saw blade
must corres-
pond to the arrow showing the direction of
rotation (running direction shown on the
device).
■ Ensure that the saw blade
is suitable for the
rotational speed of the tool.
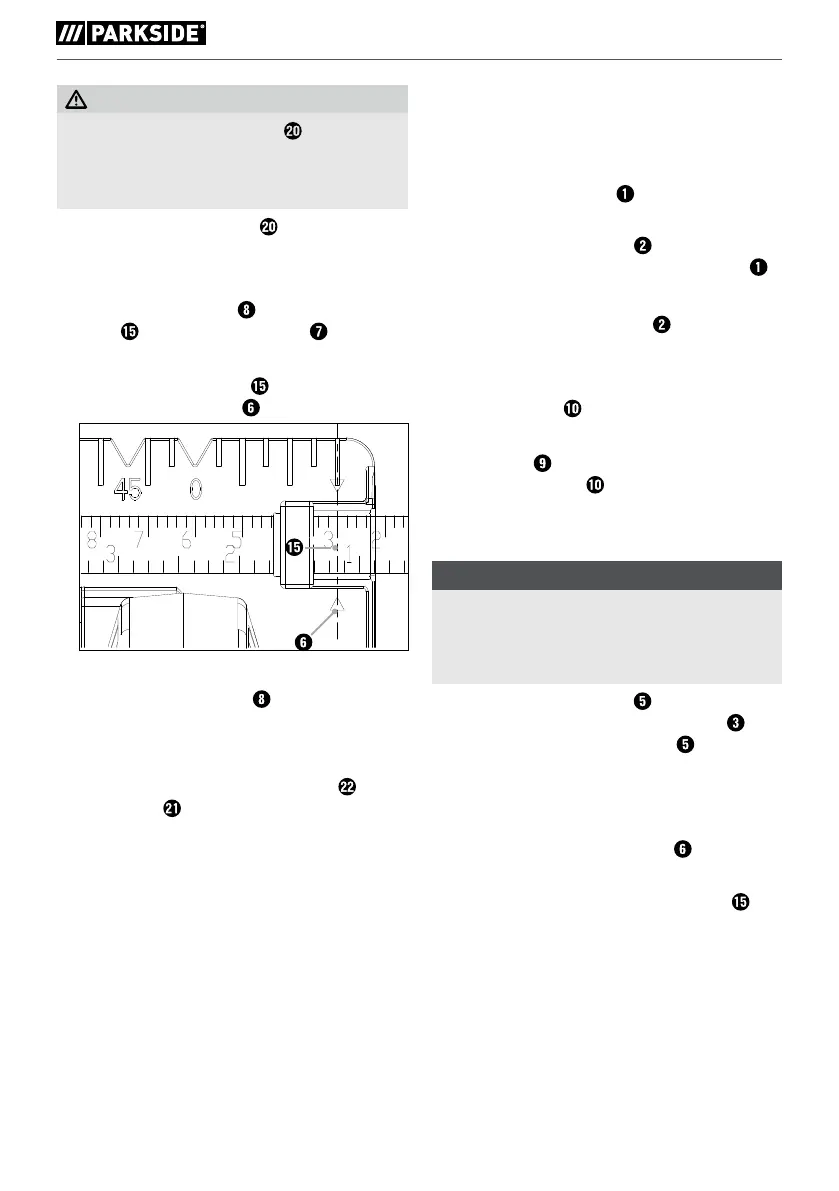
Mounting/setting the guide fence
♦ Loosen the wing screw and insert the guide
fence into the guide fence slot .
♦ Set the desired cut width with the help of the
scale on the guide fence
and the marking
arrow in the base plate (see also Fig. B).
Fig. B: Cutting width 3 cm
♦ Retighten the wing screw
.
Connecting the sawdust extraction
appliance
♦ Attach the adapter for dust extraction to the
chip ejector
.
♦ Connect an approved dust and chip extraction
device.
Operation
Switching on and off
Switching on
♦ Push the safety lock-out
to the left or right
and keep it pressed.
♦ Press the ON/OFF switch
. Once the saw is
running you can release the safety lock-out .
Switching off
♦ Release the ON/OFF switch
.
Setting the cutting angle
You can select the cutting angle with the help of the
cutting angle scale
.
■ Release the wing screw on the cutting angle
preselector
, set the desired angle on the
cutting angle scale and then re-tighten the
wing screw.
Setting the cutting depth
NOTE
► We generally recommend setting the cutting
depth to approx. 3 mm more than the thick-
ness of the material. This ensures that you
achieve a clean cut.
♦ Release the locking screw
, set the desired
cutting depth on the cutting depth scale and
then re-tighten the locking screw .
Working with the circular saw
1. Switch on the device – as described in
˝Switching on and off˝ – and then place it with
the front edge of the base plate on the
material.
2. Align the machine using the guide fence or
by using a marked line.
3. Hold the machine in both hands using the
handles and saw by exerting an even pressure.
 Loading...