GB/IE/NI/CY/MT12
3.2 First use
READ THE MANUAL OF THE PNEUMATIC TOOL BEFORE CONNECTING
IT TO THE COMPRESSOR!
Make sure the on/off switch
2
is pressed down. Now connect
the compressor to an earthed socket protected by a residual
current circuit breaker.
3.2.1 Switching on/off
Press the on/off switch
2
upwards. The compressor is switched
on.
To switch off the compressor, press the on/off switch
2
down-
wards.
3.2.2 Air pressure presets
The following pressures are preset:
- Switch-on pressure: approx. 8 bar
- Cut-off pressure: approx. 10 bar
3.2.3 Setting the air pressure
With the pressure regulator
12
you can set the desired pressure (0 -10 bar).
Pay attention to the nameplate of the pneumatic tool to be connected!
EXAMPLE: Type plate of an air tool
You can read off the actual pressure delivered on the pressure gauge
14
.
This is delivered at the quick coupling
13
.
The actual air pressure in the vessel
5
is displayed on the pressure gauge
9
. This is delivered to the quick coupling
11
.
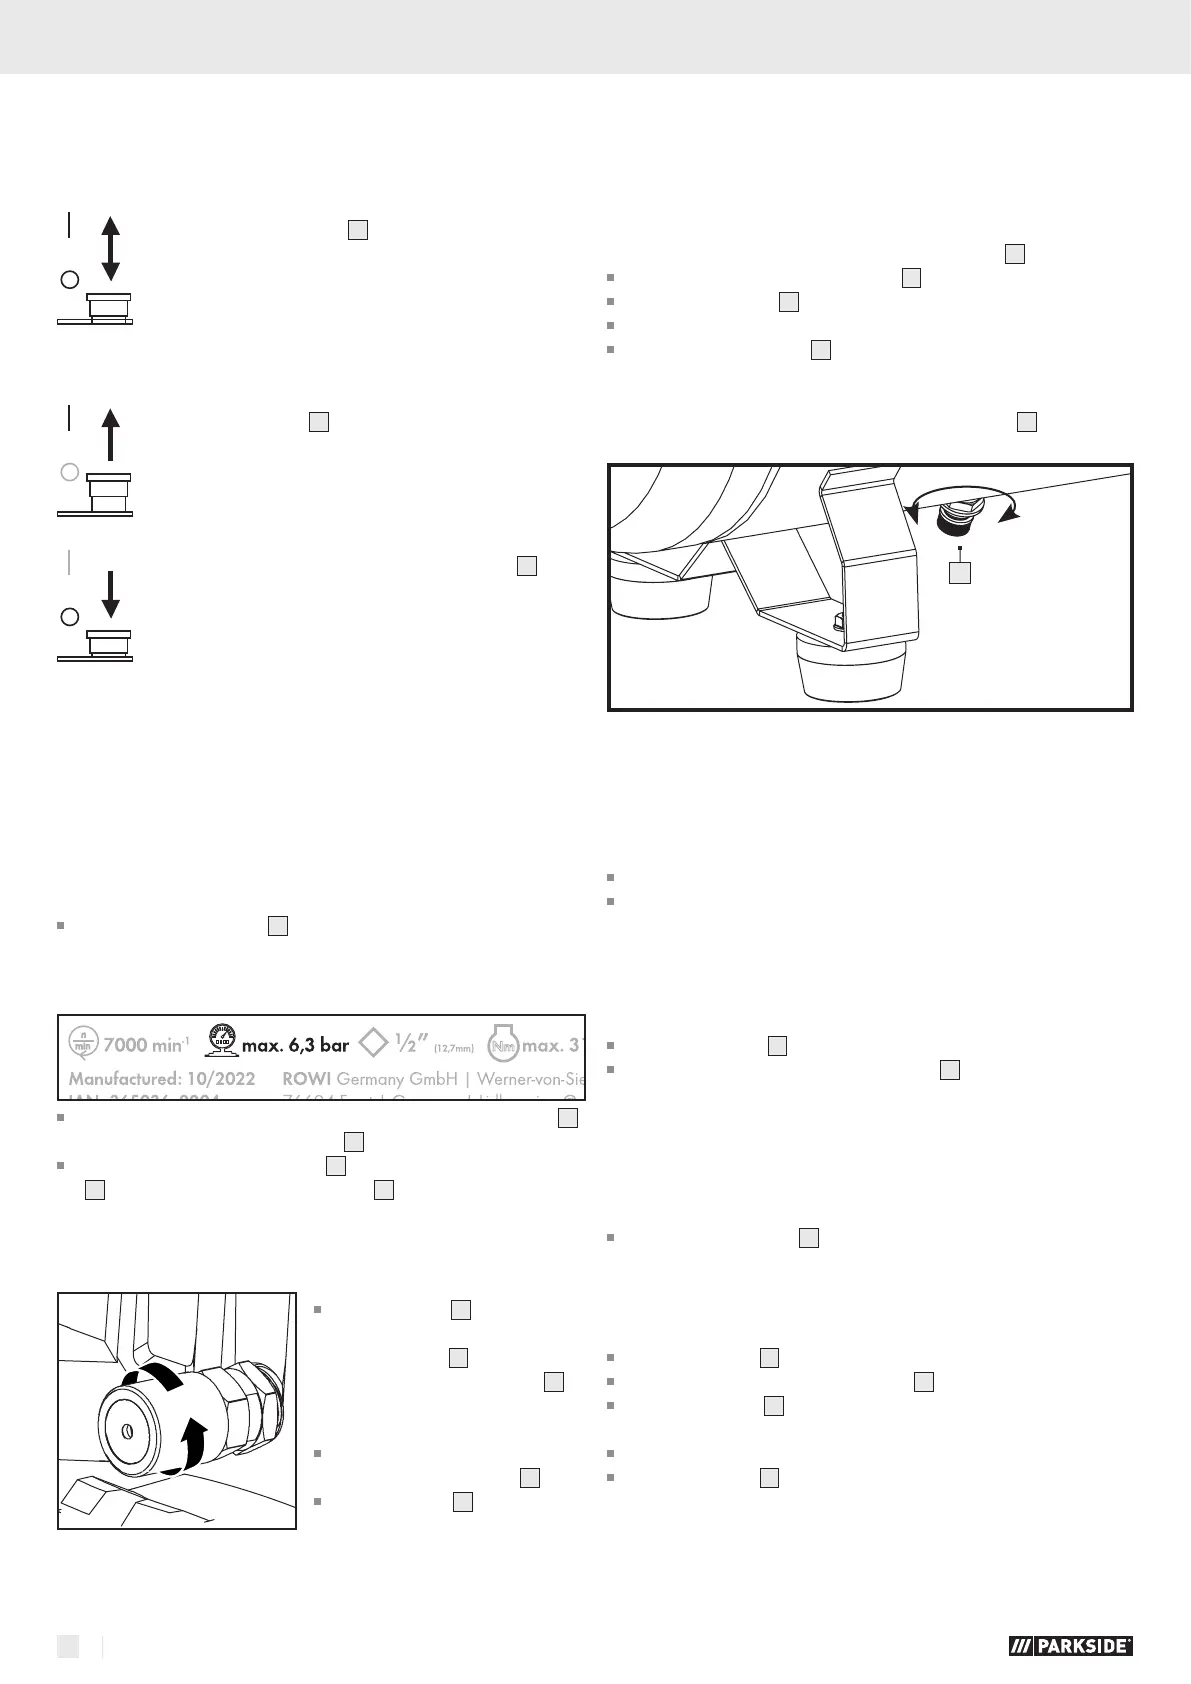
3.2.4 Safety valve
The safety valve
10
is set to the max-
imum permissible pressure of the
pressure vessel
5
. It is not permit-
ted to adjust the safety valve
10
or
remove the connection lock be-
tween the drain nut and its cap.
Turn the drain nut counterclockwise
to open the safety valve
10
outlet.
The safety valve
10
now audibly re-
leases air. Then retighten the drain
nut
clockwise .
NOTE
Repeat this process every 30 operating hours or at least three times a year.
3.2.5 Draining condensation
Condensation collects at the bottom of the pressure vessel
5
.
Place a container under the drain plug
7
to catch any condensation.
Open the drain plug
7
on the underside of the vessel completely
.
Wait until the condensation water has completely drained off.
Then close the drain plug
7
again.
CAUTION
Condensation must only be drained when the pressure vessel
5
is NOT under
pressure.
7
NOTE
Drain condensation after each operation, but at least once a week.
3.2.6 Releasing excess pressure (adjusting pressure)
Switch off the compressor.
Use the excess pressure with an idle pneumatic tool.
3.2.7 Cleaning and replacing the air filters
If the unit is operated with clogged or damaged air filters, it may be damaged.
Clean the air filters
4
every 50 operating hours.
In a clean environment, replace the air filters
4
or the foam filter element
inside them with original spare parts at least once a year. A dusty environ-
ment requires more frequent replacement.
3.2.7.1 Removing the air filter
Unscrew
the air filter
4
on the right and left of the compressor.
3.2.7.2 Cleaning the pressure filters
Clean the air filter
4
or the foam filter element inside or fit a new air filter.
Use compressed air to clean the air filter
4
.
Open the air filter
4
using the screw in the centre
, remove the foam
filter element and clean it.
Now reinsert the cleaned filter element.
Close the air filter
4
with the screw
.
 Loading...