38
Preparation
WARNING!Risk of injury due to
unintentional start-up. Only insert the re-
chargeable battery into the device once
the device is fully prepared for use.
Control elements
Familiarise yourself with the operating ele-
ments before using the device for the first
time.
• Spindle lock (4)
• Locks the spindle when attaching/
removing the attachment tool.
• On/Off switch (5)
• Switching on: Slide on/off switch (5)
to the front
• Switching off: Slide on/off switch
(5) to the rear
• Speed button (9)
• Press: Changing the speed level
- level 1: 5000 min
−1
- level 2: 10000 min
−1
- level 3: 15000 min
−1
- level 4: 20000 min
−1
- level 5: 25000 min
−1
- level 6: 32000 min
−1
Attachment
Auxiliary handle (12)
• For work with greater precision and
control, such as engraving.
Milling attachment (13)
• For general milling and drilling work.
Sanding table (14)
• For sanding work that requires an exact
angle of 90° or 45°.
Scale (15)
• In combination with the parallel guide
(16) or the circle cutter (28) for precise
parallel or circular cuts.
Guard cover (17)
• As protection against flying sparks
when cutting or grinding.
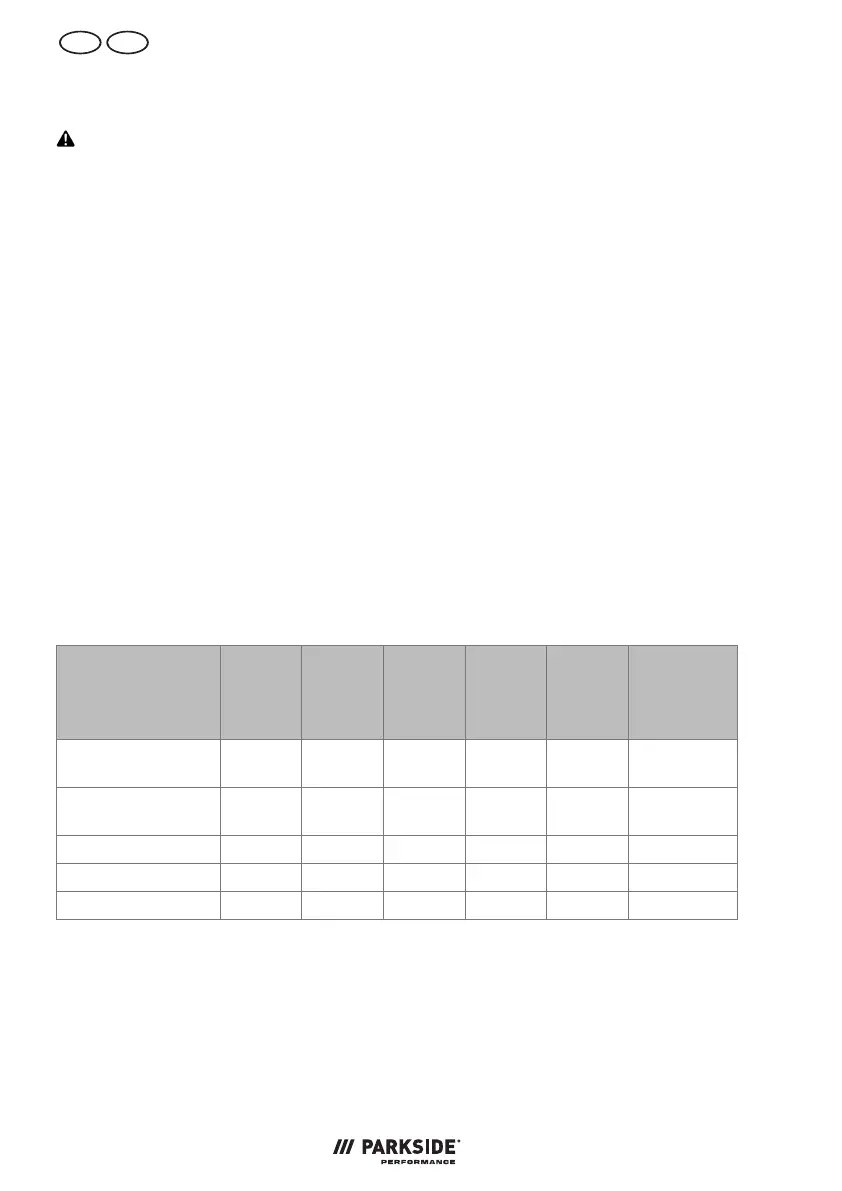
Attachment Milling Drilling Cutting
Sand-
ing/
Grind-
ing
Pol-
ishing
Engraving
Auxiliary handle
(12)
✔ ✔ ✔
Milling attachment
(13)
✔ ✔
Sanding table (14) ✔ ✔
Scale (15) ✔ ✔
Guard cover (17) ✔ ✔
Mounting an attachment
Requirements
• Battery removed.
Procedure (Fig.A)
1. Unscrew the screw cap (3).
2. Screw the desired attachment onto the
thread.
Adjusting the height of the attach-
ment (Fig.B)
1. Loosen the clamping screw (43) on the
attachment.



 To Next Page
 Loading...