Ref. 11/676 PM2092/2-V
PMS2000 System14
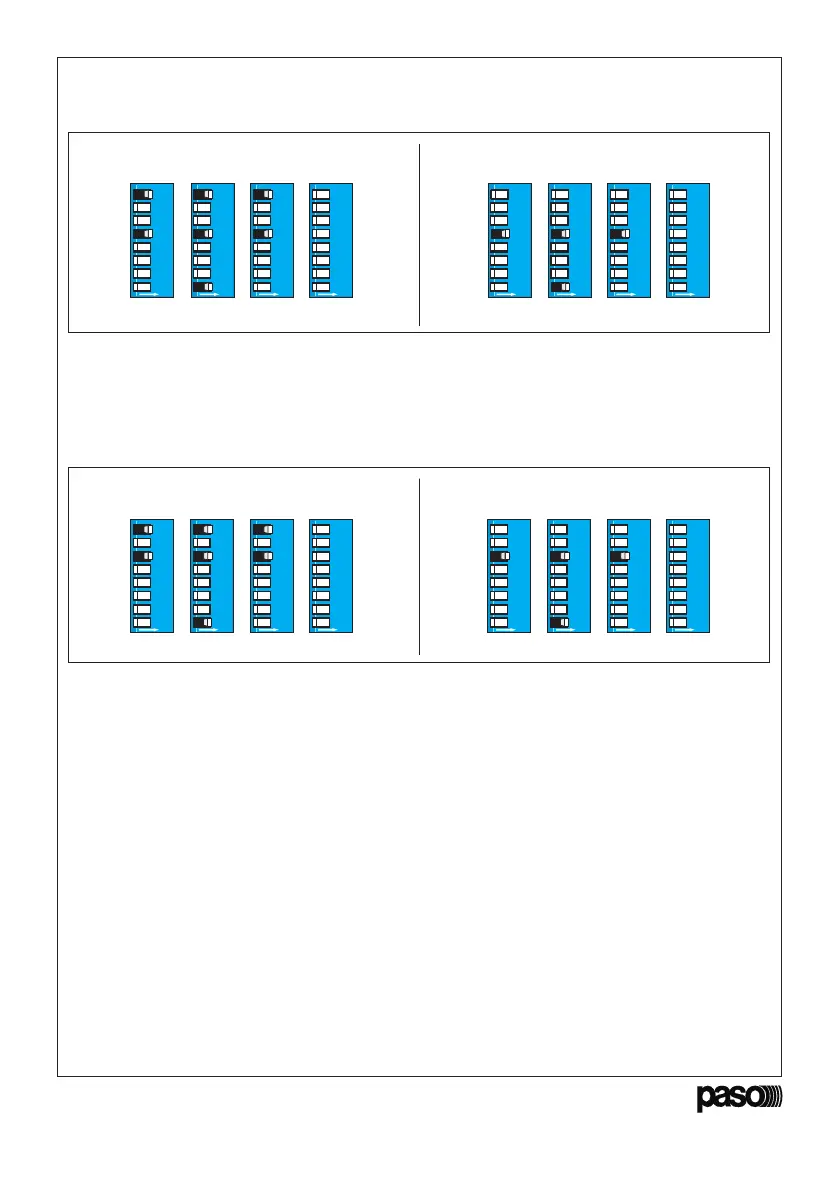
Fig. 4.1.7
Filtro • ON •
Filter
Filtro • OFF •
Filter
L’utente dovrà anche in questo caso utilizzare
i dip-switches per attivare la funzione.
Again in this case the user will have to use the dip
switches to activate the function.
AB D
ON
12345678
C
ON
12345678
ON
12345678
ON
12345678
AB D
ON
12345678
C
ON
12345678
ON
12345678
ON
12345678
• Modalità di risparmio energetico
Attivando questa funzione l’amplificatore rimarrà in
stand-by, consumando così una minima quantità di
energia: il led ‘ON’ lampeggia. La normale attività
riprenderà nel momento in cui verrà rilevato un
segnale da uno dei due ingressi.
• Energy-saving mode
If this function is activated, the amplifier will
remain on stand-by, so that it will only use up a
minimum quantity of power. The ‘ON’ LED will
flash. Normal activity will be resumed as soon as a
signal on either of the two inputs is detected.
Low Power • ON Low Power • OFF
AB D
ON
12345678
C
ON
12345678
ON
12345678
ON
12345678
AB D
ON
12345678
C
ON
12345678
ON
12345678
ON
12345678
4.2 Modalità ‘REMOTE CONTROL’
Per la gestione
tramite il controllo remoto, si
rimanda alla documentazione dei software
relativi. Alla prima accensione, l’impostazione di
fabbrica della scheda prevede che l’indirizzo sia
uguale a 1.
4.2 ‘REMOTE CONTROL’ mode
For management via a remote control, reference
should be made to the documentation concerning
the software being used. On switching on the
equipment for the first time, the address will be
equal to 1 (factory setting).
4.3 Impostazione indirizzo
Per cambiare indirizzo, procedere come segue:
1. Spegnere l’amplificatore.
2. Portare in posizione ON le levette 1 e 2;
utilizzare le levette da 3 a 8 per impostare
l’indirizzo desiderato (da 0 a 63), seguendo la
Tavola di Configurazione
(pagg. 44/45).
3. Riaccendere l’amplificatore, attendere circa 2
secondi e verificare che si accenda il led rosso
‘OK’.
4. Riportare in posizione OFF la leva 1: il led ‘OK’
si spegne.
4.3 Address assignment
To change this address, proceed as follows:
1. Switch off the amplifier.
2. Place levers 1 and 2 in the ON position; use
levers 3 to 8 to set the desired address (from 0
to 63), on the basis of the
Configuration Table
(page 44/45).
3. Switch the amplifier on again, wait for about 2
seconds and check that the red ‘OK’ LED lights
up.
4. Return lever 1 to the OFF position: the ‘OK’
LED will extinguish.
Fig. 4.1.8