27
Parts included in delivery:
Screws for mounting the main unit 4pcs
Screws for mounting plate 6
Screws for the SA adapters 6
Screw cap, SA adapters 6
Screw SA duct 2
Mounting plate 1
Wall Seal A 1
Wall Seal B 1
Drilling Template 1
Remote control 1
Long bit 200mm PH2 1
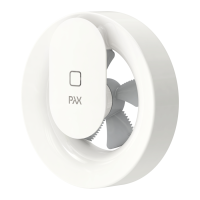
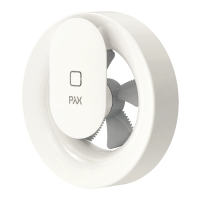
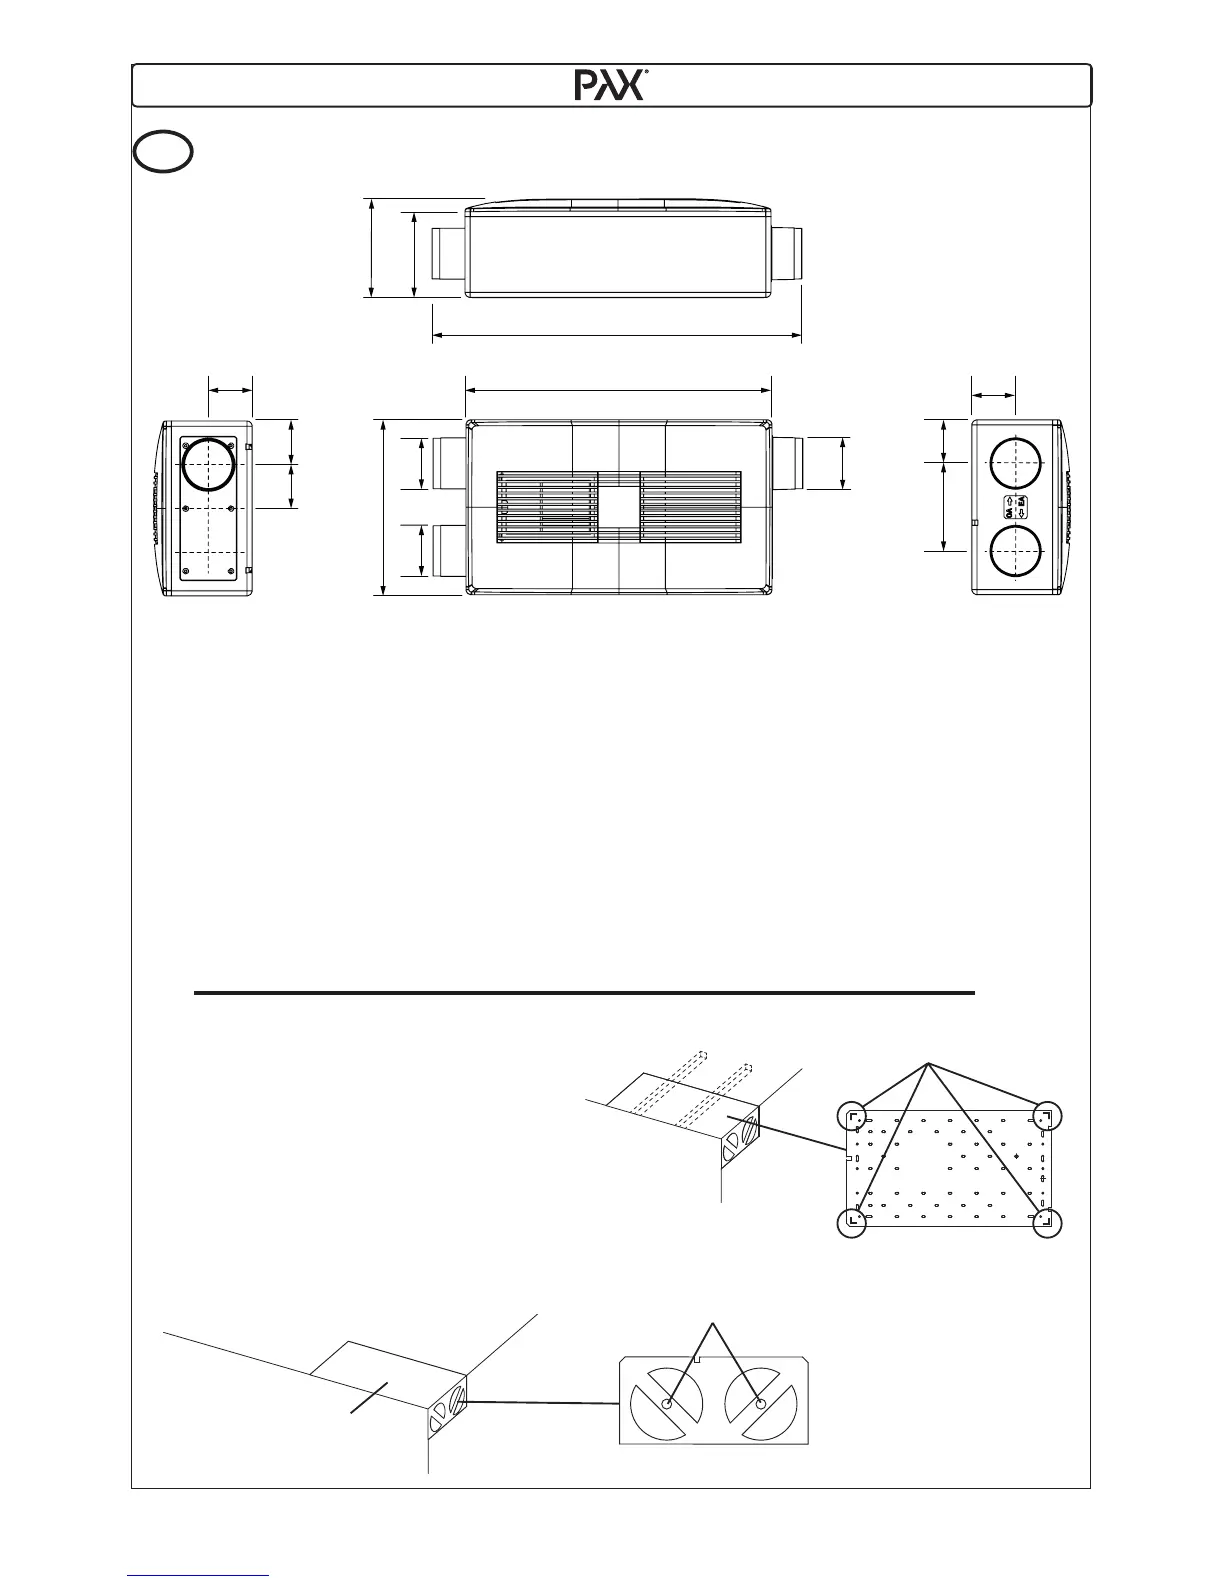
Dimension: Pax Eos 100 and Pax Eos 100H
720
595
85
85
8585
Ø100
Ø100
Ø100
85170
167
191
340
Dimension. / Installation.
UK
[1] Fixing the drilling template on the
ceiling or wall with adhesive tape.
Mark the position of the mounting
plate 4 corner and 6-holes with a
pen.
Ensure that the screws pulls the
stable surface, wood stud or similar.
[2] Mark the center position for pipes.
Marking place on the template
for the mounting plate four corners.
[2]
[1]
These holes guide for marking
the center of the pipes.
Drilling templates
 Loading...