6
Connecting the Paxton BLU Master Controller
Wire the components to the Paxton BLU Master Controller as shown, using the diagram on page 4.
Power up the unit and wait for the OK LED heartbeat. If there is a fault with the installation or the unit then the diagnostic LEDs (see above) may
well show the fault type enabling you to report or rectify the problem before proceeding.
To conrm relay activation for the locking hardware, press the exit button or in the absence of an exit button, place a test jumper between the 0v
and exit terminals. Once the exit button is pressed or the jumper temporarily placed, the lock should release.
When using Paxton readers, the reader’s default indication has all the LEDs on. Access granted is denoted with a single ashing Green LED. Access
Denied is a single ashing Red LED. The green reader LED should ash when the exit button is pressed.
Conguring the Paxton BLU Master Controller
Before starting the conguration process, be sure that you have purchased the Master Controller License (838-540-US) and had the master
controller activated. To purchase this, please contact Paxton at 877.438.7298, option #7, note that you will need the serial number and activation
code listed on the front of the master controller.
The Paxton BLU Control Master unit requires conguration and initialization before use. To do this will require a Windows PC or laptop
with USB ports and internet access, or having the proper installer tool previously installed.
Install the Installer Tool software. This is available to download from the Help page of your installer login to Paxton BLU. You may wish
to create a desktop shortcut for this application.
Tip: Always ensure you have downloaded the latest version of the Installer tool to ensure you have the most recent version of rmware.
The latest version is bundled with the Installer Tool application.
Remove the power from the unit.
If your master controller is housed in a metal enclosure, you will need to remove the PCB from the plastic mounting bracket in order
to attach the interface adapter. Please do so carefully and be sure that the PCB is fully secured to the bracket upon completion of the
rmware update process.
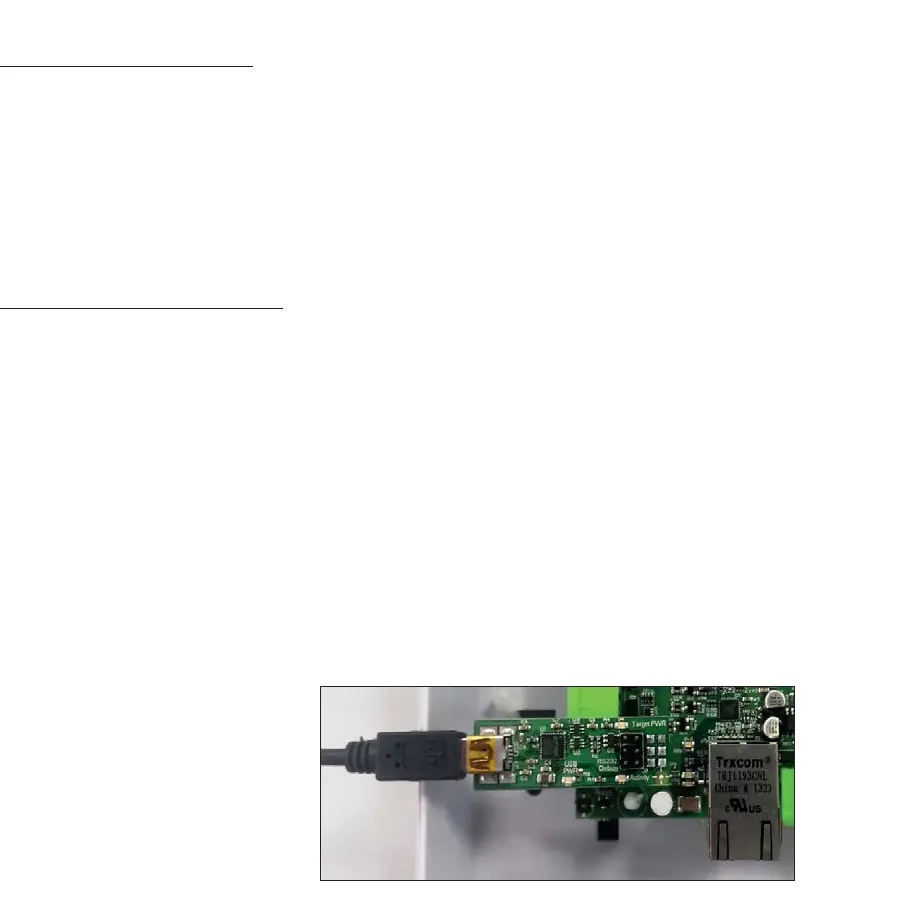
CAUTION: Make sure the adapter is
plugged into both rows of the header
on the PCB before you proceed (see
image on right for proper placement
and connection).

 Loading...