4
Installation
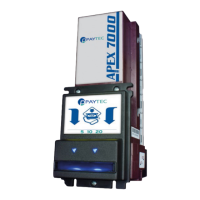
Apex 7000 can be configured by toggling the position of the DIP switches on the bottom of the unit.
Toggle the switches to ON or OFF position to decide which bills are to be accepted and the insertion side.
Switch 1 – 4: Enabling single bills
By toggling DIP switches 1 through 4 to ON or OFF position, you
enable or disable bills 1, 2 and 3 (in increasing order). The 4
th
switch
is not used.
Example: if you wish to accept only bills 1 and 2, simply toggle DIP
positions 1 and 2 to the ON position, and set 3 and 4 to OFF.
Switch 5: Limiting Acceptance Directions
To accept bills in all 4 insertion directions, toggle DIP position 5 to the
ON position. To limit acceptance to left-end, face-up only insertion, toggle
DIP position 5 to the OFF position.
Switch 6: Acceptor Enable Mode
Toggle DIP switch 5 to the OFF position
Switch 7: “Pulses Per Dollar”
Unused – must be toggled to OFF position
Switch 8: “Pulse Speed Setting”
Unused – must be toggled to OFF position
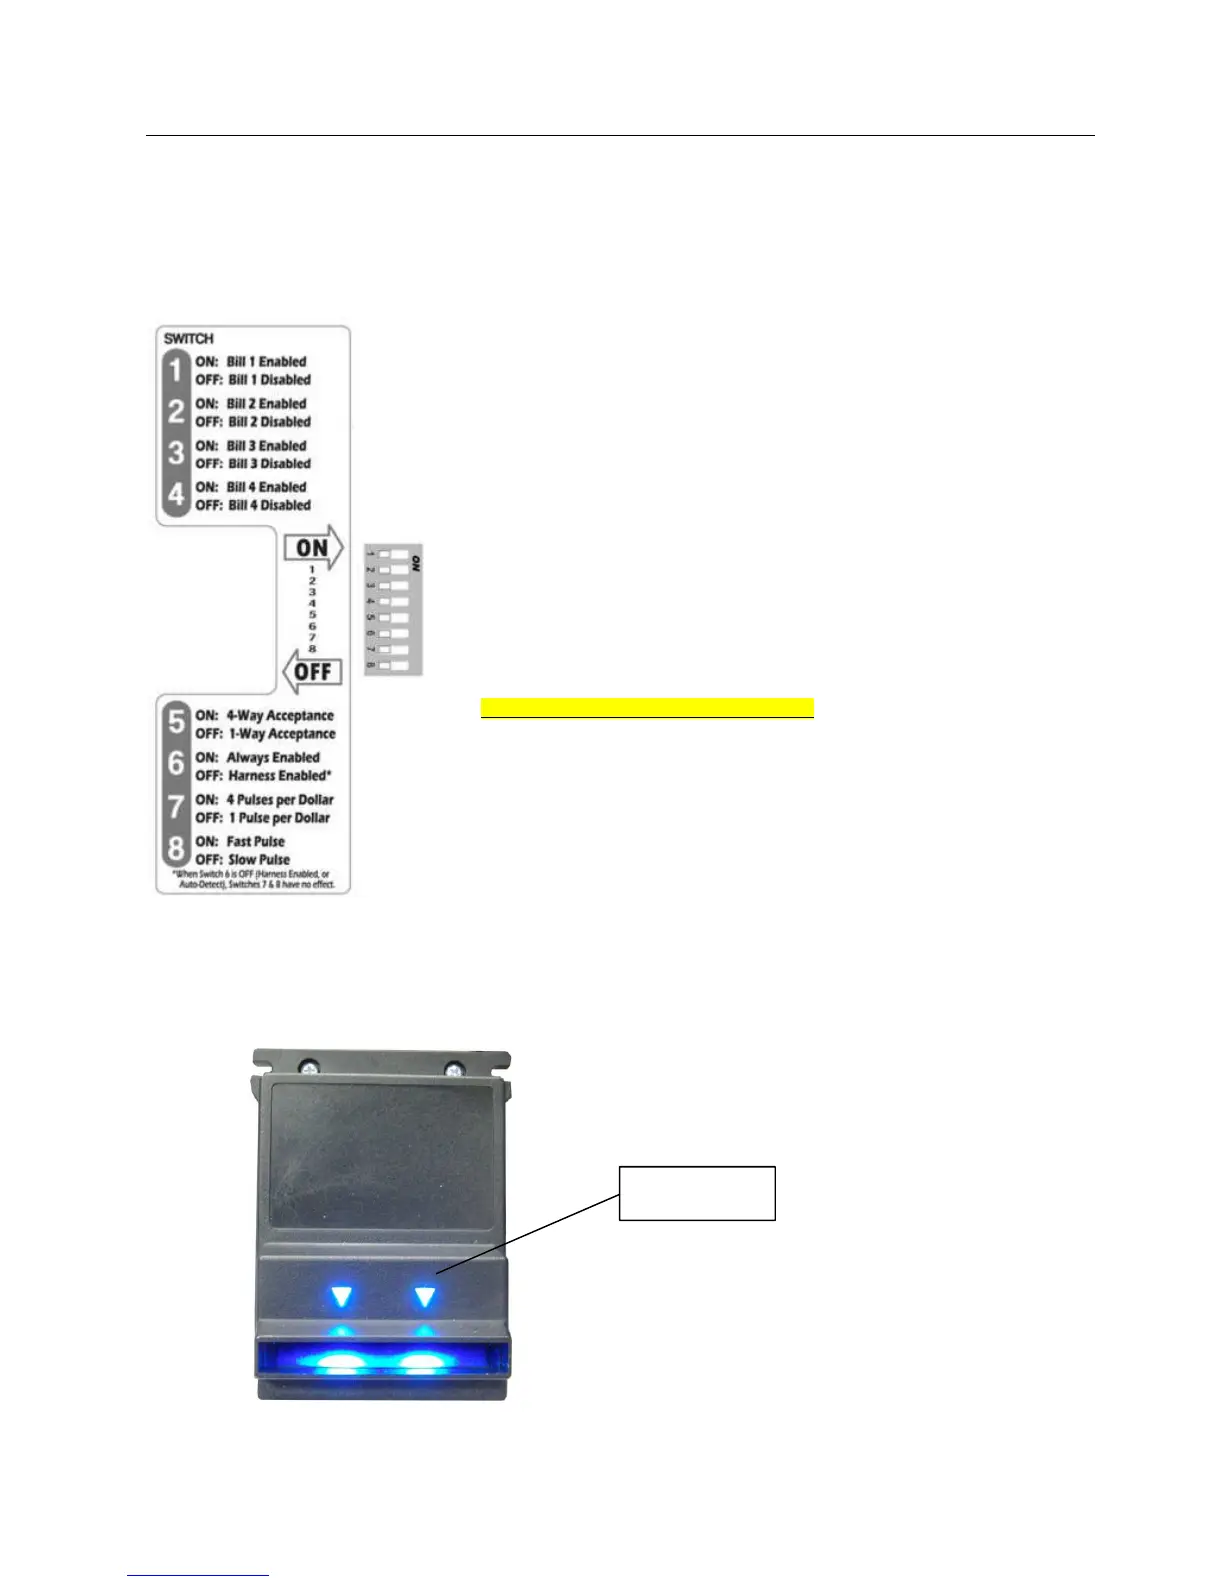
When power is given, the bill acceptor will cycle its motor and stacker. Check the bezel lighting. If the serial line
MDB is ON, the front bezel lights will be flashing.
Should the acceptor be inhibited (by a Master unit) or the serial line MDB is cut, the front bezel lights will be OFF.
FRONT BEZEL
LIGHTS
 Loading...