On most mainboards, there are small surface-mount resistors near the
processor socket, which may be damaged if the cooling fan is carelessly
installed.
Avoid using cooling fans with sharp edges on the fan casing and the
clips. Also, install the cooling fan in a well-lit work area so that you can
clearly see the mainboard and processor socket.
Before installing the Processor
This mainboard automatically determines the CPU clock frequency and sys-
tem bus frequency for the processor. You may be able to change these
settings by making changes to jumpers on the mainboard, or changing the
settings in the system Setup Utility. We strongly recommend that you do not
overclock processors or other components to run faster than their rated
speed.
Warning: Overclocking components can adversely affect the reliability of
the system and introduce errors into your system. Overclocking can per-
manently damage the mainboard by generating excess heat in
components that are run beyond the rated limits.
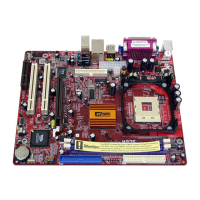
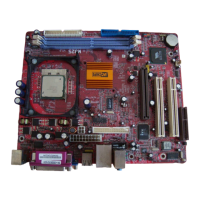
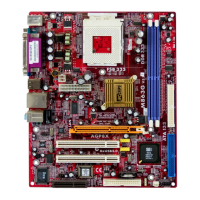
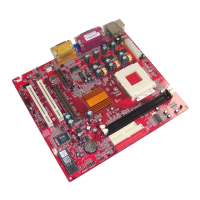
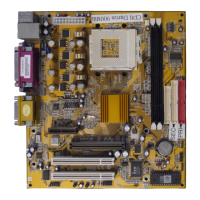
This mainboard has a Socket 478 processor socket. When choosing a proc-
essor, consider the performance requirements of the system. Performance is
based on the processor design, the clock speed and system bus frequency of
the processor, and the quantity of internal cache memory and external cache
memory.
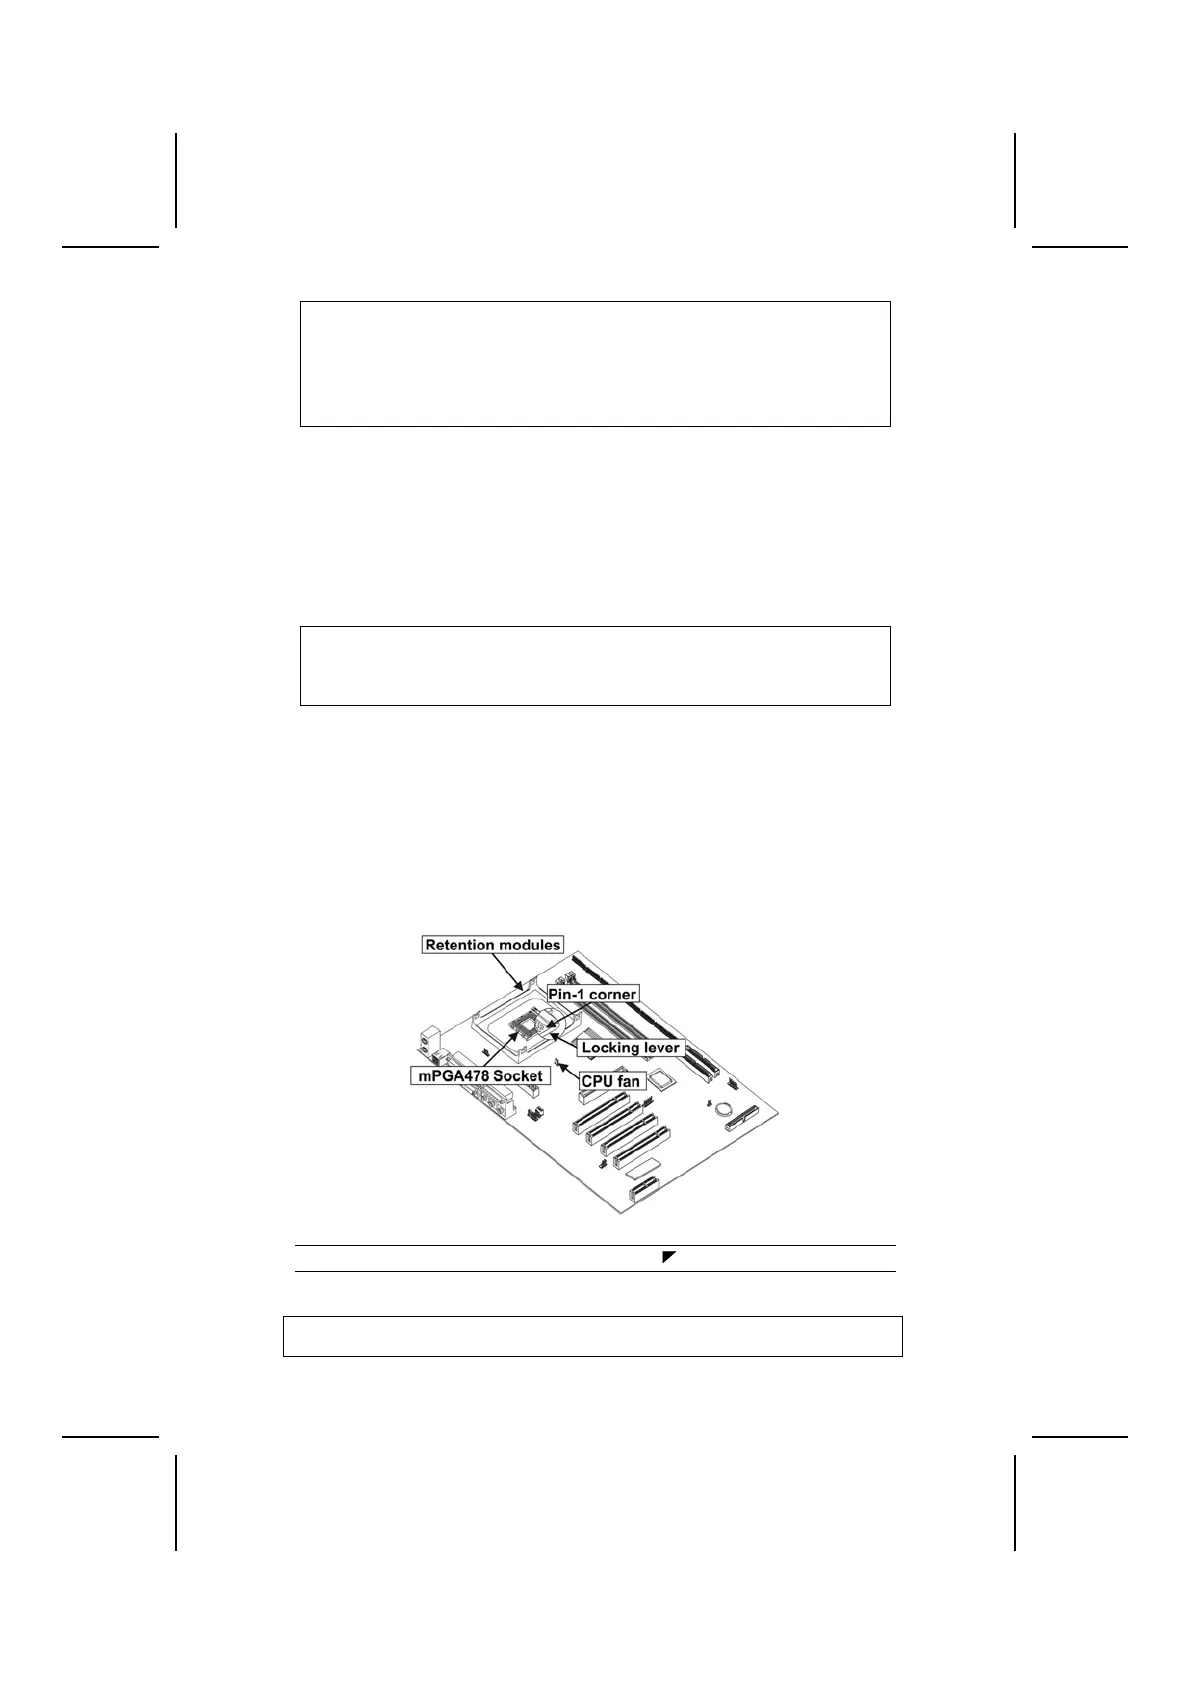
CPU Installation Procedure
The following illustration shows CPU installation components:
Note: The pin-1 corner is marked with an arrow
Follow these instructions to install the CPU:
1. Pull the CPU socket locking lever away from the socket to unhook it and raise
the locking lever to the upright position.
11
 Loading...