12
Before first time use
Remove the product and accessories carefully
from the original packaging. It is recommended
to keep the original packaging for storage. If you
wish to dispose of the original packaging, please
observe applicable legal provisions. Should you
have any questions regarding proper disposal,
contact your local waste management center.
Inspect the delivery contents for completeness
and damages. Should the delivery contents be
incomplete or damaged, contact your sales outlet
immediately.
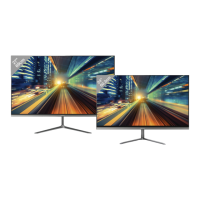
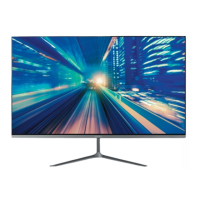
Controls and components
A. Stand
B. On/o multifunction switch
C. Screen
D. DC jack
E. Headphone output
F. VGA input
G. DP input
H. HDMI input
Accessories
1 x Monitor
1 x HDMI cable
1 x Power adaptor
1 x Stand
3 x Screws
1 x User manual
1 x Quick manual
1 x Warranty card
Installing the stand
Mount the base and stand neck with the supplied
matching screws. Now mount the stand neck to
the appropriate place on the back of the monitor
with the screws provided. Put the cover cap on the
screw connection.
Connections
POWER SUPPLY
Insert the DC plug of the power adapter into the
DC jack on the back of the monitor.
HDMI, DP or VGA connection
Connect the appropriate connectors on the back
of the monitor to your computer or other suitable
players using appropriate cables.
Note: If you would like to connect an external device
with this product, a good quality shielded cable
must be used, which ensures the electromagnetic
compatibility of the product and the used cable as
a whole.
HEADPHONE CONNECTION
Connect the headphones to the Headphone jack
of the device.
Note: For sound reproduction additional
headphones or loudspeakers, possibly with their
own power supply, are required.
Attention
Danger! Excessive sound pressure levels from
ear buds and headphones can cause hearing
damage. Listening to loud music for extended
periods of time may lead to hearing impairment.
Keep the volume at reasonable levels.
Operation
TURNING THE UNIT ON/OFF
Press the button to switch on the unit.
Note:
• In O mode (menu setting Reset and Time O),
the monitor will switch on automatically,when the
connected PC/notebook is started.
• If you didn’t press any key within 4 hours, the
Monitor will power o automatically. You can
reset the power o time individually from OFF / 0
to 24 under the menu setting Reset.
• Display time: A count-down time of 60 seconds
will be started before turn o. On the display it
will shows: XX (60-0) second to power o, please
push any key to cancel.
IM_PMO-S241_S271-IFC_201127_V03_HR.indb 12IM_PMO-S241_S271-IFC_201127_V03_HR.indb 12 27/11/2020 11:21 AM27/11/2020 11:21 AM
 Loading...