You may need to rotate the Drive Shaft Assembly to bring the
footboard of the Slave side (left) pedal to the proper playing height
(angle) before attaching the Drive Shaft Joints (A) to both pedals.
If the drive shafts are extended too far, they will separate from the
Center Connecting Tube. Reassemble them with the dots aligned
as shown in Fig.15-B.
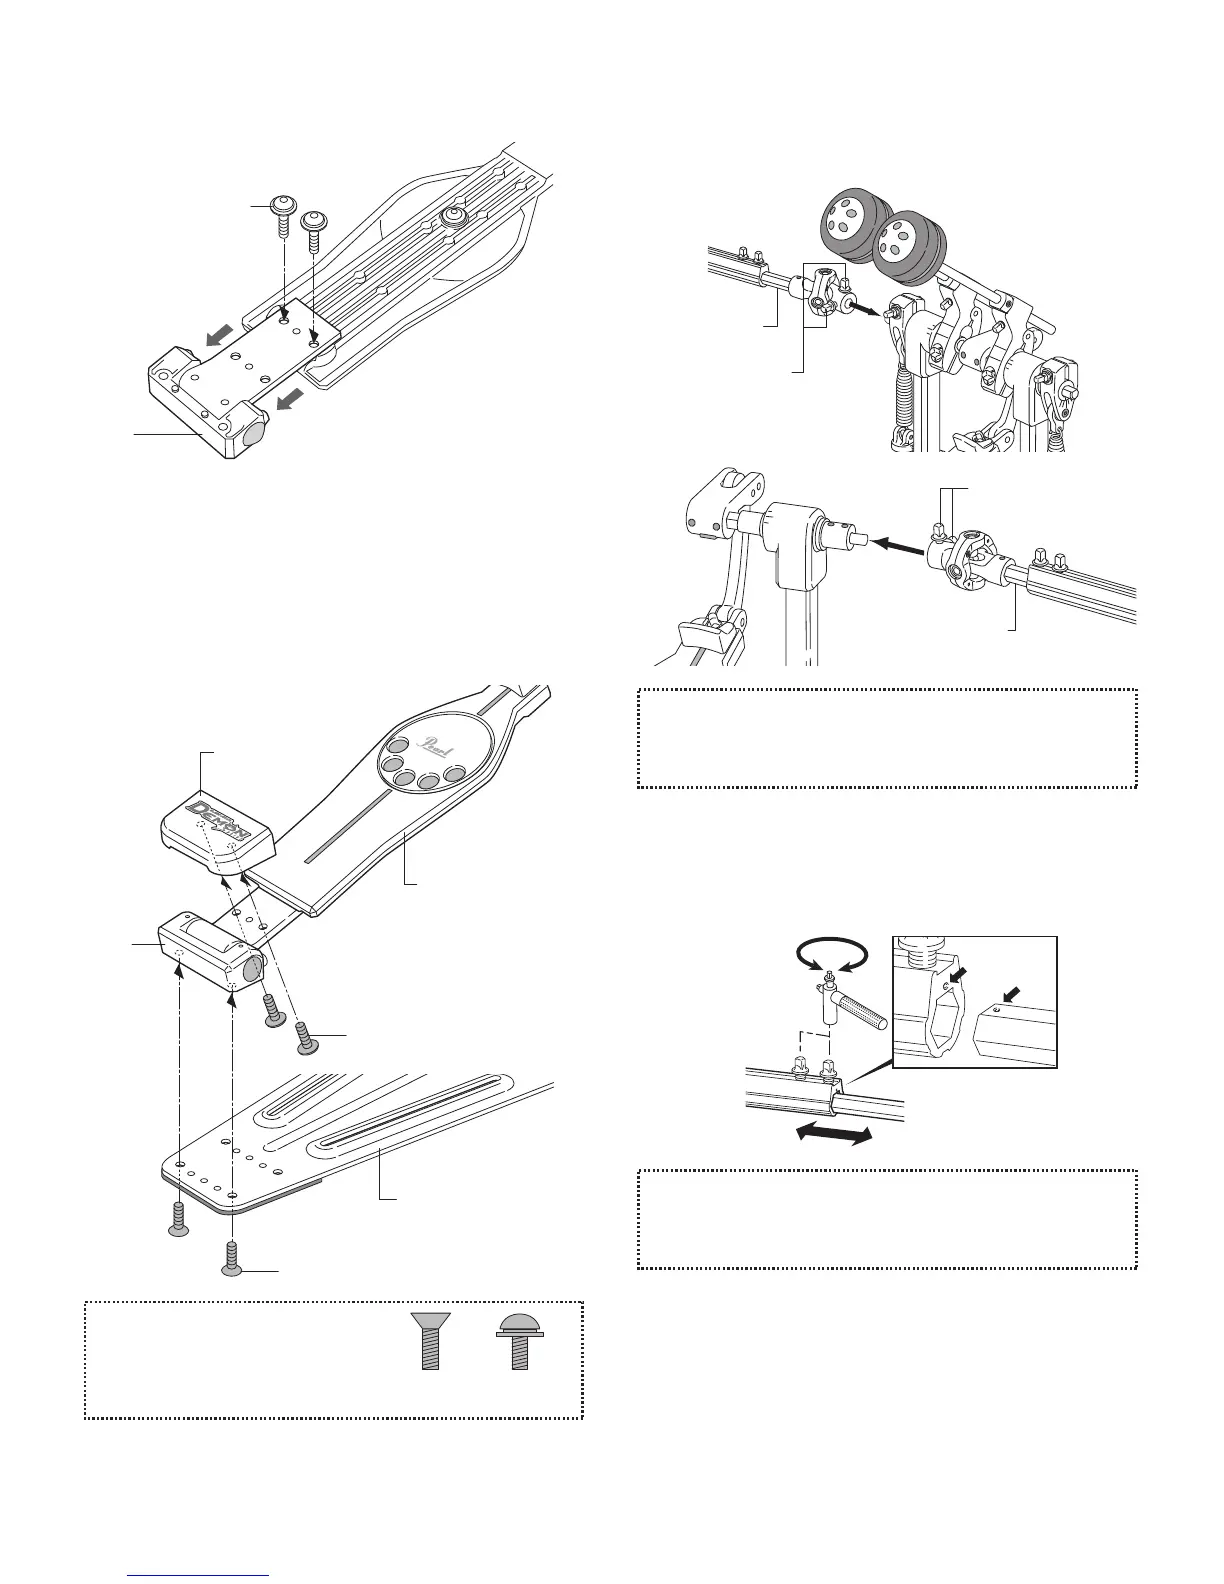
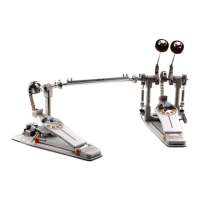
Connecting the Drive Shaft Assembly
Connect the ends of the Drive shaft (A) to the short
extensions (B) on the Main and Slave side Pedals and
tighten the Key Bolts (Fig.13 , 14).
Loosen the Key Bolts on the Center Connecting Tube of the
Drive Shaft Assembly and adjust the distance between the
Main Pedal and the Slave Side Pedal to your liking.
Re-tighten the Key Bolts (Fig.15-A).
Fig. 13
Fig. 14
Fig. 15-A
Fig. 15-B
A
B
B
Heel Plate
Hinge
Hinge
3-Piece Screw
Flat Head Screw
Flat Head
Screw
3-Piece
Screw
3-Piece Screw
Bottom Plate
Footboard
Reattach the Hinge to the Footboard in the position shown
with two 3-Piece Screws using the provided Multi-Function
drum key or Allen wrench(3mm) (Fig.11).
Place the Heel Plate between the Footboard and the Hinge
(Fig.12) and attach the Heel Plate with the remaining two
3-Piece Screws using the Mutli-Function Drum Key or Allen
wrench (3mm). Attach the Hinge to the Bottom Plate with
the Flat Head Screws using the Multi-Function Drum Key or
Allen wrench (3mm) (Fig.12). The Hinge is now located at
the back of the Footboard to achieve a Long Footboard.
Fig. 11
Fig. 12
The Duo-Deck Footboard uses two
different types of screws. Make sure
to use the correct screws.
Note
Tip
Tip
A
Drive shaft
Drive shaft
Key Bolt
Key Bolt