Rev L —
Calcite pH Neutralizer
© 2019 Enviro Water Solutions, Inc.
3060 Performance Circle, Suite 2, DeLand, FL 32724
Page 8
Installation
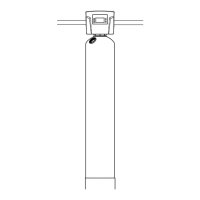
Calcite Tank Installation
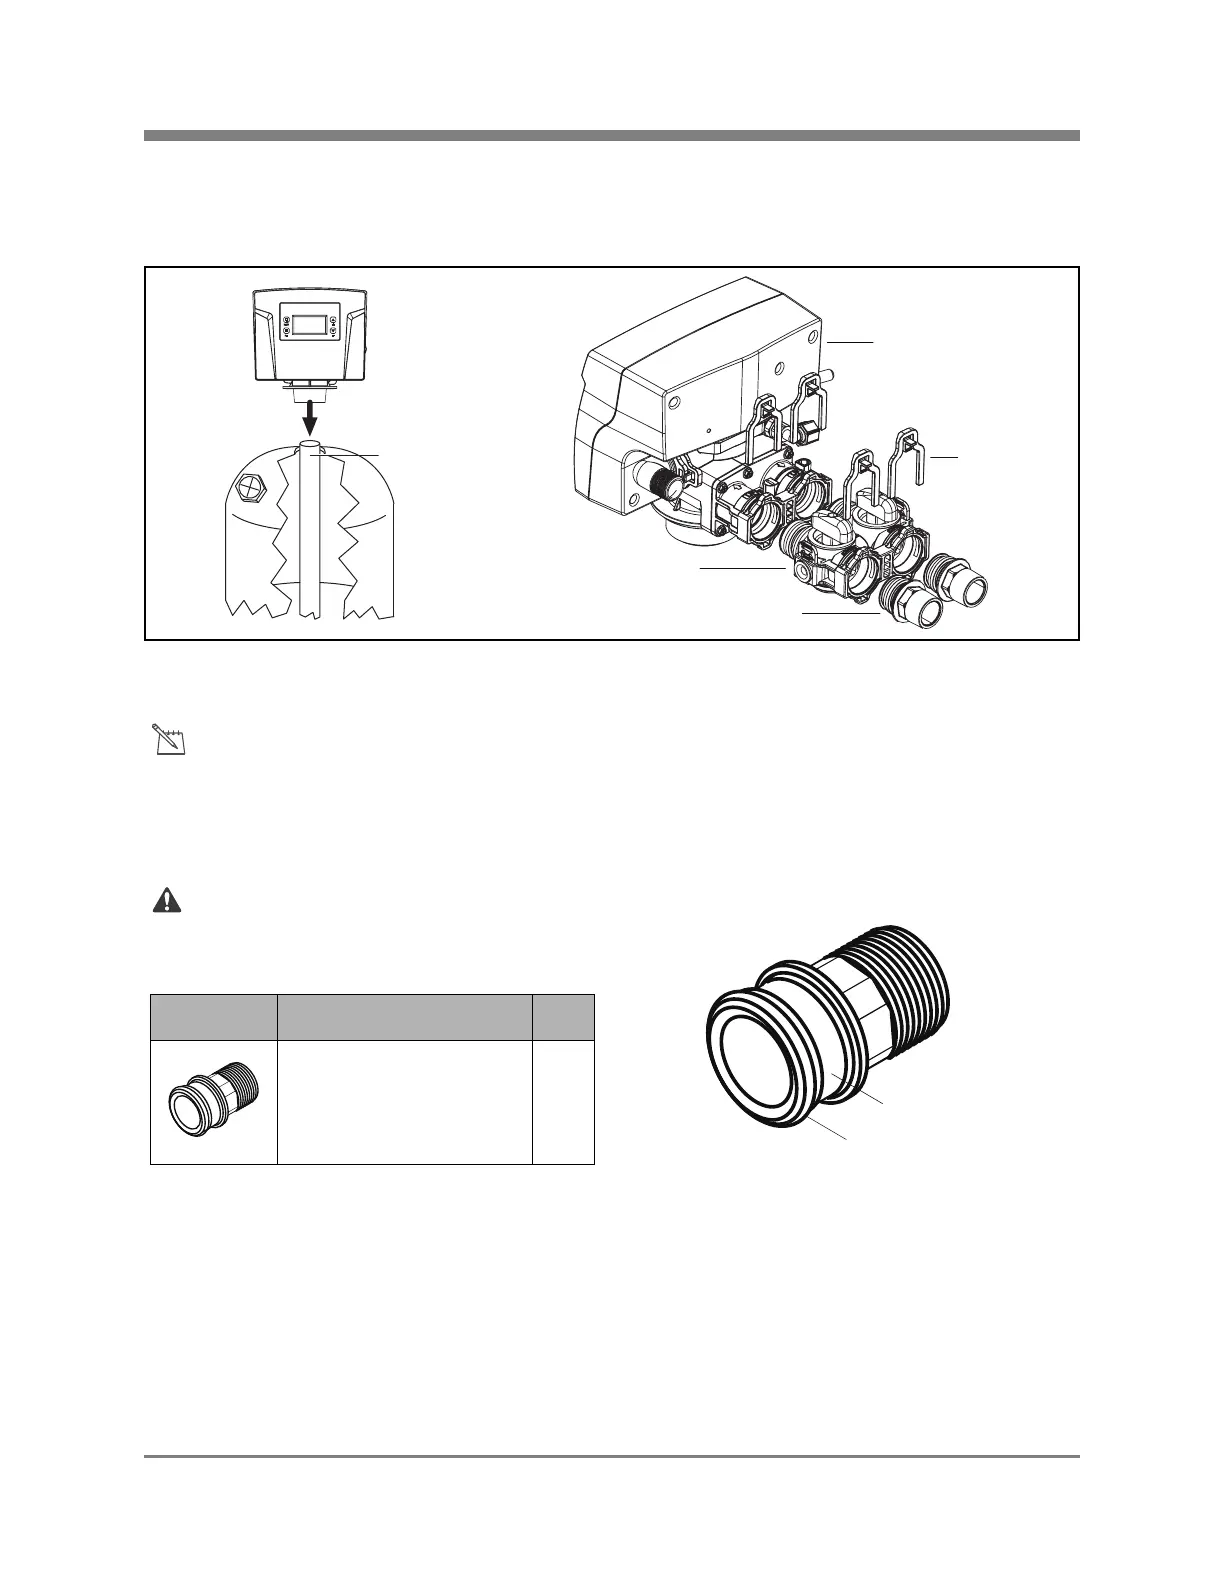
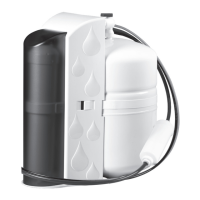
Figure 3
Distributor Tube
MENU
SET
1. Level the Calcite Tank
Notice:
If the tank is not level, lift the tank straight up 6 inches and tap it on the ground until the tank stands
vertical. The bottom of the tank is round and the boot allows the tank to stand upright.
2. Determine the size and material of your incoming water supply line and choose the
appropriate fittings required to connect it to the Bypass Valve.
CAUTION:
Do not over-tighten any of the fittings during installation.
Table 2: Bypass Valve Fittings
Part Description Qty.
1" PVC Tail Adaptor for
Electronic Head Bypass
2
Clip Channel
O-Ring
3. Remove the gray cap from the top of the Calcite Tank.
4. Screw the Electronic Head onto the tank hand-tight.
5. Install the fittings onto the inlet and outlet, following the labels on the Head.
6. Connect the incoming water supply to the fitting on the inlet side of the Bypass Valve.
7. Connect the outgoing water supply to the outlet side of the Bypass Valve.
8. Firmly press one end of the PVC Tubing Drain Line onto the Drain Line Barb, and secure the
other end of the line to a drain.
Electronic Head
Bypass Valve
Tail Adaptors
Red Clips
(877) 842-1635
PelicanWater.com