– 8 –
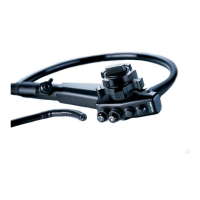
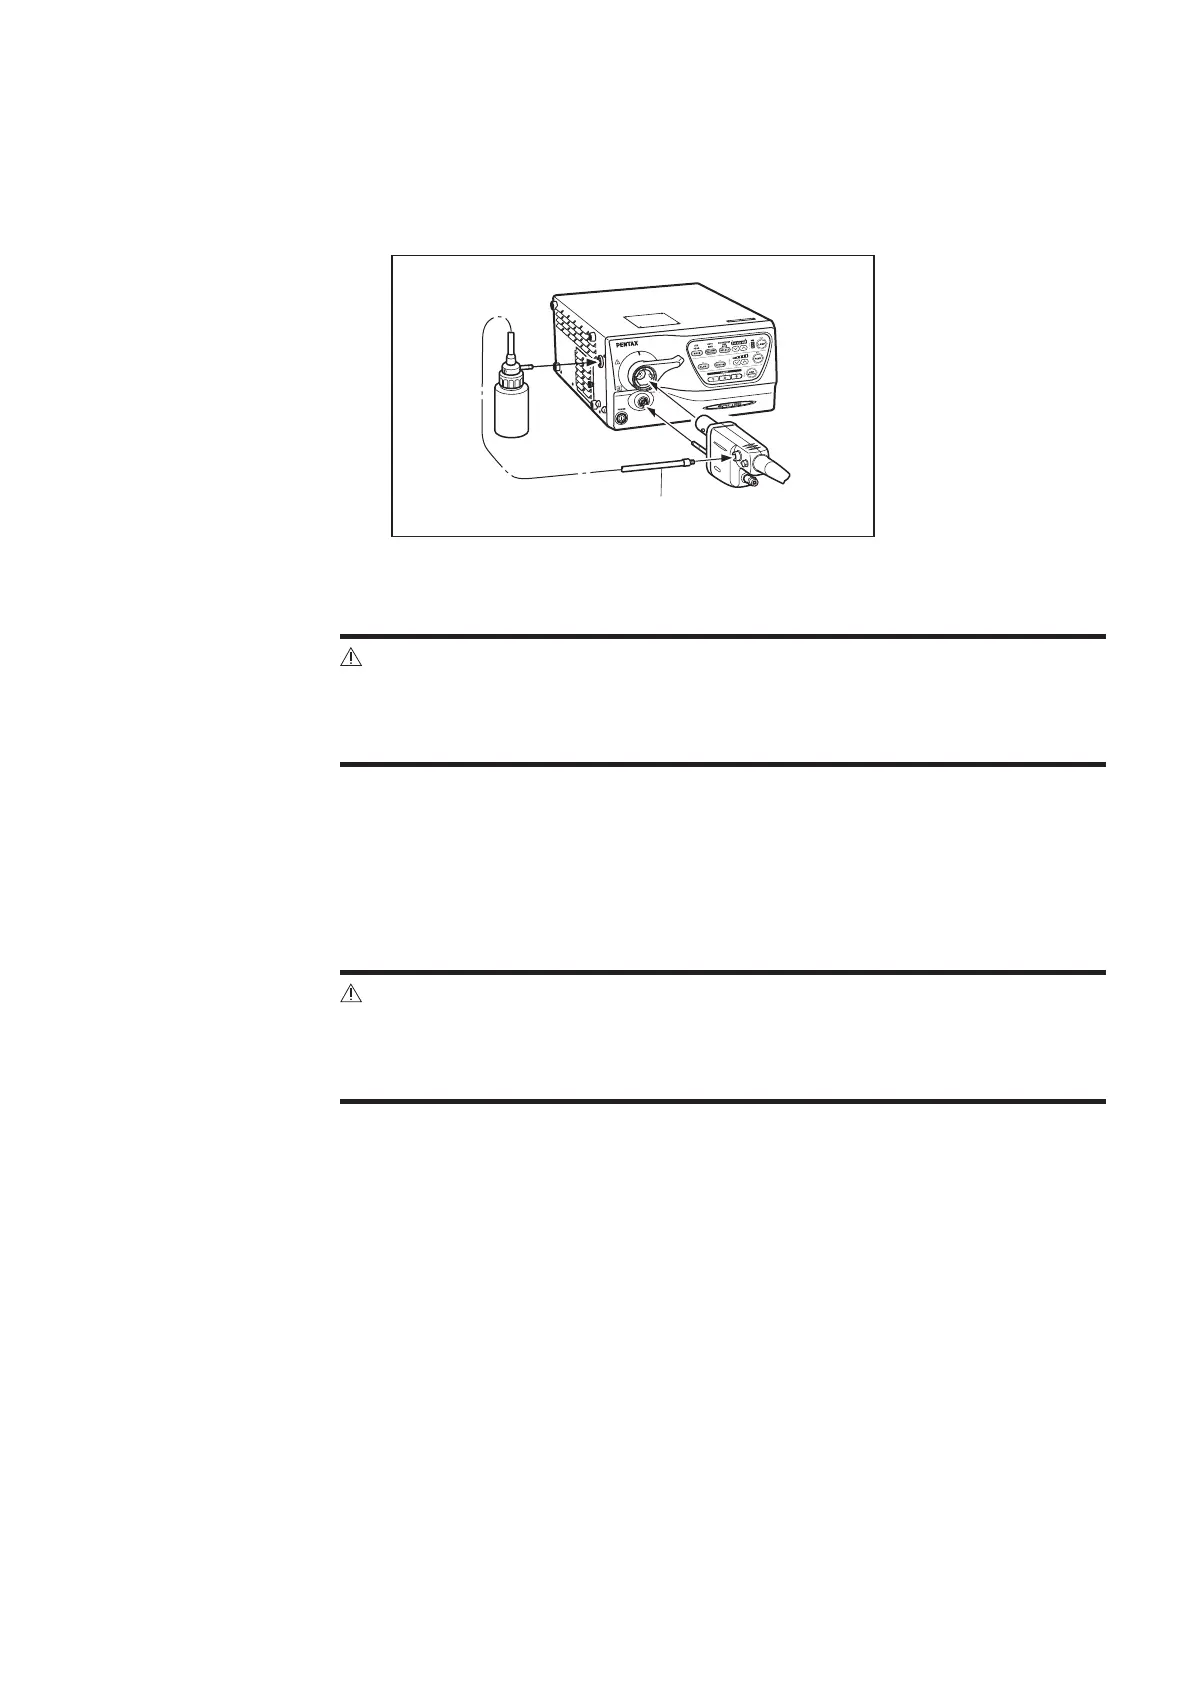
4) Make sure that the PENTAX PVE connector is aligned with the Endoscope
Electrical Connector and Light Guide Receptacle on the front panel of the video
processor.
5) Connect the endoscope to the Endoscope Electrical Connector and Light Guide
Receptacle on the video processor as illustrated.
(1) Air/Water Feeding
Tube
Figure 2.1
6) Rotate the locking lever clockwise after insertion.
CAUTION:
After connecting the endoscope to the PENTAX video processor, always
make sure that the endoscope is firmly secured to the endoscope
receptacle by turning the locking lever to the “lock” position.
7) Connect the air/water feeding tube from the water bottle assembly to the air/water
port on the side of the PVE connector.
8) Turn the video processor and air pump to the “ON” position and check for proper
functioning.
9) Press the lamp switch of the video processor to turn ON the lamp.
CAUTION:
Do not look directly at the light emitted from the endoscope distal tip or
the video processor unit. The intense light might hurt your eyes. Turn off
the lamp when looking directly at the endoscope distal tip.
10) Prior to each procedure, check the endoscope image quality displayed on the
monitor. Confirm that the image quality, color, automatic brightness (iris)
functions are acceptable as per the instructions provided with the PENTAX video
processor.
 Loading...