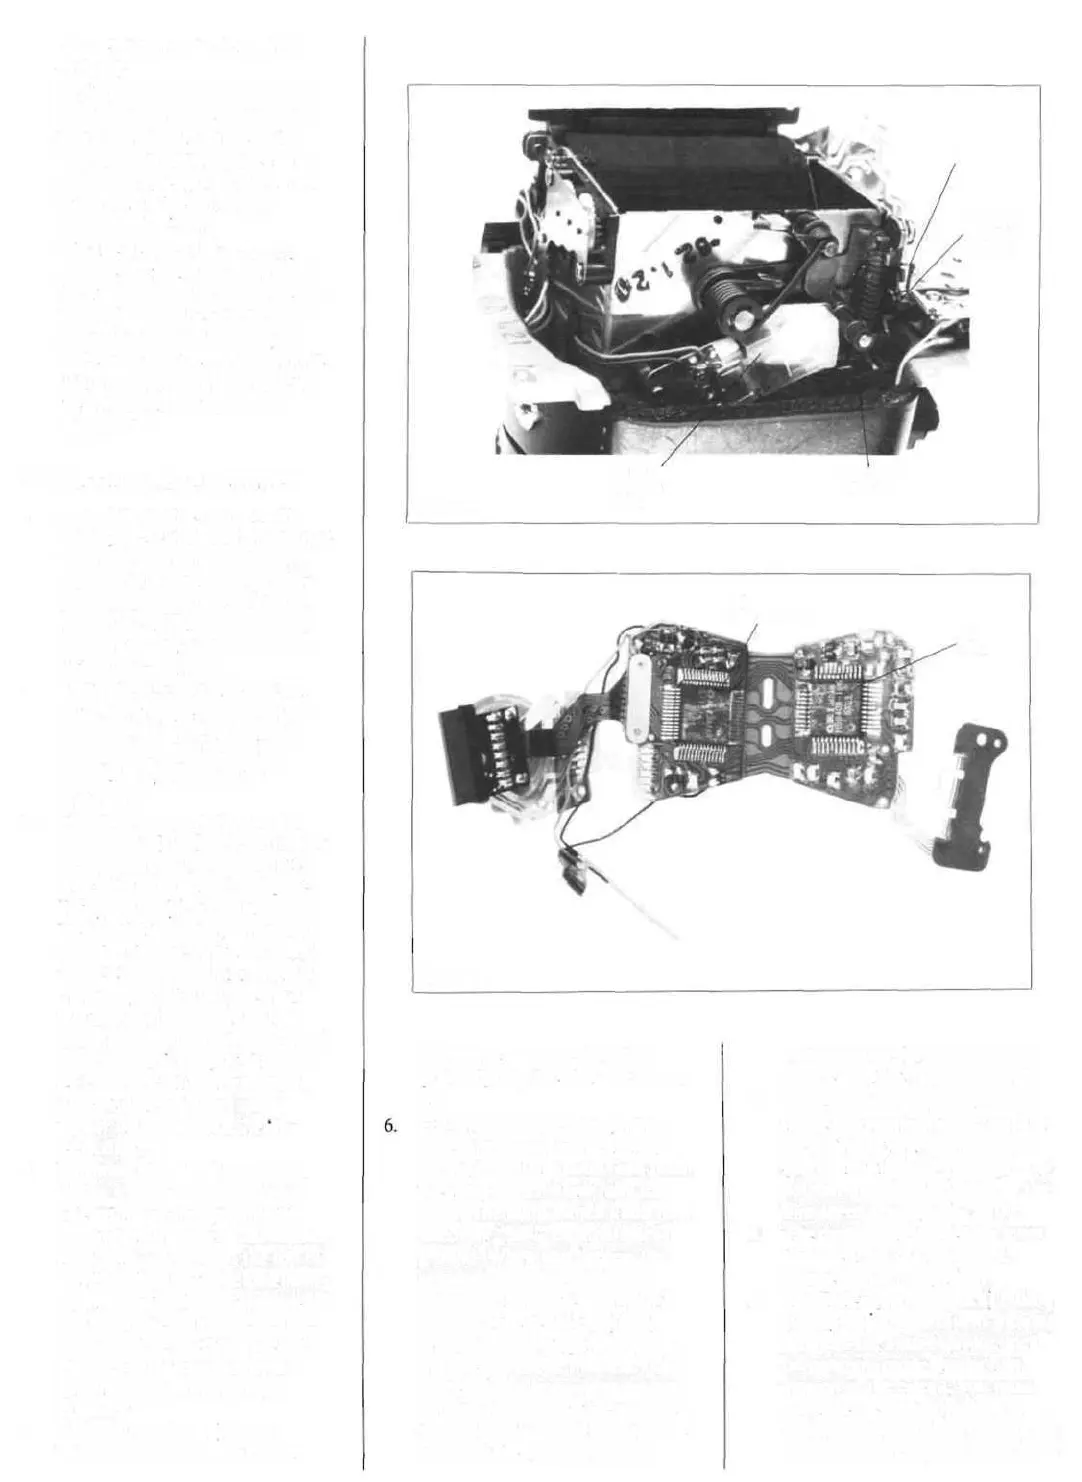
magnet toward the front of the
camera).
b. Allow the mirror to move up
slowly and note the mirror posi-
tion when the shutter releases.
The distance between the mirror
and the porous-plastic light trap
at the top of the mirror box
should be 1 - 3mm.
c. If the distance isn't correct.
remove the mirror box and bend
the long arm of the shutter-release
lever. Bend up the arm to make
the shutter release sooner (dis-
tance between the mirror and the
light trap too small). Bend down
the arm to make the shutter
release later.
OPERATING INSTRUCTIONS
1. Push forward the main-switch
knob (top, rewind end) to operate
camera. In the on position, the
main-switch knob uncovers "I"
on a red background. With the
main switch in the off position,
the shutter won't release and the
LEDs won't turn on.
2. The finder LEDs turn on when
you push the release button part
way. The LEDs remain on 10
seconds after you let up the
release button or after the
exposure.
3. For program operation, set the
lens to "A" (auto). The setting of
the speed knob makes no differ-
ence. With the lens at auto, the
"P" (program) LED turns on at
the top of the display when you
push the release button part way.
The LED display also shows the
shutter speed that will be auto-
matically delivered. If the light
conditions require a shutter speed
faster than 1/1000. the "1000"
LED flickers. If the light condi-
tions require a shutter speed
slower than 1 second, the M"
LED flickers.
4. For metered manual operation,
set the lens to a manual f/stop.
The setting of the speed knob
now determines the shutter speed.
A red "M" turns on at the top of
the LED display to indicate man-
ual mode. The shutter-speed LED
that glows steadily indicates the
setting you've selected. The flick-
ering LED indicates the speed
you should select for proper
exposure.
5. At the bulb setting (manual
f/stop), none of the LEDs turn
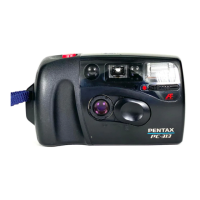
IC2
LEO DRIVER
FIGURE 6
on. At the flash-speed setting
(I /100). only the "M" LED turns
on.
For self-timer operation, hold
down the button to the front of
the main-switch knob. Then push
the main-switch knob fully for-
ward. The main-switch knob now
uncovers "S.T." on a red back-
ground. When you depress the
release button, the self-timer
delays the mirror release for 12
seconds. The self LED (front,
release-button side) flickers dur-
ing the delay. The frequency of
the LED oscillator increases just
before the release. If the shutter is
set to bulb and the lens is set to a
manual f/stop, the self-timer
won't operate (no action when
you depress the release button).
7. The DX coding on the film car-
tridge automatically sets the film
speed. There's no manual film-
speed control. With no film — or
with an uncoded cartridge — the
film-speed setting is ISO 100.
8. The depth-of-field preview lever
is at the front of the camera,
release-button side. Fig. 1.
9. The "ML" (memory-lock) button
(front, rewind side of lens mount)
provides the auto-exposure lock
on program mode. In the first
version of the circuit, you must
keep the memory-lock button
depressed to lock the exposure. In
the revised circuit, you don't have
RELEASE
MAGNET
S100
RELEASE
LEVER
FIGURE 5
MIRROR-
CHARGE
LEVER
IC1
CPU
I