Do you have a question about the Pentax TH-E10D and is the answer not in the manual?
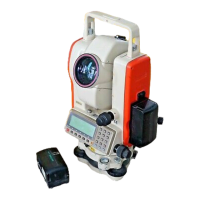
Details the items included as standard with the PENTAX Electronic Theodolite.
Lists additional accessories available for purchase to enhance the instrument's functionality.
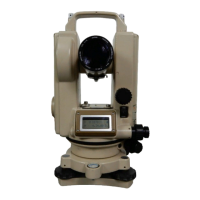
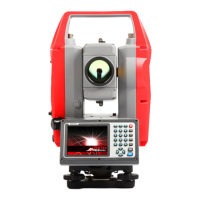
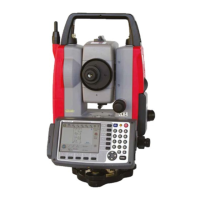
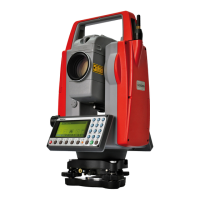
Describes the electronic display panel, its indicators, and how angle readings are presented.
Details the function and layout of the instrument's control keys.
Explains the functions of the power switch and initial display indicators after powering on the instrument.
Covers additional functions like buzzer alerts, battery status, and auto power down features.
Details the initial steps for setting up the instrument and tripod, including centering using a plumb bob or optical plummet.
Guides the user through essential surveying procedures like eyepiece adjustment and object sighting.
Explains how to perform horizontal, vertical, and multiple angle measurements using the electronic theodolite.
Provides procedures for setting up the instrument for various angle measurements and line alignments.
Describes how to measure distance and height using stadia hairs on the reticle.
Details the attachment and use of the diagonal eyepiece for improved viewing in confined spaces or at the zenith.
Explains the use of the eyepiece prism for similar purposes as the diagonal eyepiece, noting limitations for zenith sighting.
Describes how attaching the auxiliary lens reduces the minimum focusing distance to 85cm.
Explains how to mount the bar compass onto the top handle to obtain magnetic north.
Provides instructions for cleaning and maintaining the instrument to ensure its longevity and performance.
Details the correct procedure for storing the instrument in its plastic case to protect it from damage.
Explains how to inspect and adjust the plate vial's perpendicularity to the instrument's vertical axis.
Details the inspection and adjustment process for the circular vial's perpendicularity to the vertical axis.
Guides on inspecting and adjusting the inclination of the reticle pattern cross hairs for accurate alignment.
Describes the inspection and adjustment method to ensure the line of sight is perpendicular to the horizontal axis.
Explains the inspection and adjustment procedure for vertical angle readings when the line of sight is horizontal.
Details the inspection and adjustment process for aligning the optical plummet's line of sight with the vertical axis.
Provides general guidance and precautions for performing inspection and adjustment procedures on the instrument.
Explains how to access and change settings using the internal switches located inside the instrument.
Details the function selection switches for features like auto power down and angle unit transmission.
Describes the switches used for setting data output parameters such as baud rate and data length.
Explains how to use the rotary switch to select vertical graduation modes and units (DEG, GRAD, MIL).
| Model | TH-E10D |
|---|---|
| Category | Measuring Instruments |
| Type | Thermo-Hygrometer |
| Display | LCD |
| Power Supply | AAA battery x 1 |
| Humidity Measurement Range | 20% to 95% RH |
| Accuracy | ±1°C (Temperature), ±5%RH (Humidity) |
| Resolution | 0.1°C (Temperature), 1%RH (Humidity) |