5
TYPES OF ABRASIVES
WORK AREA SETUP
IMPORTANT: To keep the blasting medium from accidentally spilling out of the
nozzle, do not point the nozzle downward.
1.
Designate a work area that is clean and well-lighted. The work area must not allow
access by children or pets to prevent distraction and injury.
2. Route the air hose along a safe route to reach the work area without
creating a tr
ipping hazard or exposing the air hose to possible damage.
The air hose must be long enough to reach the work area to allow free
movement while working.
3. If possible, place the workpiece inside an abrasive blasting cabinet
(not included).
Otherwise, isolate the workpiece to make sure no damage
can occur to nearby walls, tools, equipment, or other property.
IMPORTANT: Prior to abrasive blasting, protect other people and/or property in
the work area from ying debris by providing barriers or shields. Wear appropri-
ate clothing and safety gear when operating the blaster gun.
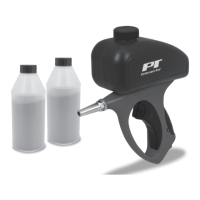
Suitable abrasives for this spot blaster are:
- Black Aluminum Oxide
- Glass Beads
- Walnut Shells
- Silicon Carbide (Carborundum)
- Pumice
OPERATING INSTRUCTIONS
1. Connect the compressor’s air hose to the air inlet (4) of the blaster gun (5). It is
recommended that a male plug (not included) be rst mounted into the air inlet for
quick connection of air hose.
2. Turn the compressor on and set the working pressure to 90 PSI max. for the tool.
IMPORTANT: Working pressure refers to the air line pressure under working conditions.
3.
Hold the blaster gun (5) rmly with both hands. Aim the nozzle (6) toward the work piece
to be blasted. Then squeeze the trigger (7) to start operating the blaster gun.
4. Move the blaster gun close to the area to be worked. The nearer you are to the
workpiece, the smaller the dispersion pattern and vice versa.

 Loading...