7
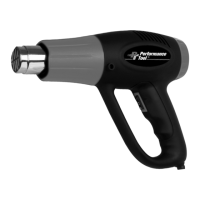
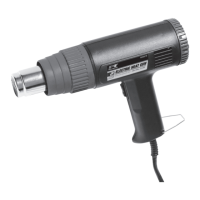
USING THE HEAT GUN
OPERATION
WARNING
READ ALL WARNINGS IN THIS MANUAL BEFORE OPERATING THIS TOOL.
1. Secure loose workpieces using a vise or
clamps (not included) to prevent move-
ment while working.
2. Plug heat gun into property rated outlet.
3. With the power switch in the "OFF" posi-
tion, familiarize yourself with handling the
heat gun. Find the switch and air intake
vent.
4. To use the cool blower feature, move
power switch to "I" position.
5. Move power switch to "II" position. Heat
gun will reach full operating temperature
in a few minutes.
NOTE Smoke may appear during the initial
start up due to the burning of manu-
facturing oils. The smoke should
disappear in less than a minute.
NOTICE If the blower motor in the heat
gun does not turn on when the switch is
set to either "I" or "II", turn the switch OFF
immediately. The heating element will
burn out if it is not cooled by the blower.
6. Move air intake vent to desired position.
To obtain maximum heat output, turn
the ventilation shutter so it covers the
ventilation openings. Open will provide
slightly cooler air.
NOTICE Do not block the air intake
openings opposite the adjustable intake
cover. The heating element will burn out if
too much air intake is blocked.
7. For maximum heating, place the nozzle
one (1) inch from the area to be heated.
CAUTION NEVER position the nozzle
closer than one (1) inch to the workpiece,
it could scorch or ignite. This will also
cause premature failure of the heating
element.
8. To reduce heat output, turn the ventila-
tion shutter to maximum opening and
move the nozzle away from the work.
9. The Heat Gun can be set on the adjust-
able stand to treat individual workpieces
by hand.
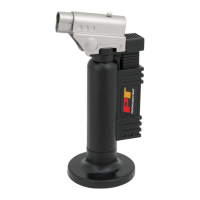
CONTROLS AND COMPONENTS
1. Three (3) Setting Power Switch
2. Air Intake Vent
3. Power Cord
4. Three (3) Position Steel Base
3
1
2
4