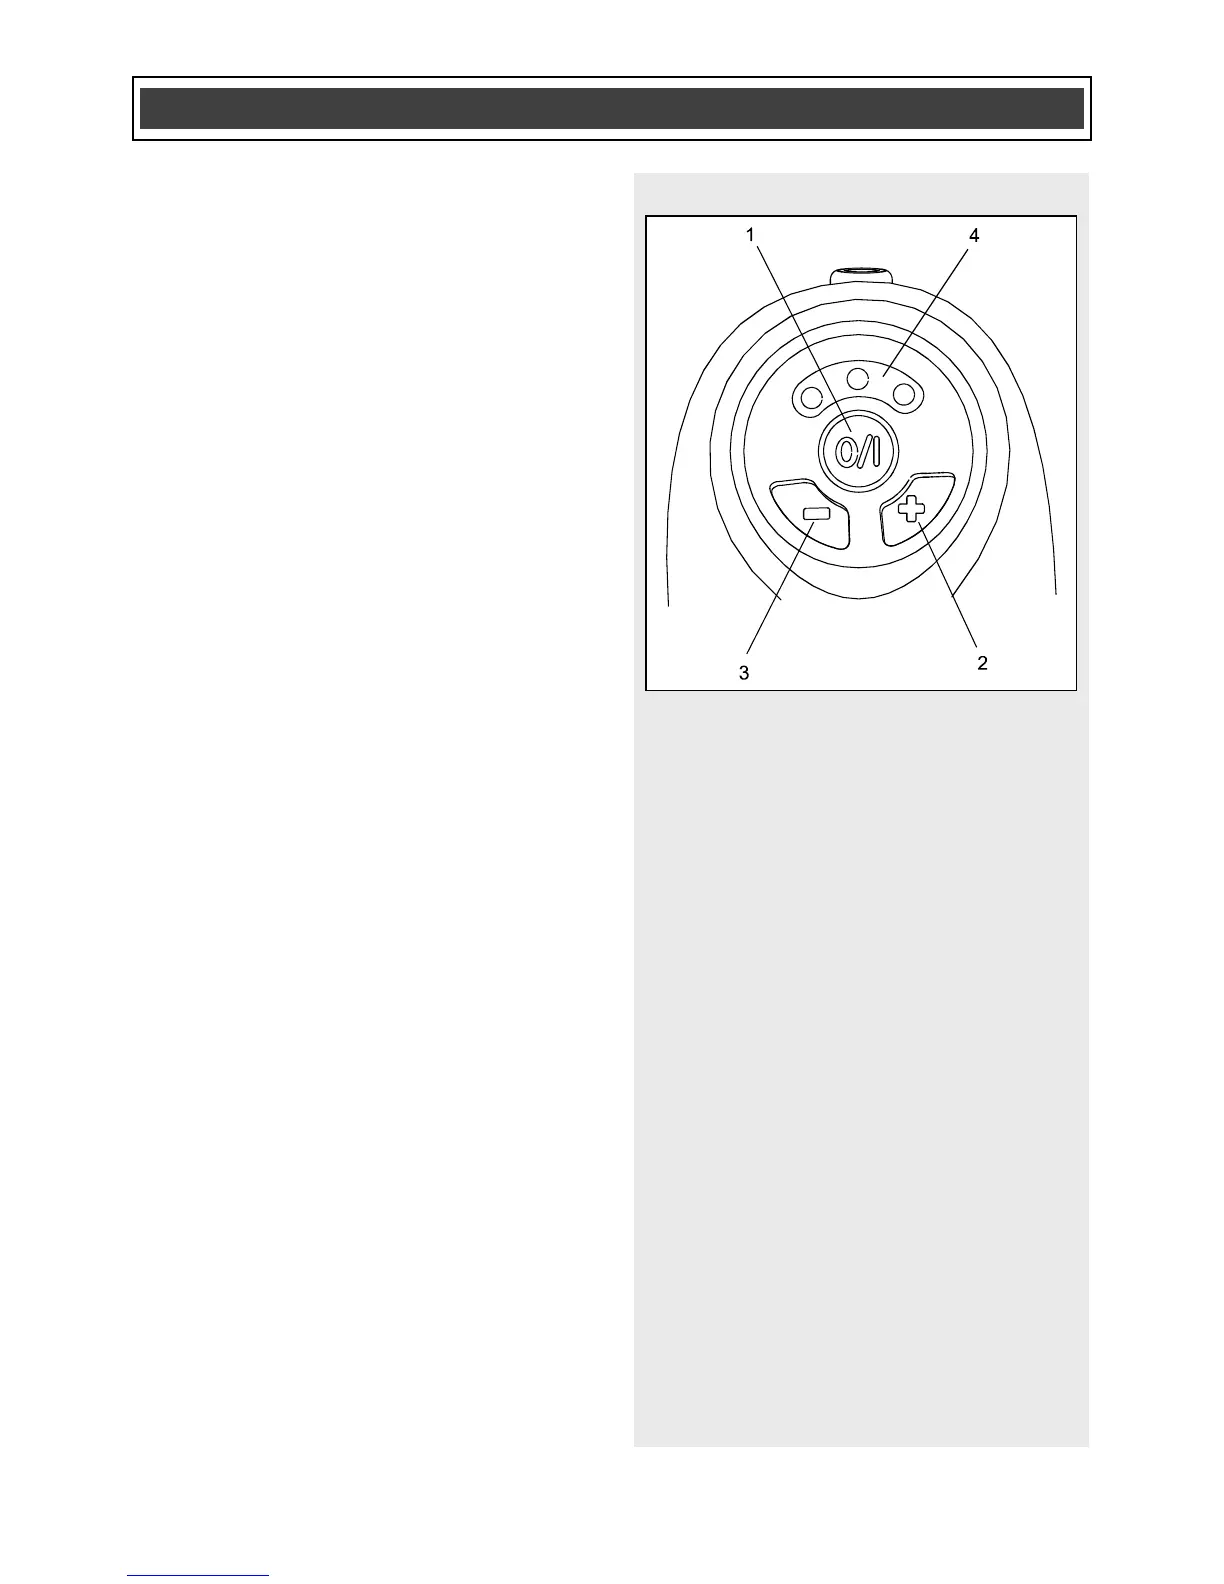
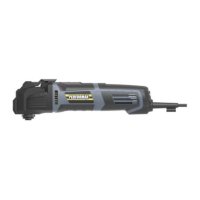
SPEED CONTROLS
Once the tool has been turned ON using
the ON/OFF switch (1), press the “+”
button (2) once to start the tool. The speed
can then be adjusted (Fig. 11).
NOTES:
a) The tool will automatically start in the
slowest speed.
b) Use slower speeds for sanding soft
delicate materials and when cutting
hard materials.
1. To increase the speed, press the “+”
button (2) once. Each time the “+”
button is pressed, the tool will
increase in speed until the maximum
speed has been reached.
2. To reduce the speed, press the “–“
button (3). Each time the “–“ button is
pressed, the tool will run slower until
the slowest speed has been reached.
NOTE: The LED’s within the LED panel (4)
will light up when the tool starts. These
LED’s will indicate the speed range at
which the tool is running as follows:
Green LED – indicates lower speeds
(1 through 5).
Green and amber LED’s – indicate
medium speeds (6 through 9).
Green, amber and red LED’s – indicate
the highest speed (10).
The speed setting will vary depending
upon the type of accessory being used, the
surface being worked and the complexity
of the project. For general
recommendations, see the chart on the
following page.