S1
S2
01
02
03
S4
3-3
3-2
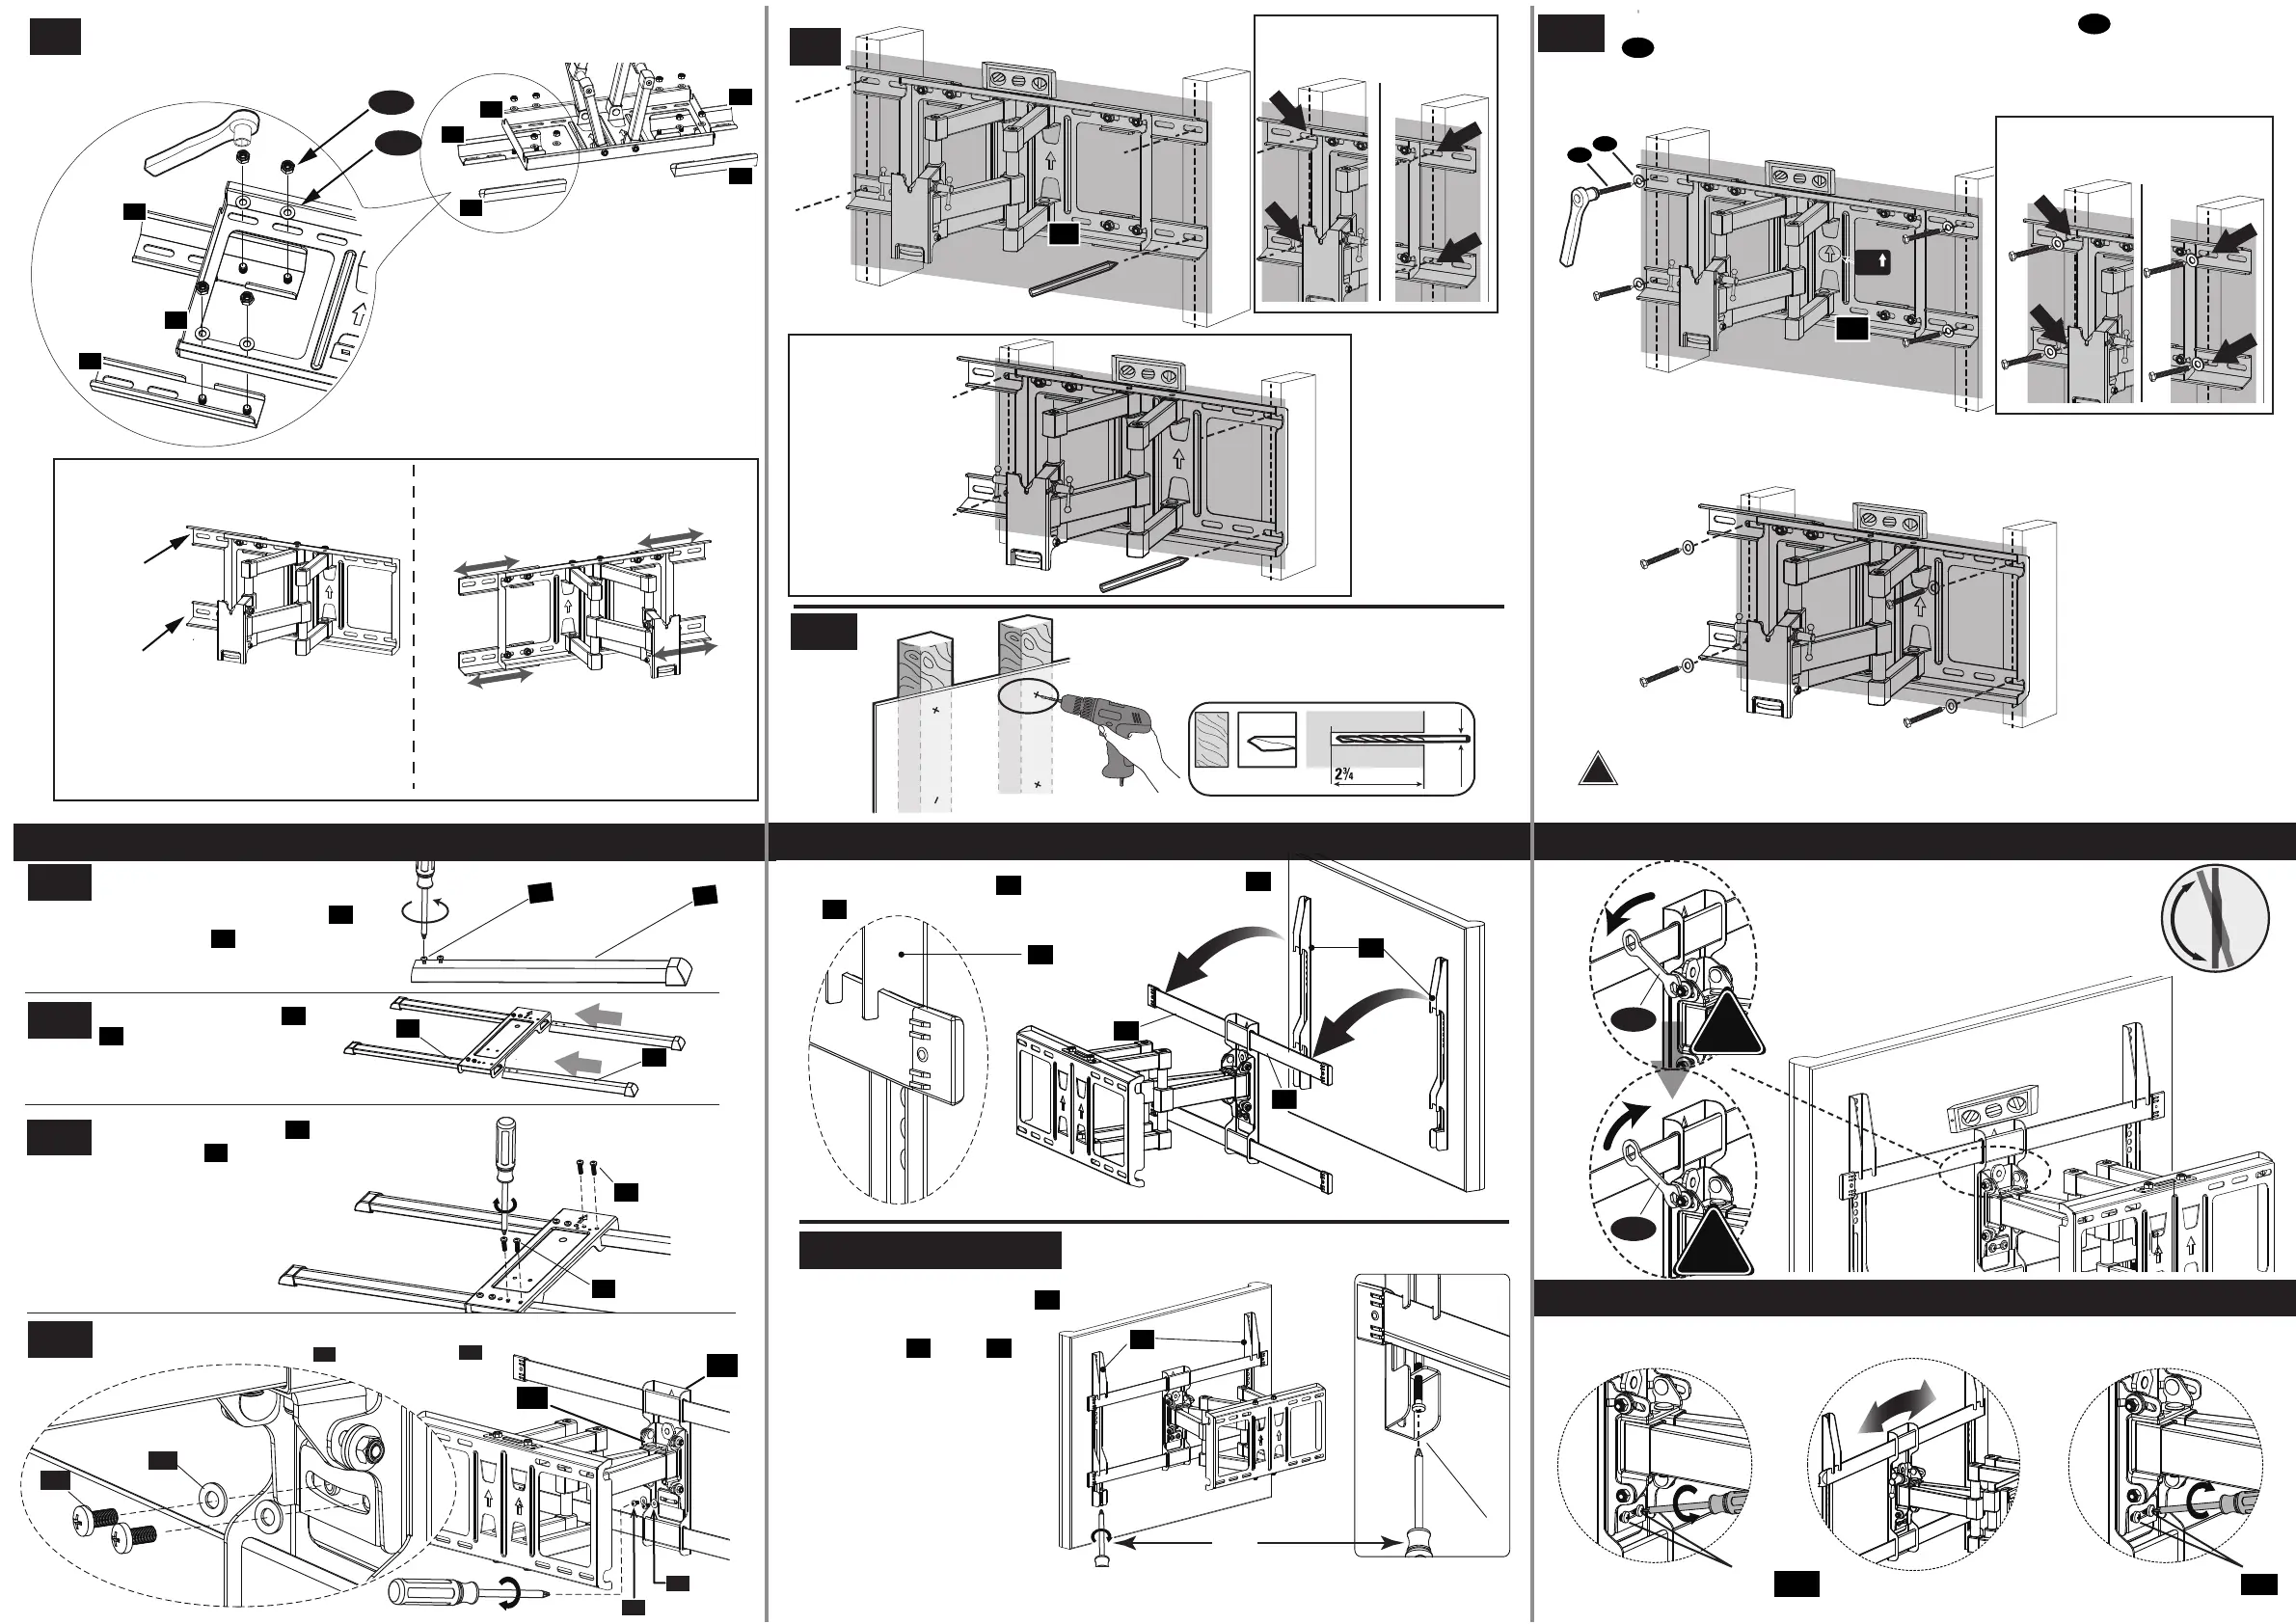
To adjust the tilt in both sides, loosen
both tilt levers and move panel to
desired position. Tighten both tilt levers
to hold desired tilt.
!
TIGHTEN
C
D
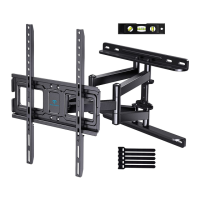
Use wall plate to mark mounting location
x4 locations for 24”space studs.
CAUTION:
Ensure the wall plate is securely fastened to the wall before continuing on to the next step.
!
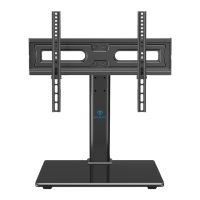
If needed, the TV can be leveled +/-3 degrees.
Loosen 2 screws [S1]
S1
Tighten 2 screws
S1
Level the TV
3-5
STEP 4
Insert the extensions into the
03
02
4-2
4-1
02
03
4-3
Fasten the Screws x4 removed from
extensions .
3-4
Drill 4 pilot holes using a 7/32 in. (5.5
mm) diameter drill bit. Make sure the
depth is not less than 2 3/4” (70mm).
7/32 in.
Ø5.5 mm
in. (70 mm)
S4
S4
4-4
S1
S2
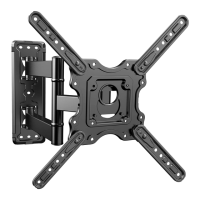
Hang 02 and 03 onto 01, and using Screwdriver secure with
pre-assembled screws and washer .
STEP 6
Secure TV with brackets
against the arm
extensions and
with the pre-assembled
screws [S3]
04
03
02
STEP 5 STEP 7 Tilt adjustment
STEP 8 Level adjustment
Hang TV with
brackets
04
onto the
arm
extensions
02
and
03
.
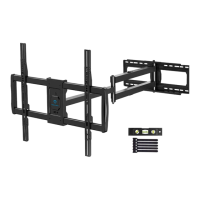
Install arm extensions then fasten it
6
7 8
9 10
11
Hang TV
Secure TV
Remove the pre-assembed screws
from the extensions and save them
to use.
03
03
S4
S4
Attach the Extensions to the wall plate
05
06
01
01
01
Mount wall plate using 4 sets of 5/16 lag bolts (a) and washers
B with a 1/2 in. socket wrench (not included).
A
A
B
2
B
UP
05
05
06
06
01
left
right
mark the 4 inside holes
for 18”space studs
left
right
Secure the lag bolts to 4 inside
holes for 18”space studs
Secure the lag bolts to 4 inside holes for
16.5” to 18”space studs
Secure the lag bolts to pilot
holes for 24”space studs
Extension B
Extension A
The wall plate extensions
can be moved 0.6” for
both side if necessary.
0.6in
0.6in
0.6in
0.6in
only one side need to attach each
of extensions A and B
for 18” to 24” space studsfor studs with the sapce between
16.5“ to 18”
Holes pattern for
16.5” to 18”
space studs
S2
S1
04
03
04
02
Screw
driver
[S3]
04
!
LOOSEN
E
E