EasyManua.ls Logo

Perlesmith PSLF2 User Manual

Perlesmith PSLF2
8 pages
To Next Page IconTo Next Page
Page #1 background imageLoading...
Page #1 background image
1
INSTALLATION INSTRUCTION
PSLF2
supportus@perlesmith.com
Thank you for choosing our product! We strive to provide the best quality and
services for our customers. Would you kindly share your experience on Amazon if
you are satisfied? Should you have any issues, please don't hesitate to contact us.
Telephone:800-5566-806 Mon-Fri 10am - 6pm (PST) (USA)
Email:supportus@perlesmith.com (US/CA/DE/UK/FR/IT/ES/JP/AU)
V2.0
Question and Answer IconNeed help?

Do you have a question about the Perlesmith PSLF2 and is the answer not in the manual?

Perlesmith PSLF2 Specifications

General IconGeneral
BrandPerlesmith
ModelPSLF2
CategoryRacks & Stands
LanguageEnglish

Summary

Installation Instruction

US Warning

Supplied Parts List

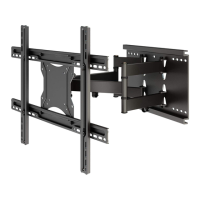
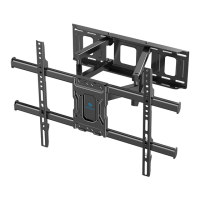
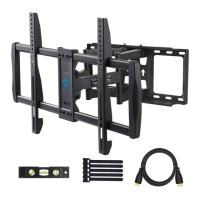
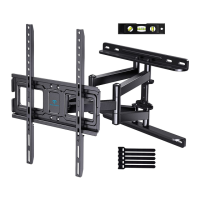
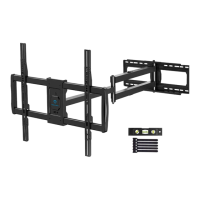
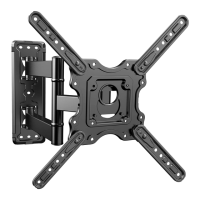
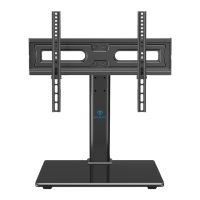
Lists all components included with the TV mount for installation.

Before Getting Started

TV Compatibility Checks

Verifies TV VESA size and weight capacity for compatibility.

Wall Material Compatibility

Determines if the wall material (e.g., drywall, concrete) is suitable.

Step 1: Mounting the Wall Plate

Installation for Brick or Concrete Walls

Instructions for mounting the wall plate on brick or concrete surfaces.

Installation for Wood Stud Walls

Instructions for mounting the wall plate on walls with wood studs.

Step 2: Install VESA Plate to TV

VESA 100x100, 200x100, 200x200 Mounting

Attaching VESA plate for specific VESA patterns using bolts and washers.

VESA 400x200 Mounting

Attaching VESA plate for VESA 400x200 pattern using bolts and washers.

VESA 300x300, 400x400, 600x400 Mounting

Attaching VESA plate for VESA 300x300, 400x400, 600x400 patterns.

Step 3: Mounting TV to Wall Plate

Connecting TV Plate to Wall Mount

Securing the TV plate to the wall mount using nuts and posts.

Step 4: Final Installation

Wire Routing and Level Adjustment

Routing TV wires and making final level adjustments.

Step 5: Installation Complete

Related product manuals