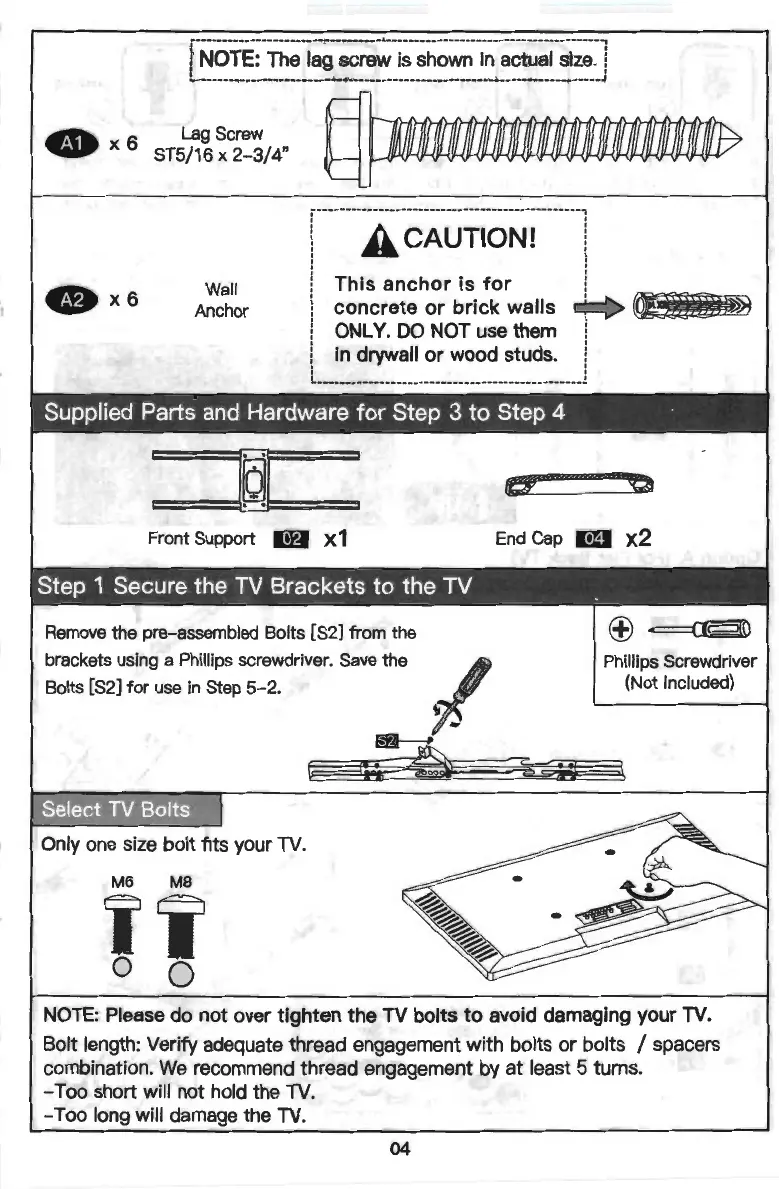
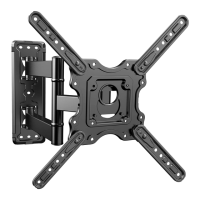
Remove
the pre-assembled bolts
[SJ
from the front support [02J and keep
them for the use in Step
4-3
.
--
------
-
----
-
--
-
--
---
--
-
----
-
--
-
---
-
---
-
--
---
-------
------
----------
Insert the end caps [04J to the end
of
front support [02J.
Tighten the bolts
[SJ
removed from Step 4-1 to secure.
~
Phillips
Screwdriver
(Not Included)
~
Phillips
Screwdriver
(Not Included)
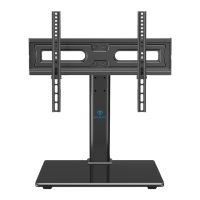
Remove
the preassembled bolts
[S1
J form the front support [02J and keep them
for
the
use
in
Step
4-5.
~
Phillips
Screwdriver
(Not Included)
~
7/16" (11mm)
Socket Wrench
(Not Included)
• ,
11',.----',--
S 1
11
-
---------
---
----
---
----------
--
---
--
---
--
--
---
---
----
-
-----------
-
--
·
-----.
!
NOTE:
The lag screw is shown
in
actual size. !
' '
I
••
•
•••
•••
•
••••
••••••
• • •
••--
-•
•
•••••
••-
--
••
-
--
• •
••
••
• • •
••••
••
• - -
••
•••••
••'
~
Lag Screw
~
X G ST5/16 x
2-3/4"
_ACAUTION! I
This
anchor
is
for
!
f»x6
Wall
Anchor
concrete
or
brick
walls
.++
(Q
ONLY.
DO
NOT
use
them i
_
__
in_
drywall_
or
wood_
studs.
____
j
=t
~ :
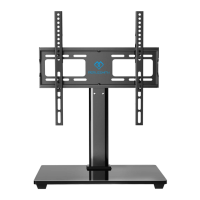
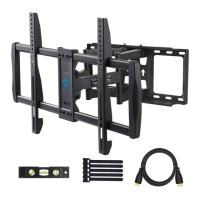
Front Support W X 1
Remove the pre-assembled Bolts [S2] from the
brackets using a Phillips screwdriver. Save the
Bolts
[S2J
for
use in Step
5-2.
Select
TV
Bolts
Only one size bolt fits your
TV
.
M6
MB
Ii
0 0
(f!f_
~
End
Cap
ml
x2
~
(±)
~
Phillips Screwdriver
(Not Included)
NOTE:
Please do not over tighten the
TV
bolts
to
avoid damaging your
TV.
Bolt length: Verify adequate thread engagement with bolts or bolts / spacers
combination.
We
recommend thread engagement by at least 5 turns.
- Too short will not hold the
TV.
-Too
long will damage the
TV
.
04