Return to Table of Contents
STEP 7.
STEP 8.
STEP 9.
STEP 10.
Residential Refrigeration
and Front Venting Commercial Refrigeration
Service Manual
Remove front panel from door assembly by re-
moving inner mounting screws (4 per side) from
perimeter of door assembly. See Figure 9-5 (for
concealed overlay fasteners, carefully remove the
door gasket by pulling out at the corner and then
working the gasket out of its track, See Section
9.5 for additional details).
Rotate front panel 180° top to bottom. Reattach
using same screw and mounting holes.
Figure 9-5. Removing Front Panel
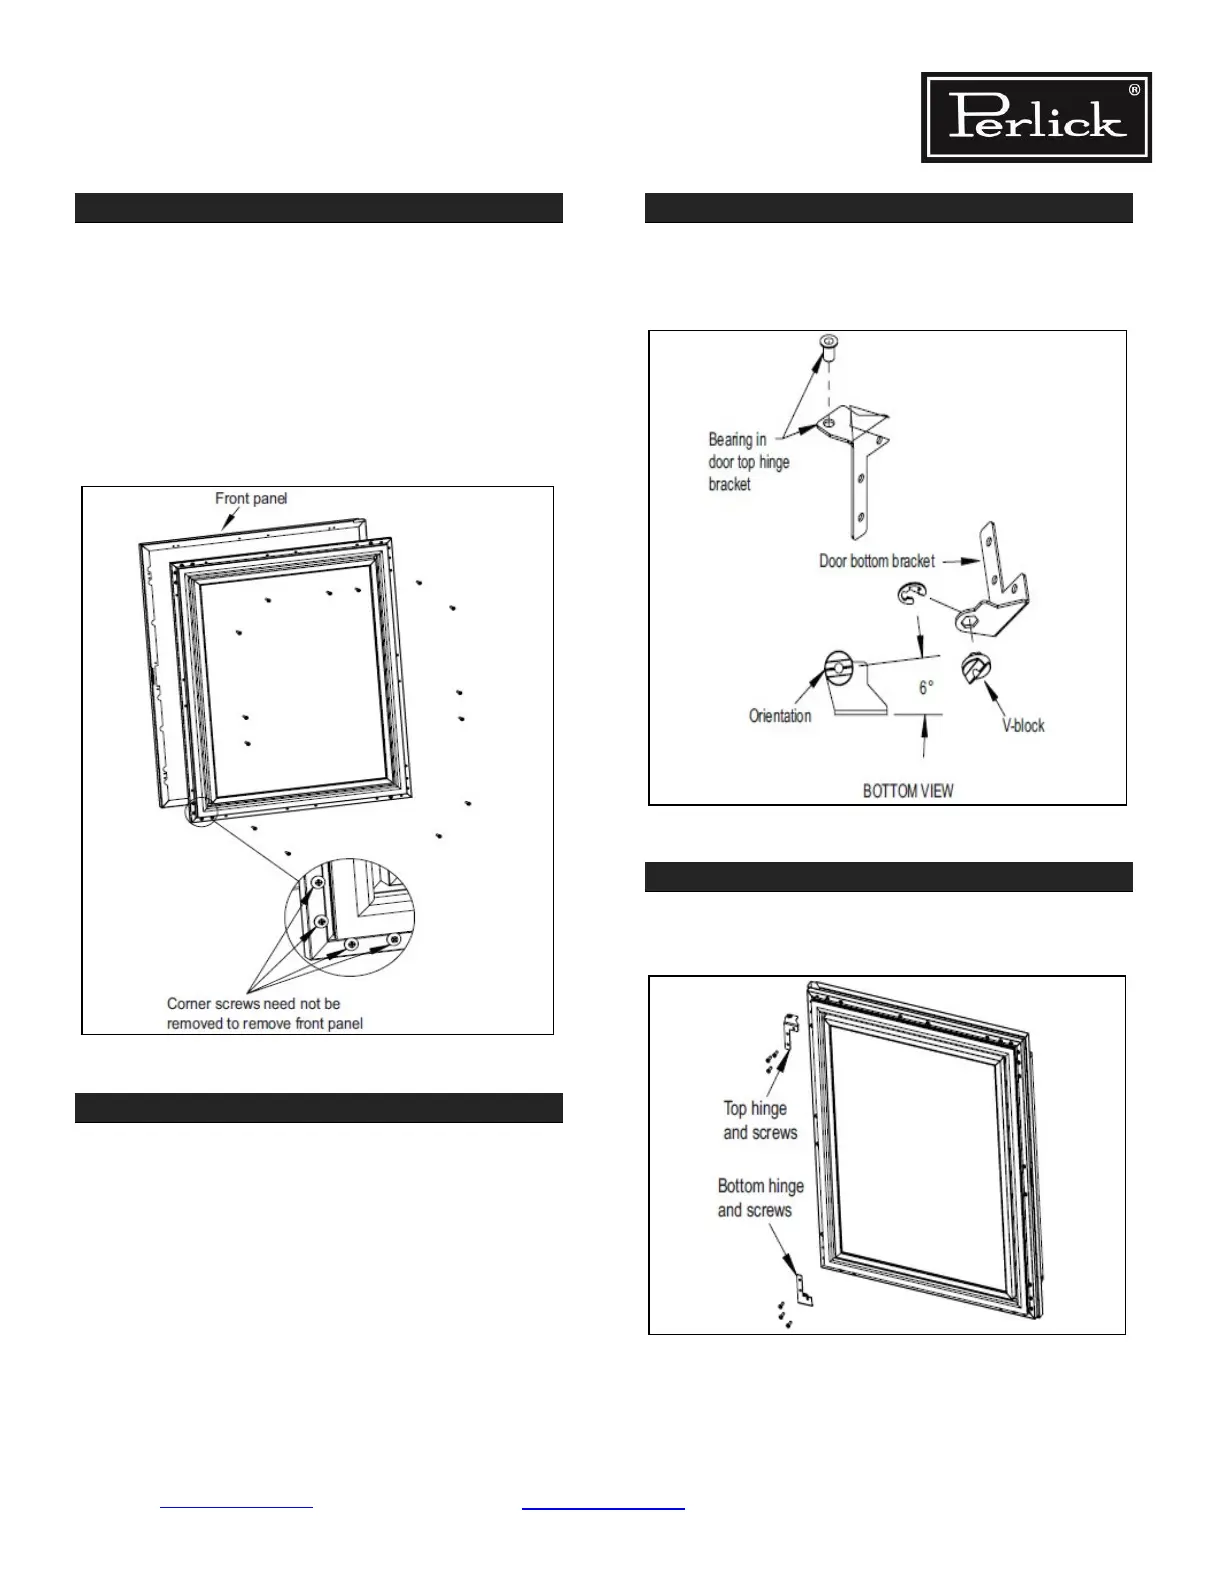
Insert bearing into door top hinge bracket. See
Figure 9-6.
Insert V-block into door bottom hinge bracket
and attach with e-clip. See Figure 9-6. Note the
orientation of V-block.
Figure 9-6. Bearing and V-Block
Attach top and bottom door hinges using screws
removed in STEP 6. See Figure 9-7.
Figure 9-7. Door Hinges
Replacement Parts Page 9-3
 Loading...