5
ENGLISH
ENGLISH
4
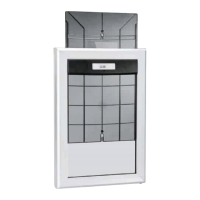
6. PAIRING COLLAR TAGS
1. Press the Tag Buon for 5 seconds or more (but less than 10). A Red LED will ash for 15
seconds, during this period the door is ready for you to pair a tag.
2. Hold the collar tag close to the door. A Green LED will ash to indicate that the tag has been
detected.
3. Press the Tag Buon for 5 seconds or more (but less than 10) to store the tag. The LED will
remain green for 2 seconds to indicate the tag has been successfully paired with the door.
You may pair up to 16 tags.
Old Tag: If the tag is already in the memory, the green led light will turn on for 2 seconds to
indicate it.
Memory full: If the memory is full, the tag reader funcon will
cancel and the LED will ash red for 2 seconds to indicate that no
more tags can be added.
7. WIPING ALL TAGS FROM THE MEMORY
In the unlikely circumstance you need to wipe all tags from the
doors memory, press the Tag Buon for 10 seconds or more, a
Red LED will light for 2 seconds to indicate that the memory has
been wiped and it is now empty (16 tags erased).
You may not erase an individual tag.
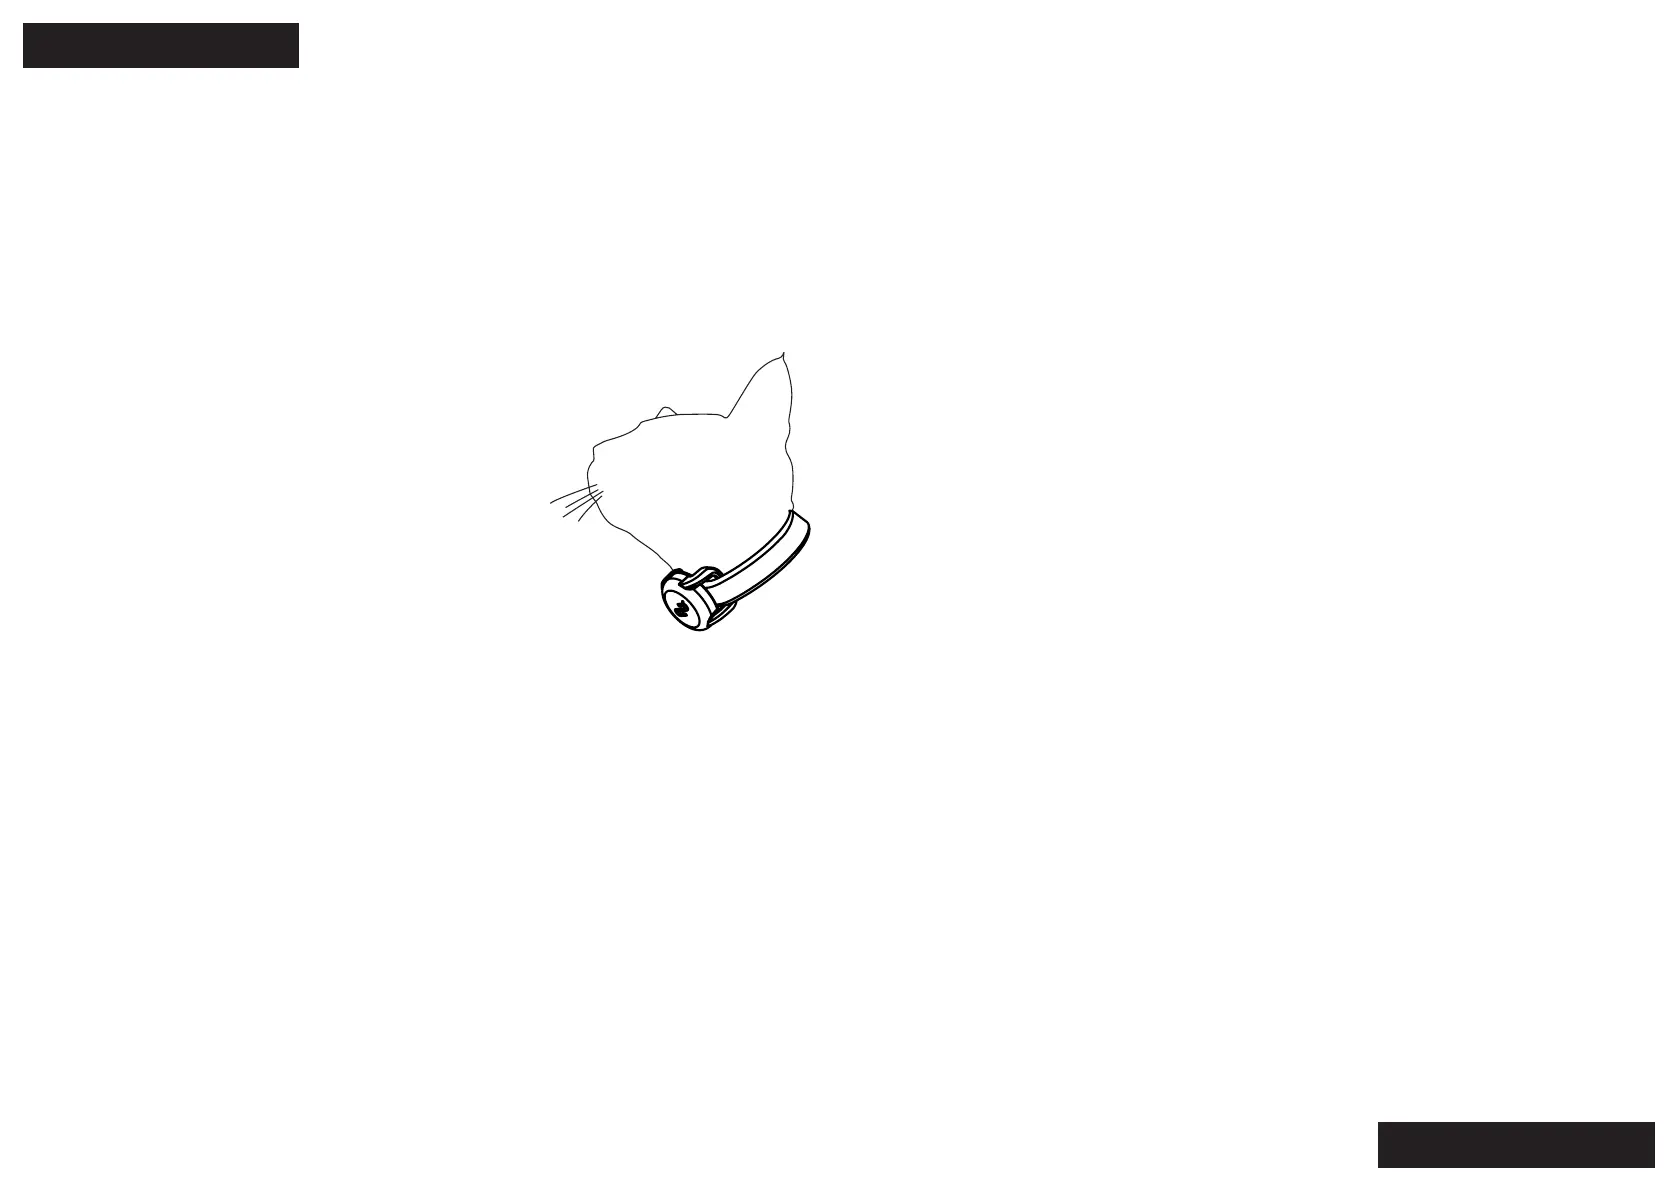
8. FITTING COLLAR TAG TO YOUR PET
To ensure the collar tags work well they should be aached directly to your pets collar and the
collar should not be over or under ghtened. The tag should sit on the front of your pet’s neck in
front of it’s throat.
9. REPLACING COLLAR TAG BATTERIES
Collar tag baeries will need to be replaced approximately every 12 months. Simply twist the
back cover o using a coin and swap the baery with a fresh new CR2032 cell. Ensure it is
inserted the correct way around with the posive side facing up.
Do not leave a baery in an unused tag. It will drain the baery.
10. LOW BATTERY INDICATOR
Low baery: When the baery is low the door will become unlocked (to prevent locking the pets
inside or outside) and a red LED will ash once a minute unl the baeries are dead.
The low baery indicator may last for a few days. You should replace the baeries or revert to
power as soon as you see the low baery indicator to keep the door operang normally.
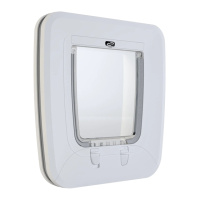
11. REPLACING THE DOOR FLAP
To remove the door ap press and hold the Power Buon for 5 seconds or more, (but less than
10), the Red LED will ash for 2 seconds to indicate that the door has been unlocked and turned
o. Be sure to turn it back on again once the ap has been replaced.
12. TROUBLESHOOTING
Symptom: The Door is not closed properly
• Check that the door is turned on and the baeries are not at
• Check the door ap for obstrucons and remove them.
Symptom: The door isn’t leng my pet in or out
• Check that the Cartridge is turned on and the baeries are not at, replace the baeries if
necessary
• Check that the collar tag is sll aached to your pet’s collar
• Check that both magnets are in the boom of the door ap
Symptom: The baeries are going at very quickly
The door is designed to be in sleep mode unl the cat acvates the door by touching the ap
which then switches the door to acve mode. Do not place the door in a windy locaon as the
ap may be acvated by a strong wind which will reduce the baery life.
Check the weatherseal on the ap to ensure there is no build-up of debris, prevenng the ap
from closing properly.
13. MAINTENANCE
Keep the door clean:
To prevent the door ap from jamming it should be kept clean and free of debris at all mes.