6 7
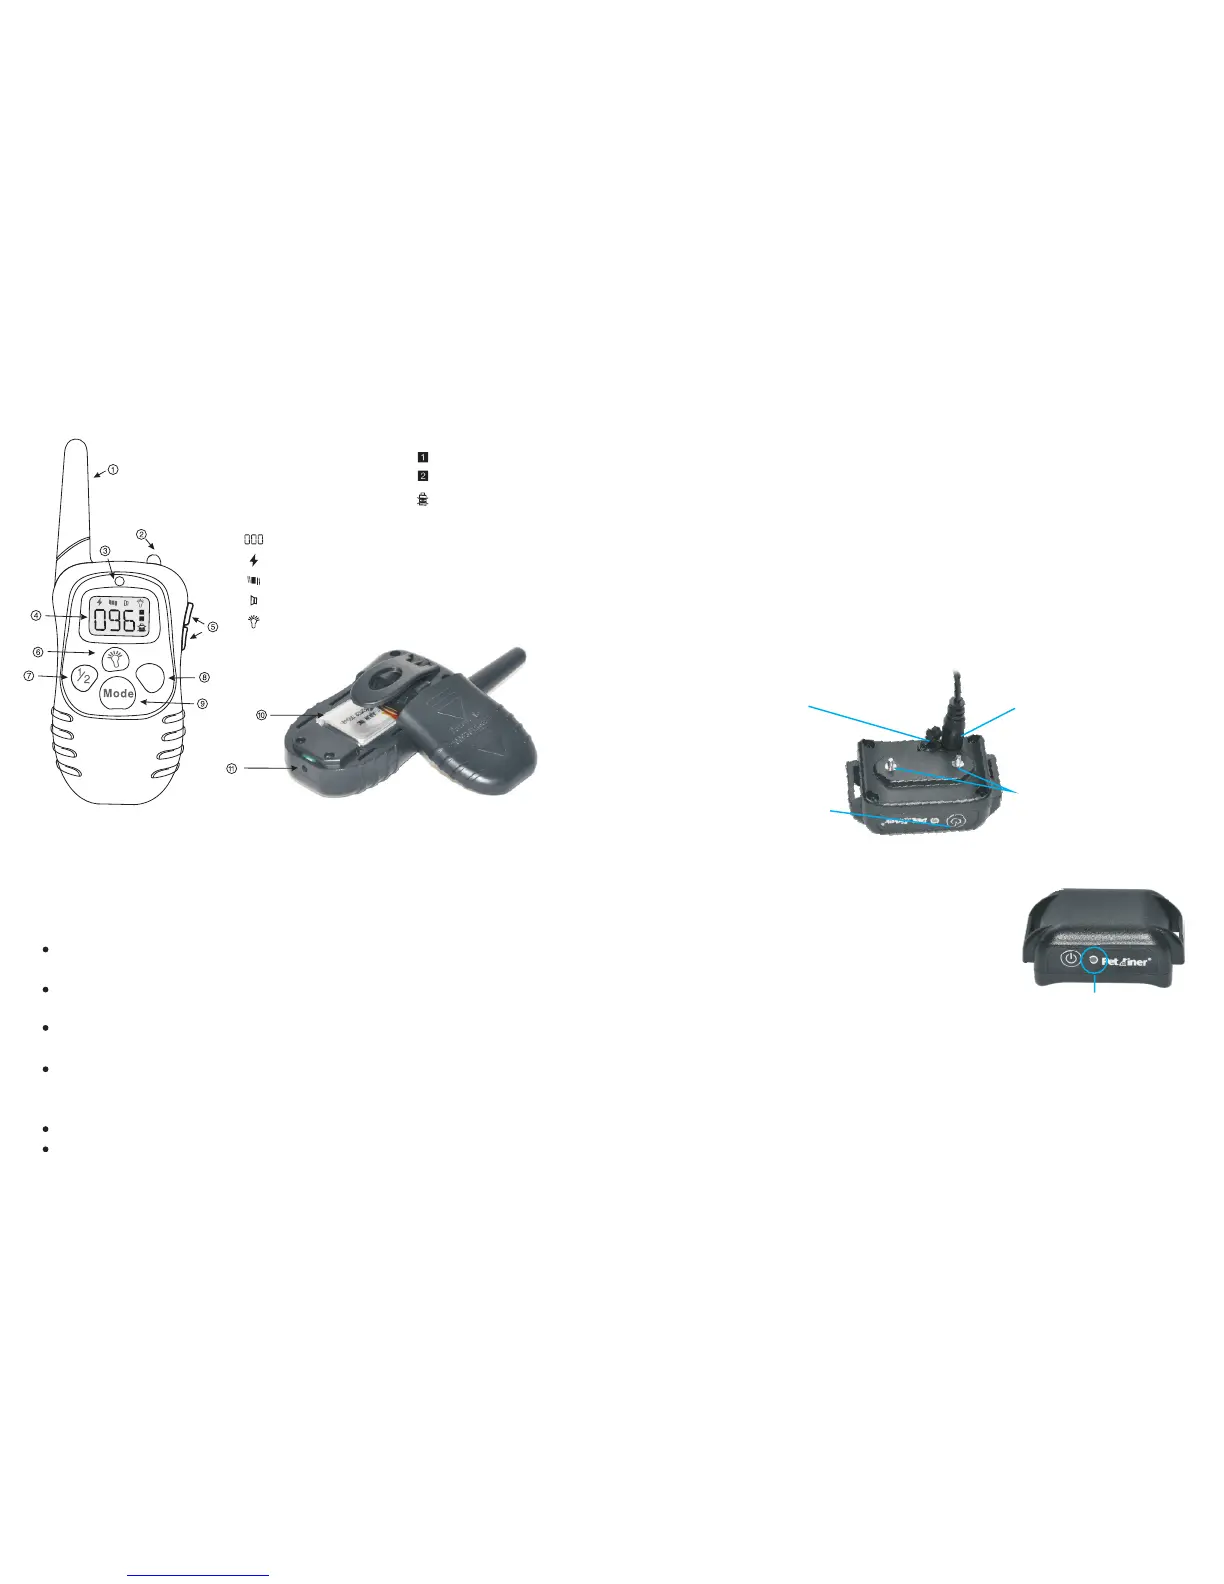
Key Definition
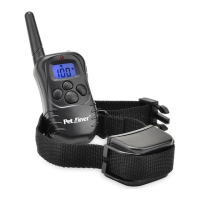
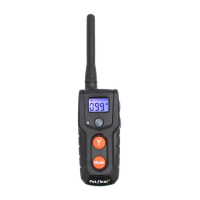
1. Antenna
2. Led light
3. LED Indicator
4. LCD Screen
Light mode
Static shock mode
1-100 level
Vibration mode
Beep mode
5. U
6. Led light button
7. Channel button
8. Launch button
9. Mode button
10. Lithium battery
11. Charging hole
p/down button
Channel 1
Channel 2
Low Battery Indicator
Y
1. Antenna: Transmits the signal from the Transmitter to the Receiver Collar.
2. Led light: This light will be on when pressing the LED light button.
3. Indication light: This light will flash when the “Y” button is pressed. The
will be activate when charging as well.
light
4. LCD display:
Static mode: With this mode selected, pressing the “Y” button will cause the
receiver to emit shock.
Vibration mode: With this mode selected, pressing the “Y” button will cause
the receiver to vibrate.
Beep mode: With this mode selected, pressing the “Y” button will cause the
receiver to emit a beep sound.
Light mode: With this mode selected, pressing the “Y” button will cause the
LED light on the receiver to flash green once every second. Its primary purpose
is to help locate your pet.
Channel 1: Indicates the selection of the first collar receiver.
Channel 2: Indicates the selection of the second collar receiver.
5. Up/down button: Selects intensity level for Vibration and Static Shock.
6. Led light button: When pressing the LED light button, the LED light on the
transmitter will be on.
7. Channel button: Pressing this button will swap between the first and second
receiver.
collar
8. Lau nch bu tto nSen ds the s i gna l from t r ans mit ter to re cei v er, res ult i ng in
stim ula tio n , beep o r li ght , depe ndi ng on you r mode s e lec tio n.
9. Mode button: Press this button to switch between modes. There are 4 modes:
Static, Vibration, Beep and light mode.
10. Lithium Battery: 3.7V 240 mAhLiP.
11. Charging hole: Insert charging connector into charging hole to charge the
Transmitter.
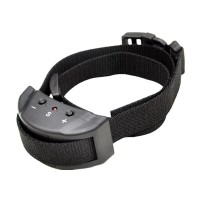
Contact Points: Deliver
the safe static correction.
Charging holes: Charge
for Receiver Collar.
Rubber Cover: Seal
charging hole to keep
from dust.
On/ Off/Encode Button:
turn on/off the Receiver
Collar and hold it to enter
encoding status.
A. When charging the battery, the red LED light
shows up and changes to green LED after fully
charged.
B. In LED Light mode, press the launch button, the
green LED in the Receiver Collar will flash every
one second.
C. W he n St and by, th e Re ce ive r Co ll ar w ill fla sh g re e n LED li gh t every four
seconds.
D. Af te r t ur n o n th e R e c e i v e r C ol la r, p r e s s a n d h ol d t h e O n / O ff / En c o d e
b ut t o n f o r 5 seconds to enter encoding period The green LED light will keep
flashing for 10 seconds to indicate the encoding time.
A B C D