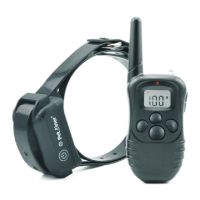
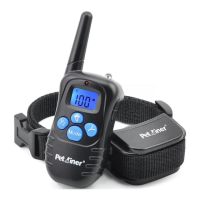
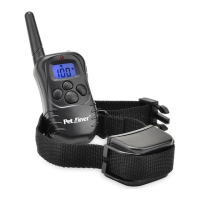
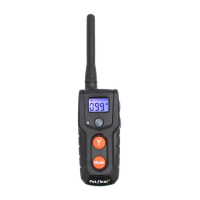
10 11
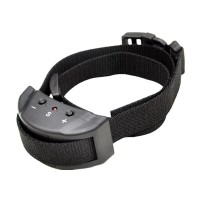
Test LED Light Function
Note:
Press LED light Button, LED
light will turn on, means LED
l i g h t b u t t o n w o r k s .
I: If LCD of Remote Transmitter does not display, there is probably two
reasons:
Important: If the transmitter is in sleep mode (the LCD display is turned
off) you must press the “Y” button once to wake up the unit, then press
the “Y” button again to send the signal from the remote to the collar
receiver. This applies to all functions.
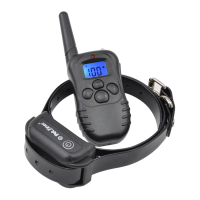
Test Static Shock Function
Take out the test bulb from the
package and place its metal wire
against the Receiver Collar ’s
Contact Points.
Press Mode button on the Remote
Transmitter, switch to Shock
Mode, confirm using the LCD
di s pl a y th a t t h e s t i m ul a ti o n
level is not at 0, you can press
the UP/DOWN button on the
right side to adjust.
Press Y button, test bulb will flash, that means Shock function works.
To Test Petrainer Rechargeable and Waterproof
LCD Remote Pet Training System:
The sta tic impu lse rel e ased by th e R e ceiv er Coll a r ca nnot be se e n
with na ked eye. You can tes t th e St imul a tion wi th this met hod:
Step
5. Onc e t he Rec eive r Coll ar beep s and beg ins to fla sh, pr ess the Y
butt on on the Re m ote Tran smit ter im medi atel y.
Note: Pairing has to be finished within 10 seconds after the 1st beep
the Receiver Collar. Meaning, you have to press the Y button within 10
st
seconds of the 1 beep for pairing to be completed.
from
nd
6. You will hea r a 2 beep from the Receiver collar, if pa iring is done
successfully.
7. If pairing a second Receiver Collar, repeat steps 2 to 5, but choose
other channel that the first Receiver Collar is not paired to.
the
Note: Factory’s default is set to pair within 10 seconds after turning on the
Receiver Collar. When pairing the 1st Receiver Collar, don’t put the second
st
Receiver Collar into pairing status at the same time as the 1 Receiver
Collar, to avoid pairing on the same channel.
Note: If wanting to test the shock function on yourself, please ensure
your finger or hand is across both contact points to ensure the connection
is complete. Otherwise, user will feel no stimulation.
Test Vibration Function
P r e s s M o d e b u t t o n o n t h e
Remote Transmitte r, switch
to Vibrate mode, confirm using
t h e L C D d i s p l a y t h a t t h e
stimula t ion le ve l i s n o t a t 0 ,
y o u c a n p r e s s U P / D O W N
b u t t o n o n t h e r i g h t s i d e t o
adjust.
PressY button, Remote Collar
will vibrate, that means Vibration
Function works.
Test Beep Function
Press Mode button of Remote
Transmitter, switch to Beep
Mode.
Press Y button, Receiver Collar
wi ll be ep , tha t mea ns B eep
Mode works.
4
 Loading...