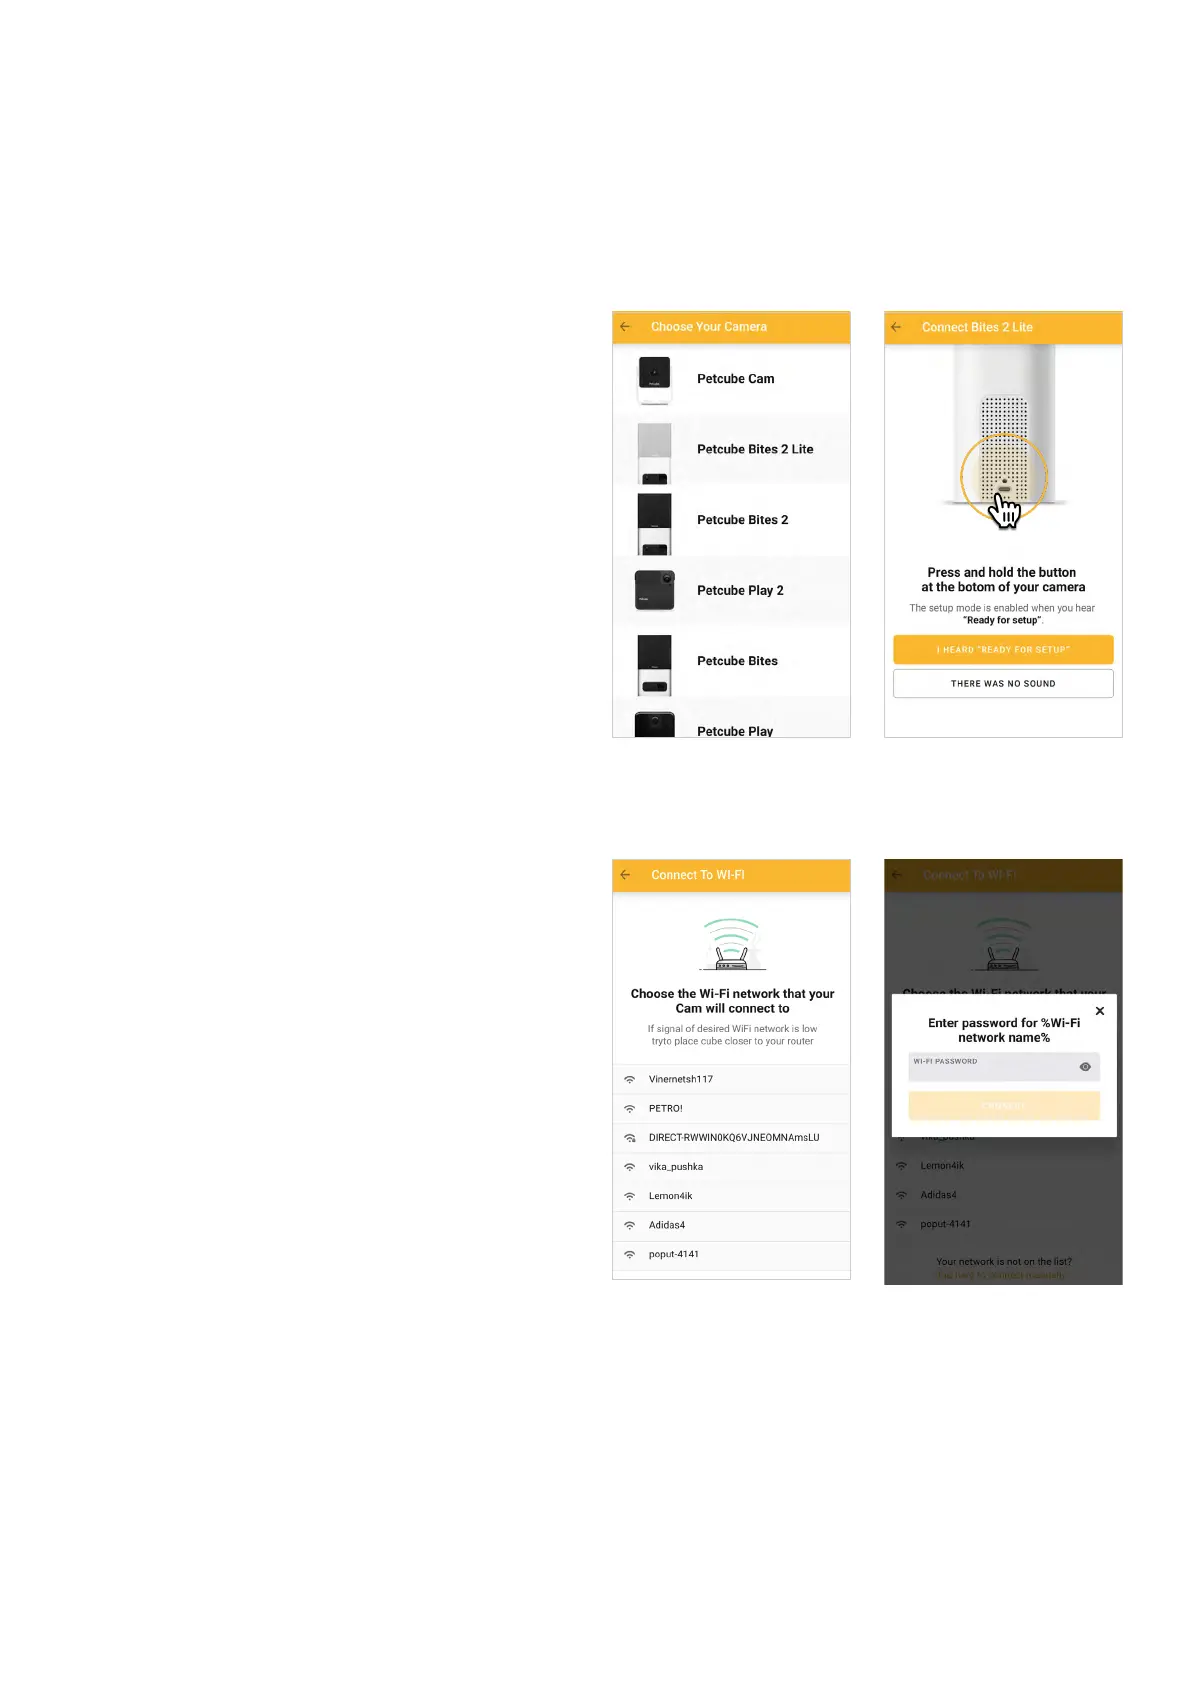
9
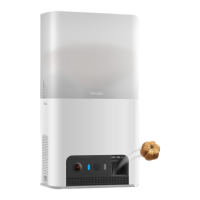
press the start button at the bottom
of the camera until you hear a short
jingle and a message saying «Ready
to Connect», and tap ‘I heard «Ready
to Connect» on the screen.’ (fig 4.2.6).
Step 6. Choose Wi-Fi network
to connect your Petcube to and enter
Wi-Fi password. Keep in mind that only
2.4 Ghz Wi-Fi networks are supported
by Petcube Bites 2 Lite. Please make
sure you are connecting to 2.4 Ghz
Wi-Fi network (figs 4.2.7 & 4.2.8).
Step 7. A QR code will be generated
on your phone screen. Hold your
camera at the 5-inch distance with
the lens facing the QR code until you
hear a message saying «QR code
scanned», check the box, tap ‘Next’
(figs 4.2.9 & 4.2.10).
Step 8. Your Petcube device is almost
set! Please wait until it connects and
the light on the front panel turns blue
(figs 4.2.11 & 4.2.12).
Step 9. Once the LED light on your
Petcube changes to solid blue, you
are ready to play with your Petcube
(figs 4.2.13 & 4.2.14).
Fig. 4.2.6Fig. 4.2.5
Fig. 4.2.7 Fig. 4.2.8