petsafe.com
6
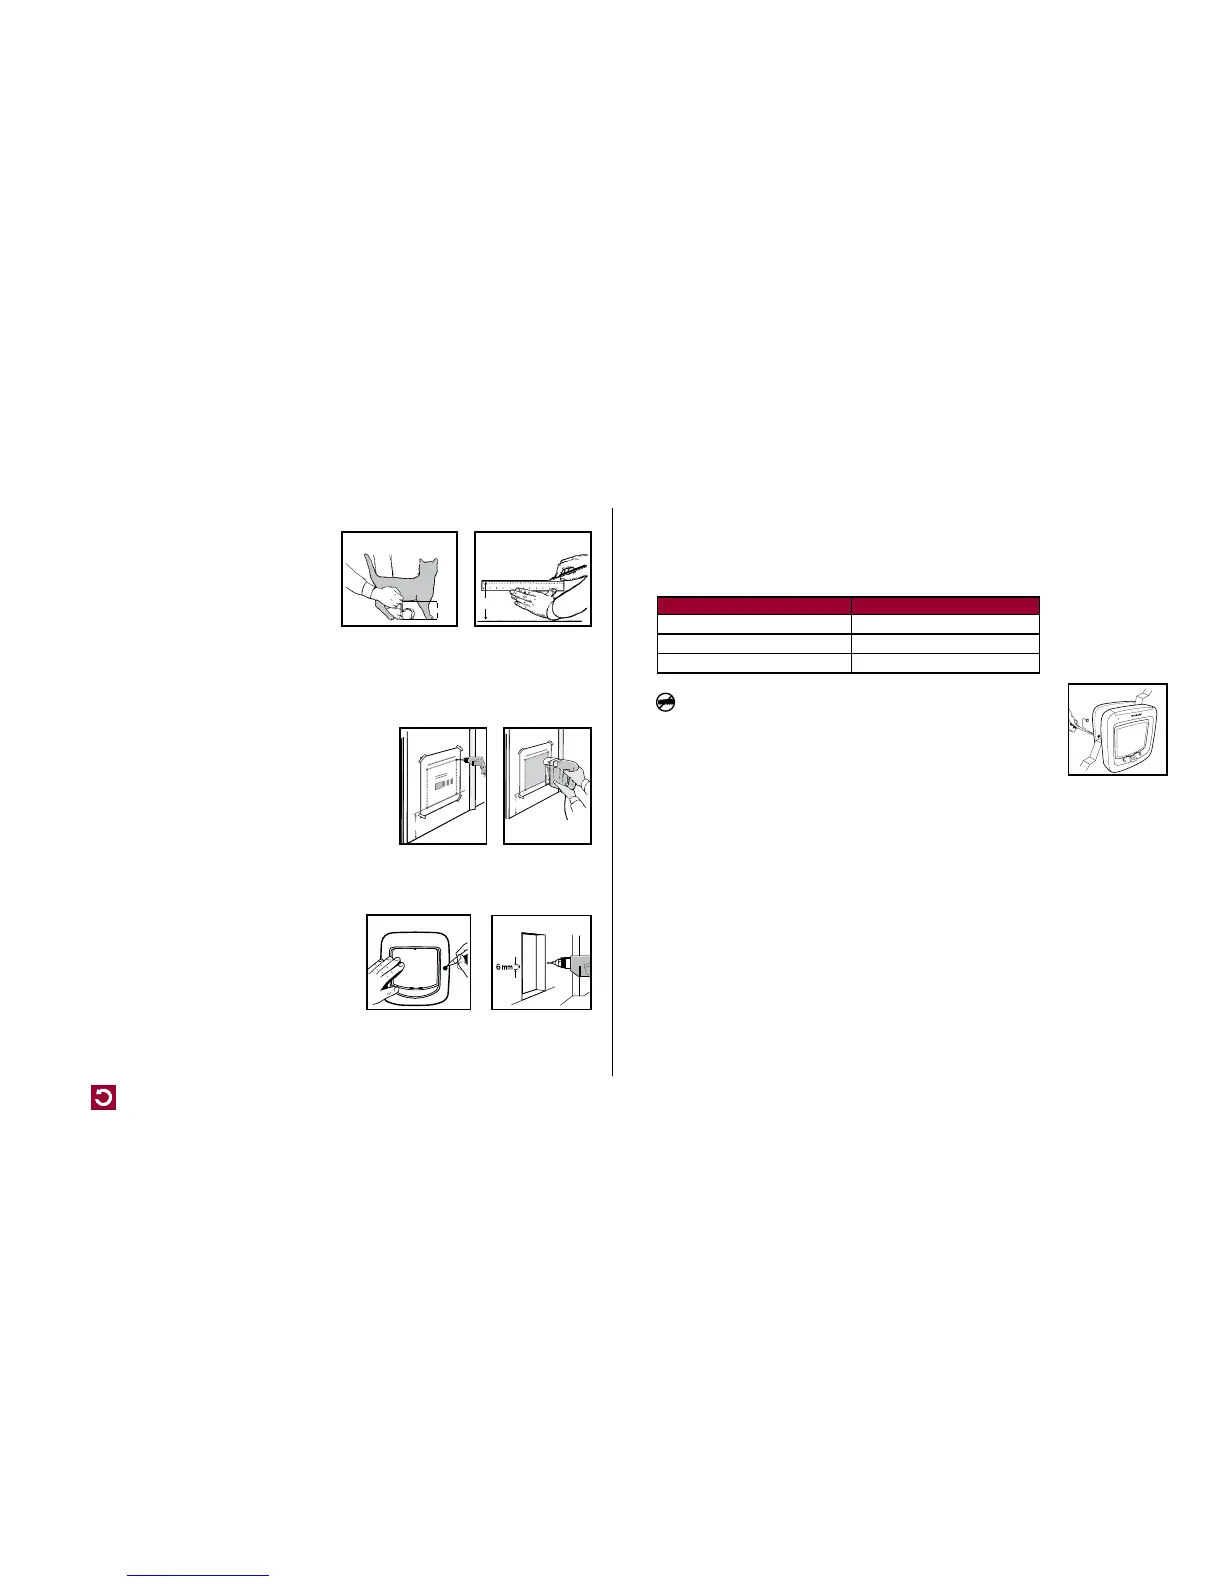
Installation – Measurement and Marking
Measure the belly height of your cat. This is usually
100 mm –150 mm (Fig. A).
Mark this measurement on the outside of your door
and draw a straight horizontal line 168 mm long
(Fig. B).
Please keep in mind that this horizontal line will
eventually be the bottom of the hole you will cut in your door. The frame of the pet door will
be larger. If necessary, this line may have to be lowered slightly to fit the closing panel in some
door designs.
Installation – Wooden, PVC, or uPVC Doors
1. Attach the supplied Cutting Template to the outside of
your door in the correct position ensuring that it is the
right way up and level (Fig. C).
2. Using the template, drill the first corner hole in the upper
right hand of the template with a 12 mm drill bit. Check
to see if your door has a metal core or metal plate. If so,
refer to the Metal and Metal Core Doors section of this
guide. If no metal core is found, drill all four corner holes
through the door. Please ensure the drill remains straight and level.
3. Using a jig or key-hole saw, cut along the dashed line as indicated on the Cutting
Template (Fig. D).
4. Temporarily place both frames into the cutout.
Level the cat flap until it is in the proper position.
On the outside, use a pencil to mark screw holes
through the holes on the exterior frame (Fig. E).
Remove the cat flap and drill the screw holes with
a 6mm drill bit (Fig. F).
5. Clean the area from any dust, dirt or debris.
(x)
(X)
Fig. C
(X)
Fig. D
Fig. E
Fig. F
6. Place the interior frame (with attached tunnel) into the hole from the inside. Align the exterior
frame to the outside of the door. Three different lengths of screws have been provided with this
cat flap. Select the appropriate length. Using a manual screw driver, screw the exterior frame
through, the holes in your door, to the interior frame.
Screw Selection Guide
Cut-Out Thickness Screw Length
Less than 8 mm 28 mm screw
8 mm – 31 mm 50 mm screw
32 mm – 55 mm 73 mm screw
Important: Do not cut the tunnel. Key components are contained
within the tunnel and any alteration to the tunnel will affect functionality.
7. When the installation of the cat flap is completed, place the two blanking
plugs over the screws on the exterior frame. The cat flap is ready to
use (Fig. G).
Installation – Metal or Metal Core Doors
Installation of the cat flap into a metal door or a door with a metal core plate will require some
modifications. The presence of metal can interfere with the performance of the cat flap including
a reduction in read range of the microchip. If you experience poor performance you may need to
purchase and install an Installation Adaptor and follow the instructions in the Installation – Glass
Doors or Windows section of this guide.
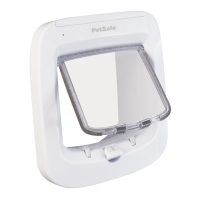
Installation – Glass Doors or Windows
The PetSafe
®
Microchip Cat Flap is also designed for installation into glass and requires a circular
hole with a diameter of 212 mm and an Installation Adaptor (sold separately). Your glazier will
need to cut a circular hole of diameter 212 mm as per the cutting template. Once a glazier has cut
the hole in your glass door or window please follow the instructions below for installation.
1. Slide one adaptor plate over the tunnel on the interior side of the frame of the cat flap.
2. From the interior of home, install the cat flap into opening.
3. From exterior of home, slide second adaptor over the tunnel of the cat flap.
Fig. G