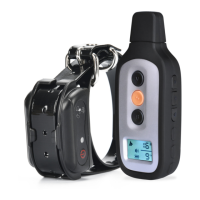
PREPARING RECEIVER COLLAR FOR YOUR FIRST USE:
Make sure that Receiver Collar is charged before proceeding to the training:
1. Carefully open the rubber cover over the charging port and connect the charger.
2. Red LED light will indicate that receiver is charging. It takes about 3 hours to fully
charge it. Make sure to unplug the collar aer 3 hours to avoid battery damage.
3. Put the rubber cover back over the charging port to ensure collar is fully waterproof.
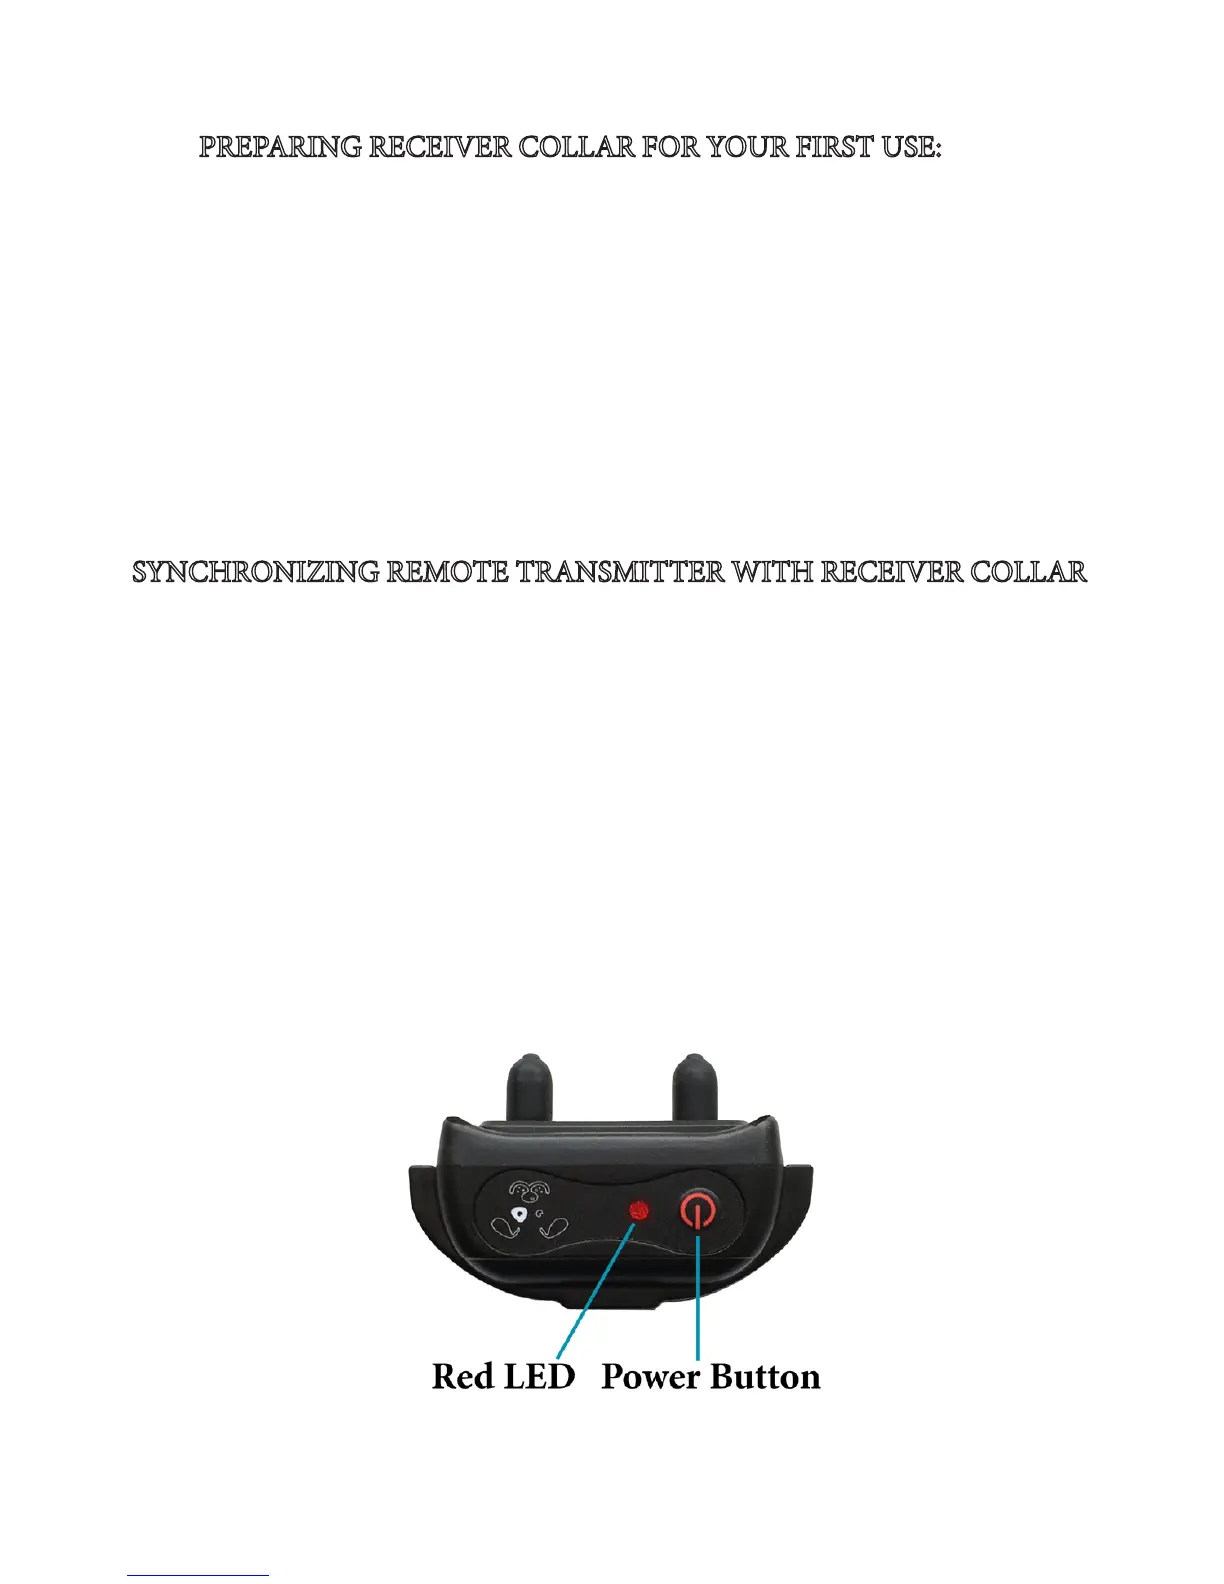
4. Press the Power Button to turn it on. e red LED will start ashing every 4-5 sec-
onds.
5. When Receiver is charged and turned on, it always stands in the Sleep/Standby Mode
waiting for any command (e.g. Shock, Vibration or Beep) to activate it.
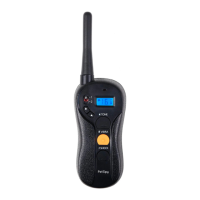
SYNCHRONIZING REMOTE TRANSMITTER WITH RECEIVER COLLAR
Sometimes the collar can loose connection with remote. e x is pretty quick and
simple. Follow these steps to re-synchronize the system:
1. Make sure that both the Transmitter and Receiver are fully charged and turned on.
2. Press and hold the Power button on the Receiver Collar for about 5 seconds to enter
the Synchronization Mode - the receiver will beep and red LED will start ashing fast.
3. While red LED is ashing, send any correction command from remote. We recom-
mend you to send a Vibration command by pressing and holding the Vibration button
on remote until you feel that collar vibrating. If no command is sent, the ashing will
stop aer 10 seconds.
4. e system is now resynchronized - try to send any command to test it.
If you have 2 collars, repeat the above steps for both collars A and B. Make sure to set
the Remote to mode A when synchronizing the rst collar, and then switch it to B to
synchronize the second collar.