Step
2
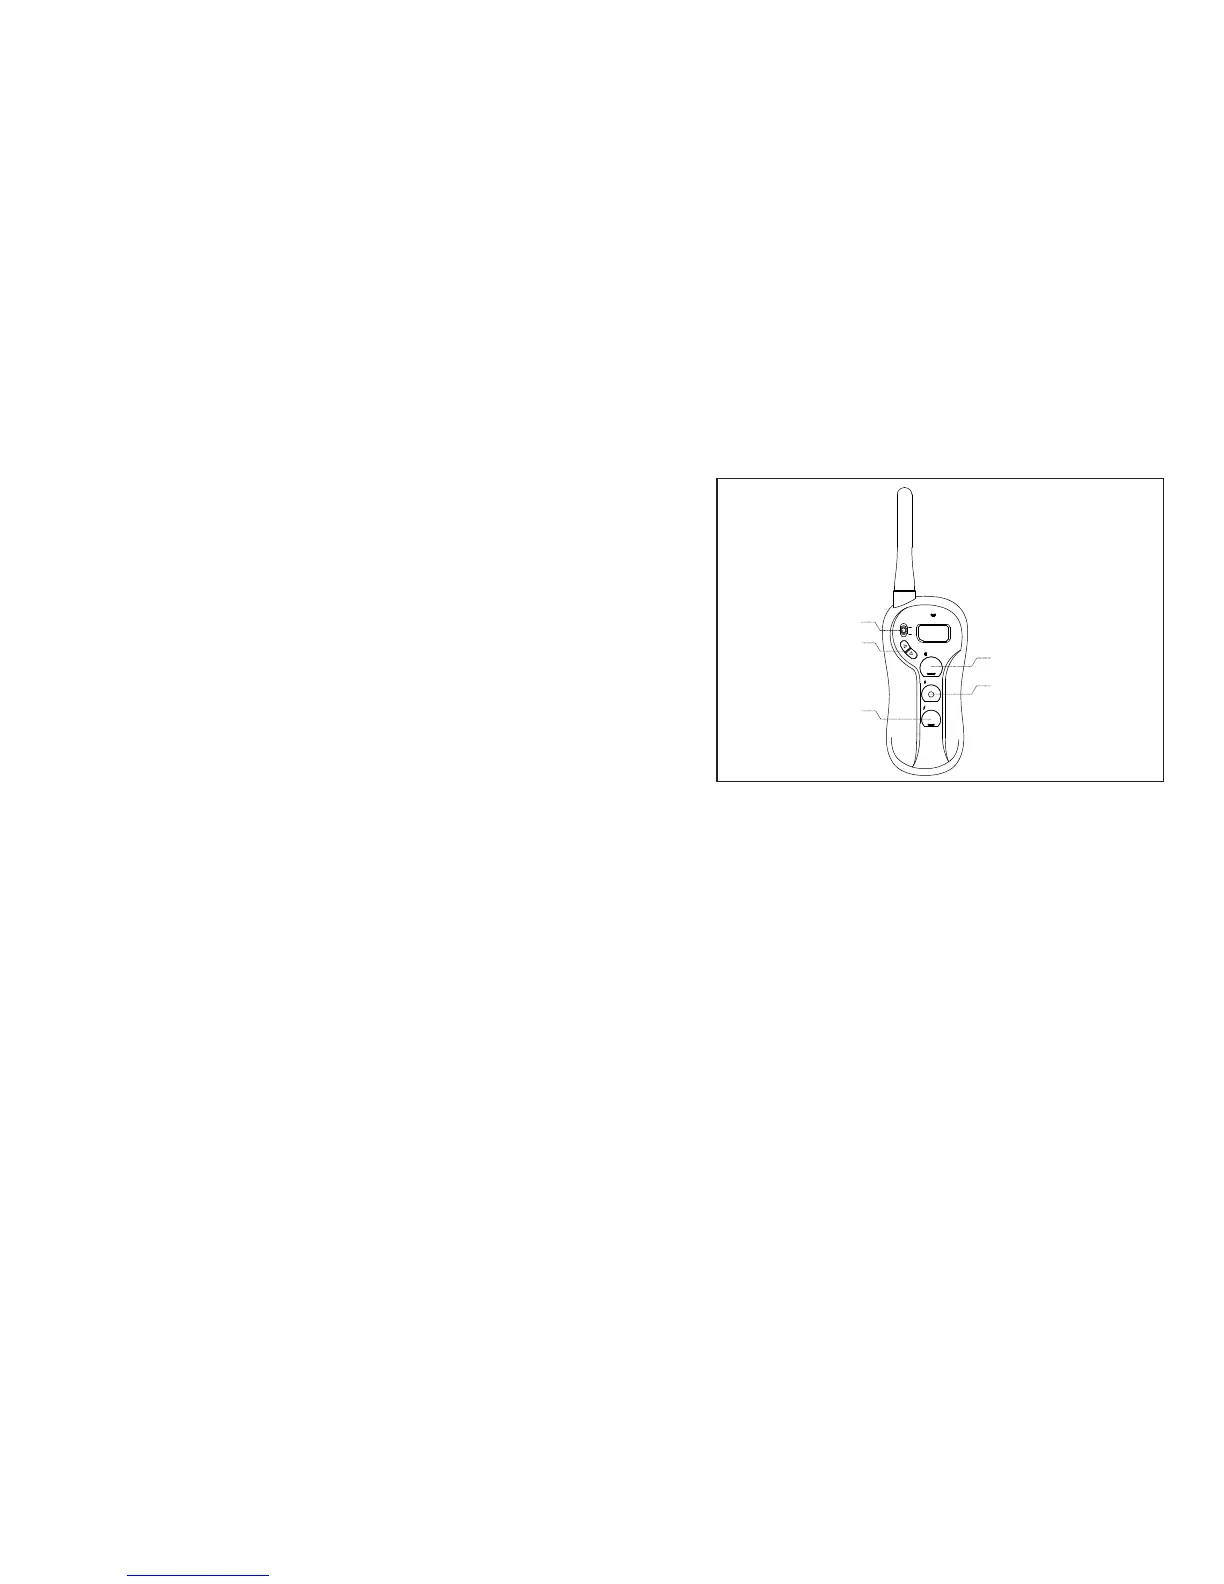
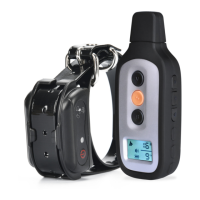
How the Transmitter buttons work
TONE
Button (Black with Bar)
SHOCK
Button (Black with Bar)
Up/Down
Button
VIBRA
Button ( with Dot)Orange
Dog 1/2 Toggle
TONE
VIBRA
SHOCK
1
2
Tone Only Button (Black with Bar):
Sends an audible tone to the collar. No stimulation is delivered.
Vibration Only Button /Shock Only Button(Orange with Dot) (Black with
Bar):
Delivers vibration/shock through the Contact Points on the Receiver
Collar at the level shown on the Digital Display. When held down for 10
consecutive seconds, the Transmitter will “time-out”, and
vibration/shock cannot be delivered for 5 seconds. You must release
and press the button again after the 5 second time-out period, before
additional shock can be delivered. vibration/
Dog 1/2 Toggle Switch
Located on the upper left face of the Transmitter is a toggle switch,
allowing switch between Dog 1 and Dog 2.
Vibra/Shock Up Button ( ): Increases vibration/shock Level by 1.
Vibra/Shock Down Button ( ): Decrease vibration/shock Level by 1.
10
11
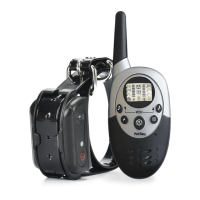
To turn the Receiver Collar on
1. Press and hold the On/Off Button until the Green LED light comes on.
(This takes approximately one second.)
2. Release the On/Off Button.
To turn the Receiver Collar off
1. Press and hold the On/Off Button until the Red LED light shuts off.
(This takes approximately three seconds.)
2. Release the On/Off Button.
Note: To extend the life of the batteries, turn the Receiver Collar off when it is
not in use.
In normal mode, the Green LED will flash once every 5 seconds,
indicating the Receiver Collar is on and ready to receive a signal from
the Handheld Transmitter.