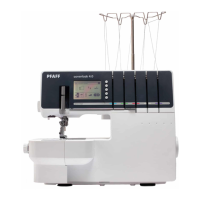
coverlock 3.0
german desig
n
A
B
C
ATD
A
Preparations 7
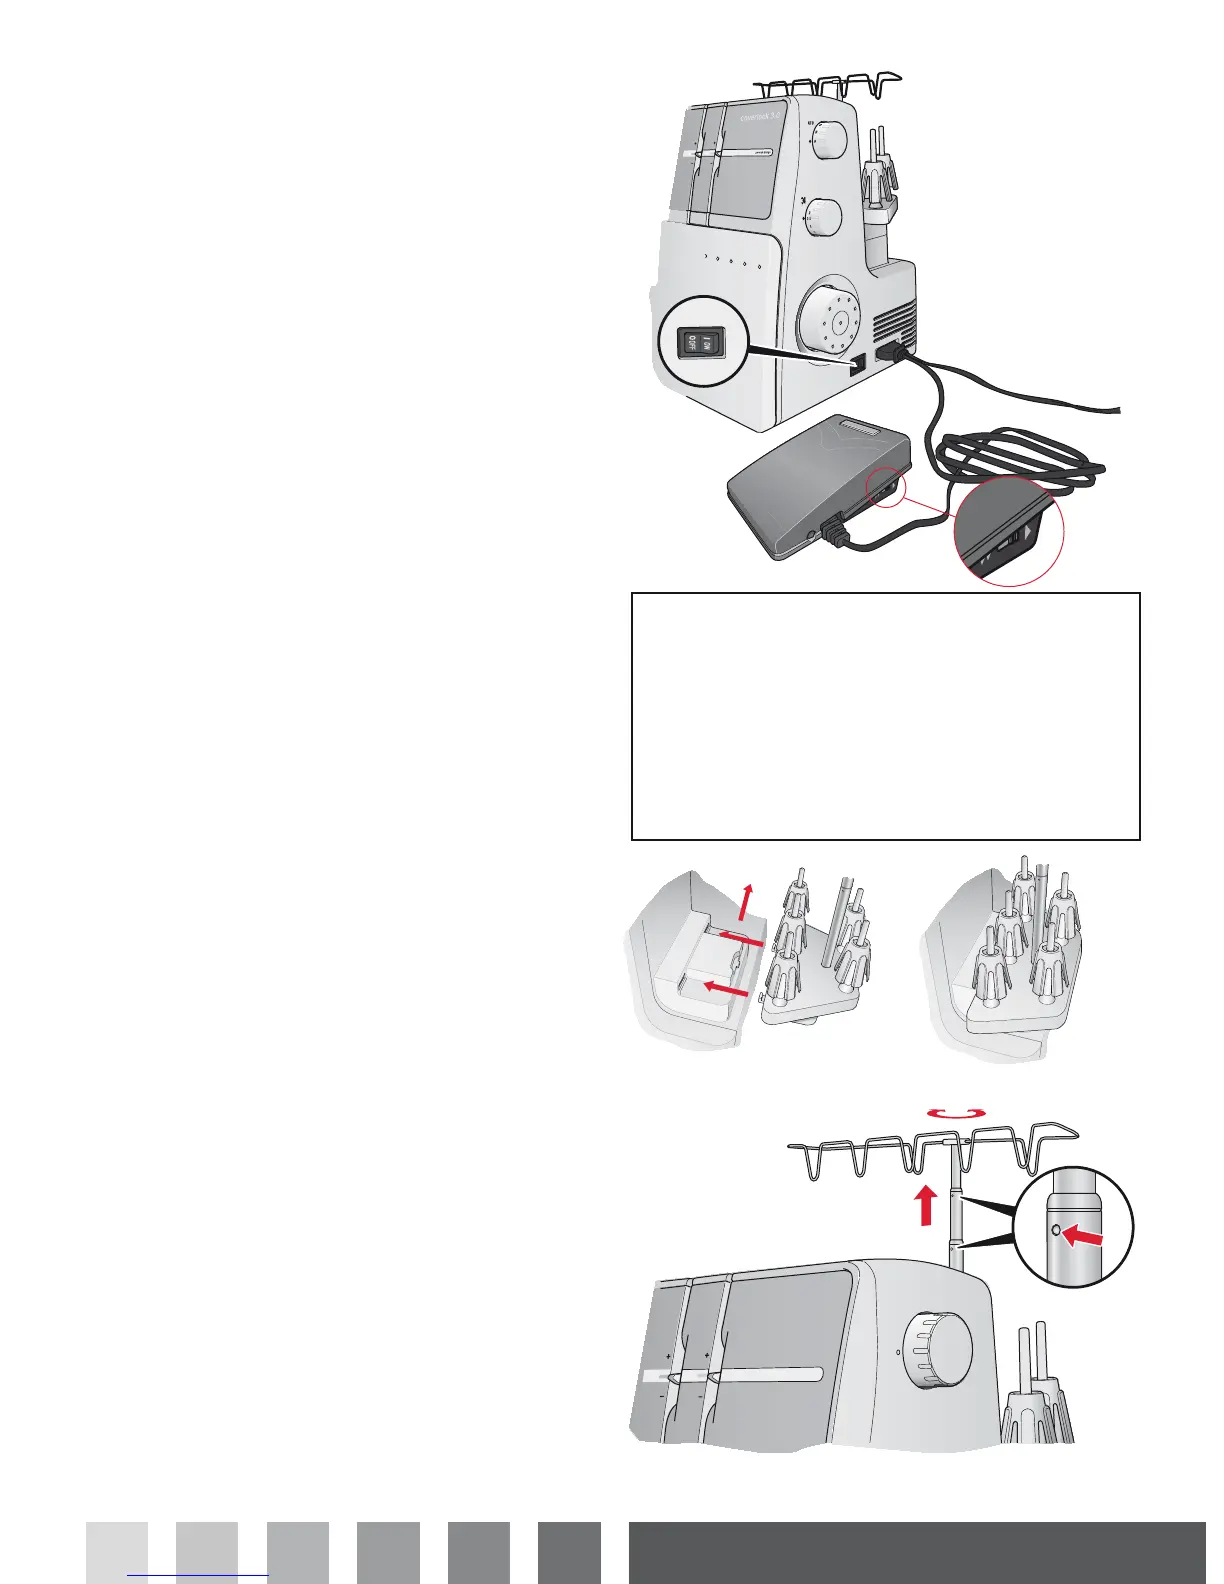
Connecting the foot control and the
power supply
Foot control to use with this machine:
7\SH&%IRU86$&DQDGD
7\SH&*IRU(XURSH
7\SH&&IRU8.
7\SH&&IRU$XVWUDOLD
Before plugging your machine in, make sure the voltage
is the same as indicated on the plate under the machine.
6SHFLÀFDWLRQVYDU\IURPFRXQWU\WRFRXQWU\
• Connect the foot control/electric power cord to the
socket on the machine.
• Plug the power cord plug into the electric outlet.
3XVKWKHSRZHUVZLWFKWR´µWRWXUQRQWKHPDFKLQH
• Press the foot control to start sewing. Use the foot
control to adjust the sewing speed. The harder you
press, the faster the machine will sew.
On the right side of the foot control is a speed control
VOLGH$IRUVHOHFWLQJIXOORUKDOIPD[LPXPVSHHG,I
you press the foot control to the bottom, the machine
runs at the maximum speed set by the speed control
slide. To stop the machine from sewing, remove your
foot from the control.
3XVKWKHSRZHUVZLWFKWR´µWRWXUQRIIWKHPDFKLQH
1RWH:KHQWKHIURQWFRYHULVRSHQWKHVDIHW\VZLWFKLVDFWLYDWHG
DQGSUHYHQWVWKHPDFKLQHIURPVHZLQJHYHQLIWKHIRRWFRQWUROLV
SUHVVHG
Note: Your coverlock™RYHUORFNPDFKLQHLVDGMXVWHGWRSURYLGH
WKHEHVWVWLWFKUHVXOWDWQRUPDOURRPWHPSHUDWXUH([WUHPHKRW
DQGFROGWHPSHUDWXUHVFDQDIIHFWWKHVHZQUHVXOW
Setting up the spool stand
Insert the spool stand then push to right as illustrated.
Setting up the telescopic thread stand
Extend the telescopic thread stand to its full height, then
turn until it clicks into place. Place the thread spools over
the cone holders on the spool pin.
If the machine is already threaded, straighten the threads
to prevent tangling.
POLARIZED PLUG INFORMATION
(FOR U.S.A. & CANADA ONLY)
7KLVDSSOLDQFHKDVDSRODUL]HGSOXJRQHEODGHZLGHU
WKDQWKHRWKHU7RUHGXFHWKHULVNRIHOHFWULFVKRFN
WKLVSOXJLVLQWHQGHGWRÀWLQDSRODUL]HGRXWOHWRQO\
ZD\,IWKHSOXJGRHVQRWÀWIXOO\LQWKHRXWOHWUHYHUVH
WKHSOXJ,ILWVWLOOGRHVQRWÀWFRQWDFWDTXDOLÀHG
electrician to install the proper outlet. Do not modify
the plug in any way.
 Loading...