555480100
July 15, 2021
Installation Support • Soporte de Instalación • Support d’Installation
Personal Assistance, Product Specs, &
“How-to” Questions:
Asistencia personal, especificaciones del
producto y preguntas sobre “cómo hacerlo”:
Aide personnelle, spécifications du produit
et questions « pratico-pratiques » :
Installation Videos Available
Videos de instalación a disposición
Vidéos d’installation disponibles
pisterfaucets.com/videos
1800PFAUCET (7328238)
pisterfaucets.com/support
1
To reduce the risk of injury or property damage, read all instructions before installing product. Wear safety goggles. Product must be installed in
accordance with all state & local plumbing & building codes. Call a professional if you are uncertain about installing this product.
Para disminuir el riesgo de lesiones o daños a la propiedad, lea todas las instrucciones antes de instalar el producto. Utilice gafas de seguridad. El producto deberá
instalarse de acuerdo con la normativa de plomería y construcción estatal y local. Llame a un profesional si no está seguro sobre cómo instalar este producto.
Pour réduire le risque de blessures ou de dommages, lire toutes les instructions avant d’installer le produit. Portez des lunettes de sécurité. Il faut installer
le produit en respectant tous les codes de construction et de plomberie locaux et d’état. Appelez un professionnel si vous n’êtes pas certain de la façon
d’installer ce produit.
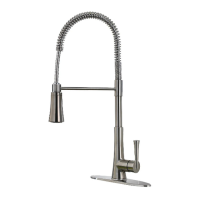
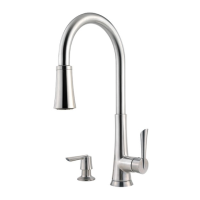
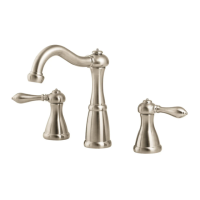
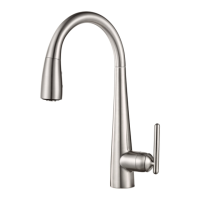
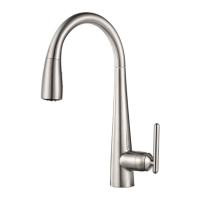
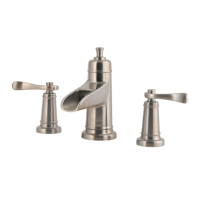
Pull-Down Kitchen Faucet
Grifo Con Ducha Desmontable Para La Bar
Robinet de Bar avec Douche Amovible
Adjustable Wrench
Llave ajustables
Clé à mollette
Safety Goggles
Gafas de seguridad
Lunettes de sûreté
Flashlight
Linterna
Lampe De Poche
Cloth
Paño
Chion
Copyright © 2021, Pister® Inc.
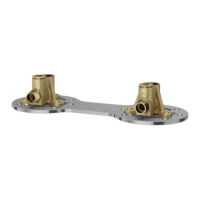
Parts in the Box
Piezas en la caja
Pièces dans la boîte
Locate water supply inlets and shut of the water supply valves. These are usually
found under the sink or near the water meter. If you are replacing an existing faucet,
remove the old faucet from the sink and clean the sink surface thoroughly.
Ubique las entradas del suministro de agua y cierre las válvulas de suministro de agua.
Generalmente se encuentran debajo del fregadero o cerca del medidor de agua. Si se trata de
un reemplazo de grifo, quite el grifo viejo y limpie completamente la supericie del fregadero.
Recherchez les entrées d'approvisionnement et fermer les robinets. Ces robinets se
trouvent généralement sous l'évier ou près du compteur d’eau. En cas de remplacement
d’un robinet existant, retirez le de l'évier et nettoyer soigneusement la surface de ce dernier.
Turn O Water Supply • Cierre el suministro de agua • Couper l’alimentation en eau
Hot
Caliente
Chaud
Cold
Fría
Froid
Optional Deck Plate, Order 961258*
(not included), see page 3.
Placa de cubierta opcional, Orden 961258*
(no incluido), véase la página 3.
Plaque de pont en option, Commande
961258* (non inclus), voir page 3.
Aerator Tool
Herramienta
para el aireador
Outil d’aérateur
‡ Store in a safe place
‡ Almacenar en un lugar seguro
‡ Conserver dans un endroit sûr
‡
Required Tools
Herramientas necesarias
Outils nécessaires
Additional Helpful Tools
Otras herramientas útiles
Outils supplémentaires utiles
F G
Quick Installation Guide
Guía de Instalación Rápida
Guide d’Installation Rapide
Montay™
GT572MT
A
B
C
D
E
1366700
10-17/32 [267.7]
2-17/32
[64.5]
29/32 [23]
WARNING / ADVERTENCIA / AVERTISSEMENT