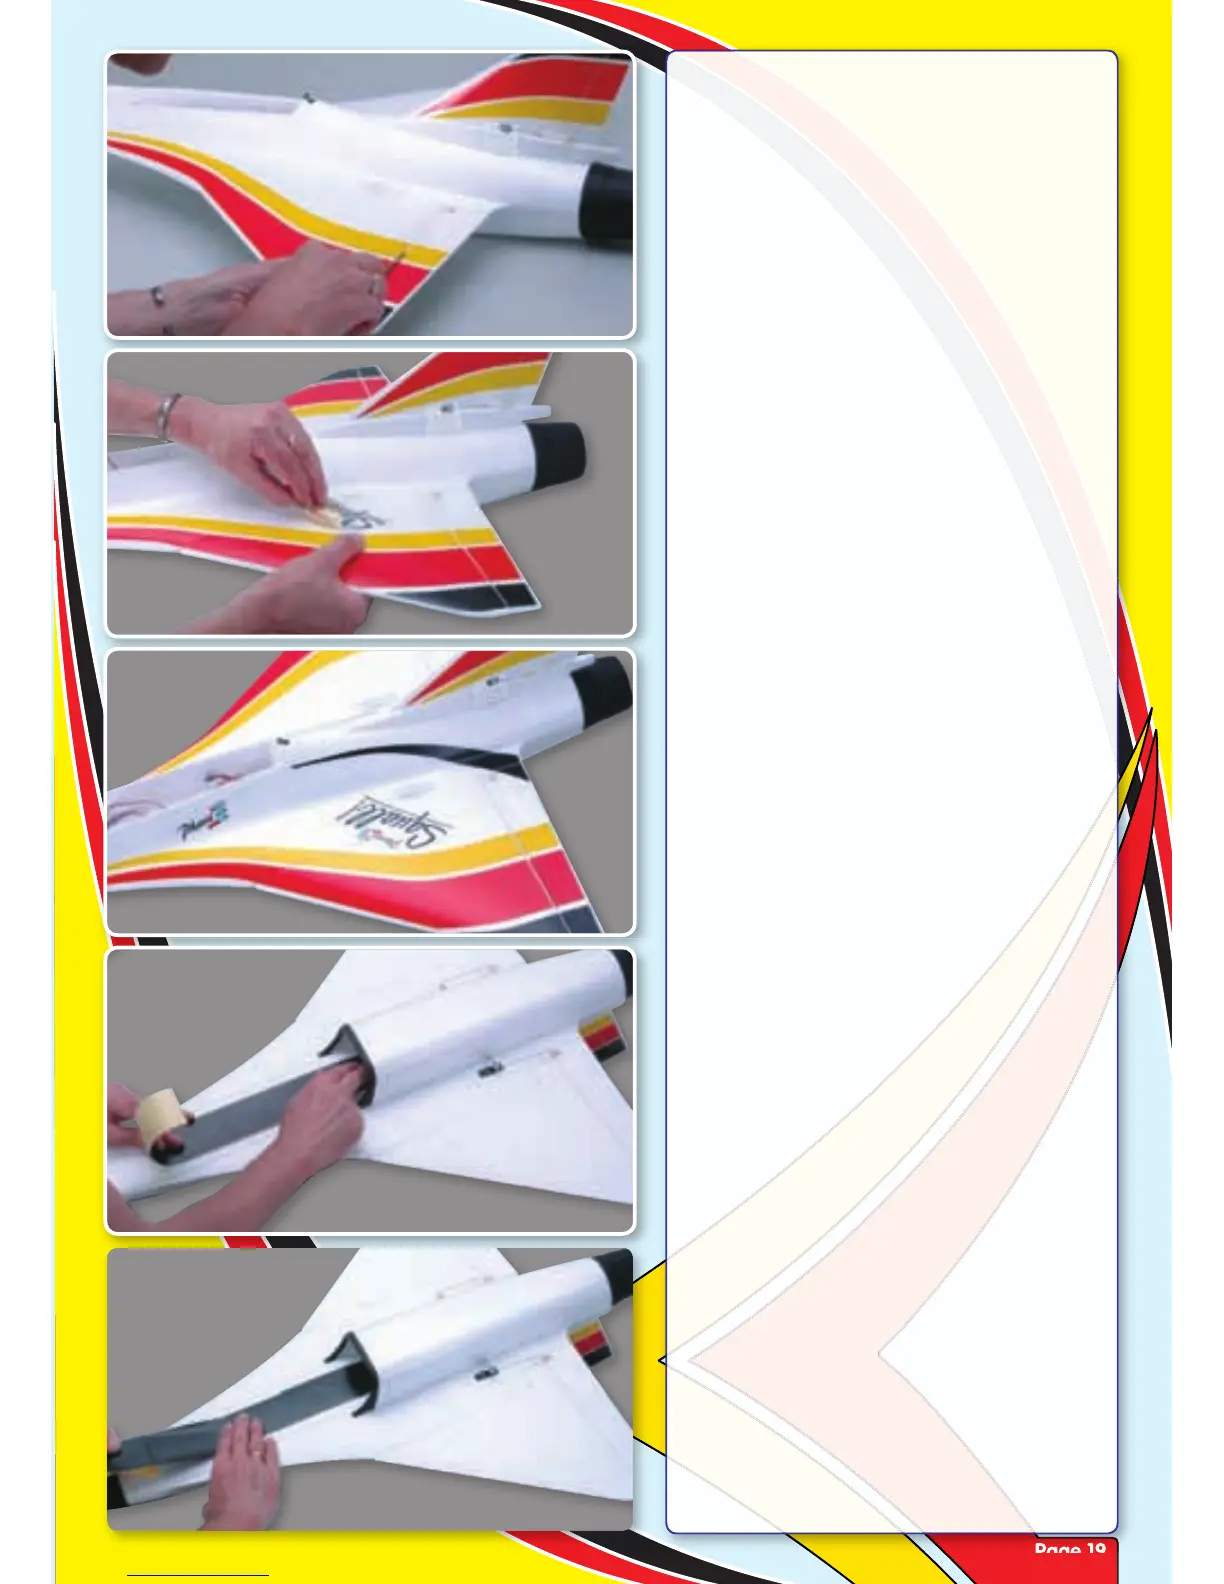
Step 76
Use the back of your knife to smooth the
cut decal down into the hinge line.
Step 77
Apply the decals to the other wing panel
and fin. Now add the all-important Squall!
decal.
Step 78
Just the Phase 3 decals to add to each side
of the fuselage and the top of the model is
complete.
Step 79
Turn the model over and apply the longer
black strip to the front of the model. Apply
the end of the decal in the duct (just in front
of the air exit hole
Step 80
Work forward to the nose, carefully
removing the backing paper and rubbing
down the decal as you go.
 Loading...