12
‘Calibration’ Operation
Select the scale you wish to calibrate the hardness tester in and press the Ð button to enter next mode.
The display will be blinking “Test”. Press the Î button to enter into ‘Calibration’ mode. Press the Ð
button and the display will ask you for your code.
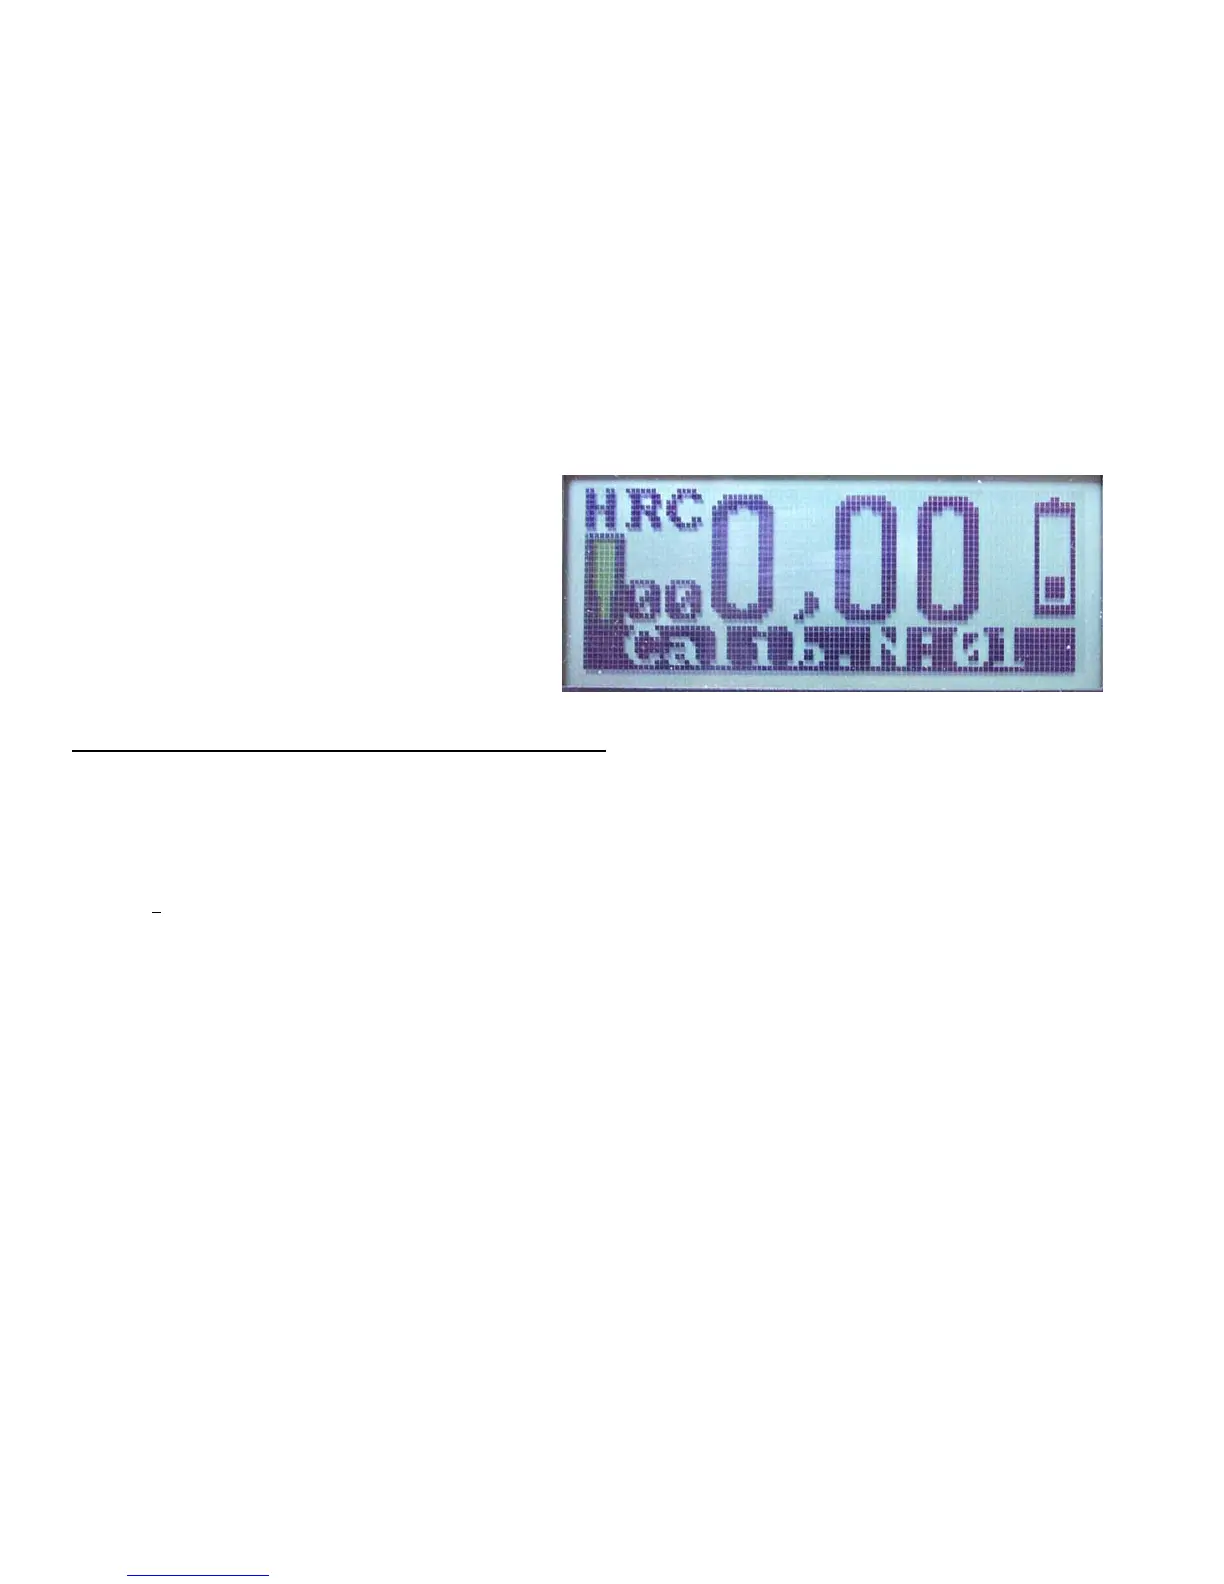
Enter the code and then push the Ð button The display indication in the ‘Calibration’ mode is shown on
the figure below.
Hardness scale
Measurement hardness value
Battery indication
Transducer
Current measurement number
Operation duty
The meaning of words and symbols on the display
‘HRC’ = Rockwell C hardness scale;
‘00’ the current measurement number
(this will increase with each test taken)
’0.00’ = the measured value on Rockwell hardness scale (HRC);
(no test taken yet)
‘Calib N
o
1’ = calibration tests performed
(will increase after each Set)
Blinking symbol = Transducer is ready
Battery symbol = charge remaining in battery
Measurement on reference hardness block #1 (step 1) – obtaining of mean hardness number.
Take one reference hardness block. Conduct at least FIVE measurements! Average the obtained values
by pushing the Ð button.
Correction (step 2) –Adjust the value shown on the display to match the value of your test block. In
other words, if your test block value is HRC 25.5 and your mean value is HRC19.5 you must adjust the
tester by pressing the Î button to increase the value shown on the display. Match the display reading
to your test block value. When the values are equal, press Ð button to save the adjusted result.