31
English
Setting item
escription
asy connec
elect this setting if your router has a Wi-Fi
rotected Setup (WPS) button. Start scanning
for wireless networks on the TV after pressing
the WPS button on your router. If connection
test fails
refer to the router's manual for more
eta
s
PS code
elect this setting if your router has Wi-Fi
rotected Setup (WPS) but does not have a
WPS button. Enter the 8-digit WPS PIN code
s
own on your
n t
e router sett
ngs menu
via PC before
onnec
s se
ecte
anua
If
our wireless network with authentication
settin
WEP, WPA-PSK or WPA2-PSK
, WEP /
WPA Ke
entr
screen will a
ear. Ente
the WEP / WPA ke
of the selected wireless
networ
us
n
/
, t
en
ress
lea
: Clear the entered number or word
ll clea
: Clear all the entered numbers o
wor
s
/A/
: Switch between abc, ABC and
!
ancel
hows the cancellation display
: Set the entered number or word
onfi rmation message wil
appear. Select
e
to comp
ete
e sett
ngs
ress
to ex
t
Note
or a w
re
ess networ
w
t
aut
ent
cat
on sett
n
,
e
con a
ears to t
e r
t
an
f the wireless network name
SSID
i
nal icon shows the stren
th of the si
nal
WEP / WPA ke
a
ears as asterisks on the confi rmation screen
he wireless LAN su
orts followin
s
ecifi cations
- Wireless standards : IEEE 802.11 b/
/n
- Fre
uenc
s
ectrum : 2.4GHz
- Securit
rotocol : WEP / WPA / WPA
Wireless network setting (Manually enter your SSID)
et up the connection to the Wireless LAN Access Point (AP) (e.g. wireless
router) manually by entering the wireless network name (SSID)
ress
on t
e remote contro
an
t
en use
/
o se
ect
Setu
>
nsta
ation
>
etwor
>
anua
networ
setting
>
>
Manually enter your SSI
Wireless LAN Access Point
AP
e.
. wireless router
Name
SSID
entr
screen will a
ea
.
Enter the wireless network name
SSID
usin
t
en
ress
lear
: Clear the entered number or word
ll clear
: Clear all the entered numbers or words
/A/
: Switch between abc, ABC and
!
ancel
: Shows the cancellation dis
la
: Set the entered number or word
se
to select the authentication settin
of the selected
re
ess networ
or a w
re
ess networ
w
t
aut
ent
cat
on sett
ng, se
ect t
e
authentication setting, according to the security type of the
re
ess networ
or a w
re
ess networ
w
t
out aut
ent
cat
on sett
ng, se
ect
one
one
et the authentication setting to
one
et the authentication setting to
PA-PS
et the authentication settin
to
WPA-PS
PA2-PS
et the authentication settin
to
WPA2-PS
If you select
PA-PS
o
PA2-PS
WEP / WPA
ey entry screen w
appea
.
Enter the WEP / WPA key of the selected wireless network
s
ng
, t
en press
lear
: Clear the entered number or word
ll clear
: Clear all the entered numbers or words
/A/
: Switch between abc, ABC and
!
ancel
: Shows the cancellation display
: Set the entered number or word
onfi rmation message will appear. Select
e
to comp
ete
e sett
ngs
ress
to ex
t
IP confi guration
In following cases, select
IP confi guration
to set eac
sett
ng as necessary
- When connection test failed with the settin
o
onnection tes
When instructed by your internet service provider to make specifi c
sett
ngs
n accor
ance w
t
your networ
env
ronment
ress
on t
e remote contro
an
t
en use
o
e
ect
Setu
>
nsta
ation
>
etwor
>
anua
networ
sett
ng
>
IP confi guration
2
se
to se
ect a sett
ng an
t
en press
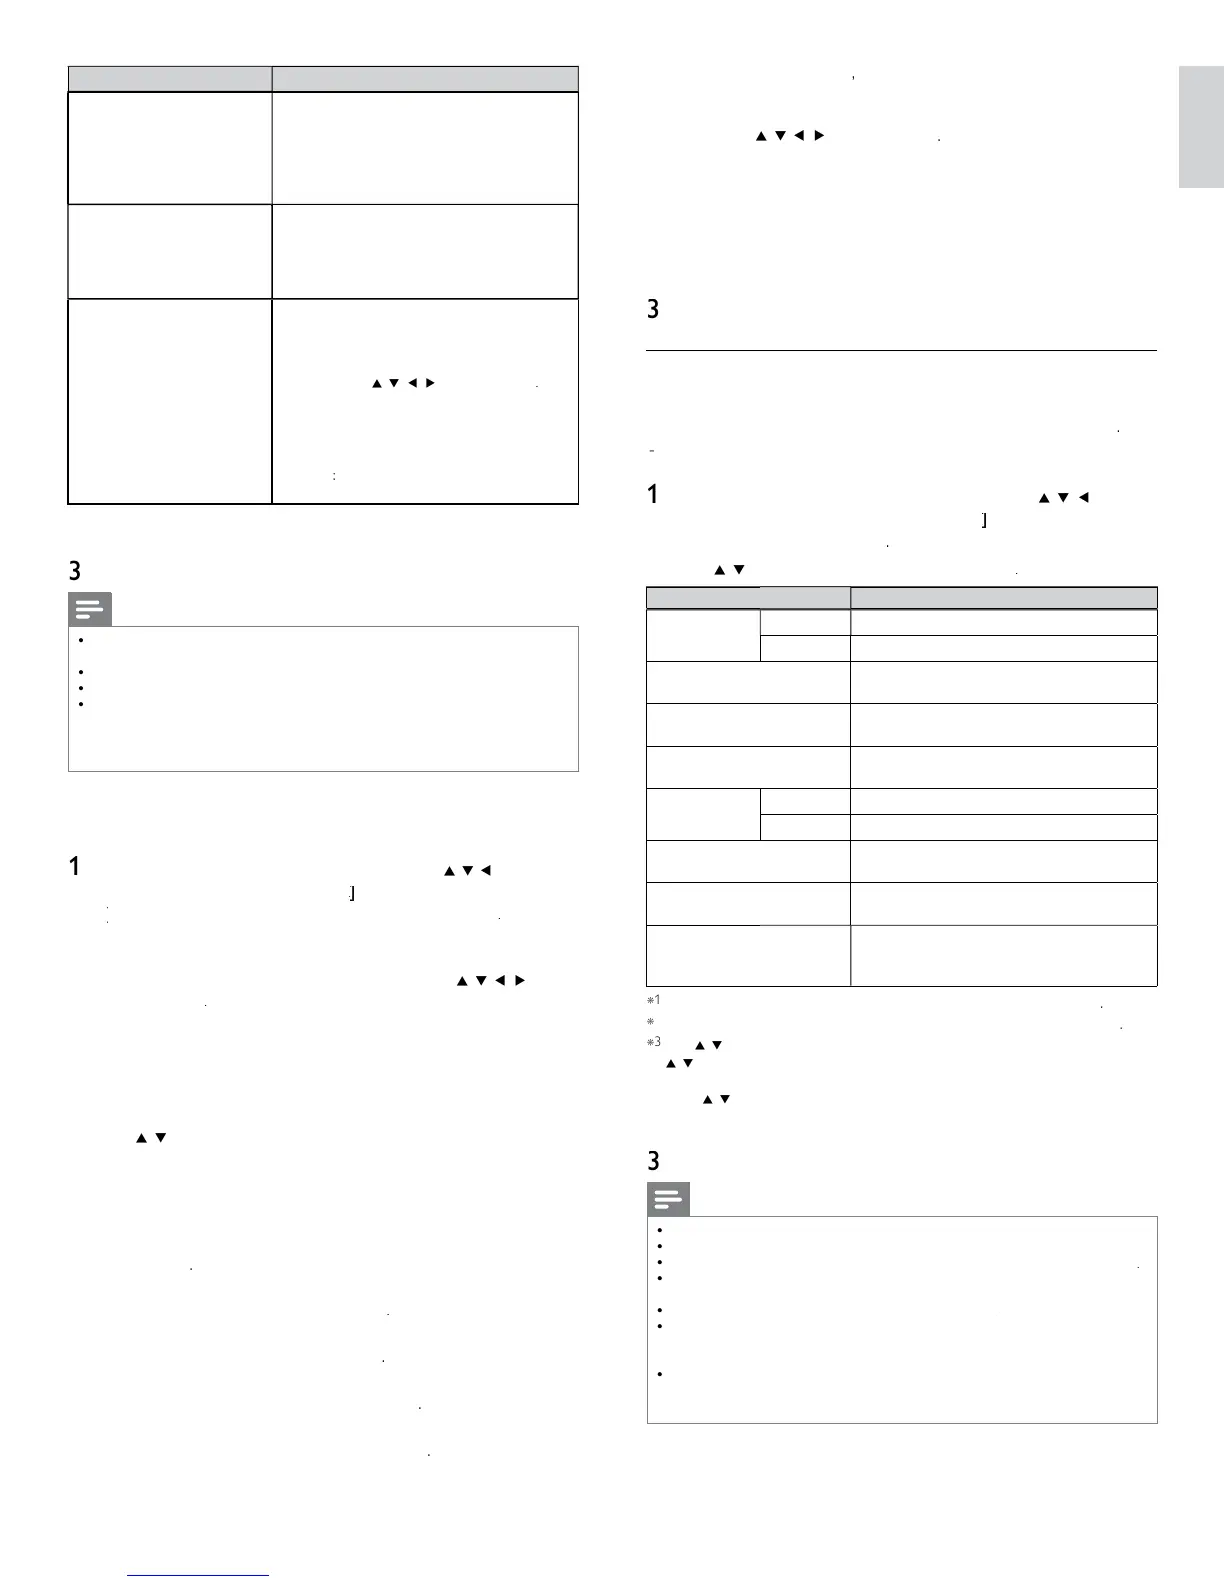
Setting item
escription
setting mo
e
ut
ets the IP setting automatically
anua
ets the IP settin
manuall
a
ress*
set of numbers which are assi
ned to
ev
ces part
c
pat
ng
n a computer networ
Subnet mask *
mask which is used to determine what
u
net an
a
ress
e
ongs to
Default gateway
IP address of the network device (such as
router) which provides internet access
DNS setting
mo
e
ut
ets the DNS setting automatically
anua
ets the DNS setting manually
rimary DNS
2
server which handles the name and IP
a
ress over t
e
nternet
Secondary DNS *
2
server which handles the name and IP
a
ress over t
e
nternet
MAC addres
n address which recognizes the devices
onnect
ng to t
e networ
.
t
s a
so ca
e
Hardware
ddress
tems can
e se
ecte
on
y w
en
setting mo
e
s set to
anua
tems can
e se
ecte
on
y w
en
DNS setting mode
s set to
anua
se
o
t
e
um
er
utton
to
n
ut num
ers.
en
ou
ress
to
n
ut num
ers t
en
ress
or
n
ut t
e tr
e
ts
us
n
e
um
er
utton
, the cursor moves to the next entr
field. When
ou
ress
to
n
ut num
ers t
en
ress
or
n
ut t
e tr
e
ts
us
n
e
um
er
utton
at the ri
htmost entr
field, numbers will be stored and
o
ac
to t
e
rev
ous menu
ress
to ex
t
Note
he range of input numbers is between 0 and 255
If you enter a number larger than 255, the number will automatically be 255
he manually entered number will be saved even if you change the setting to
ut
en you enter a wrong num
er, press
olor buttons
e
)
to cancel. (the number will
e
ac
to
.)
If you want to enter 1 or 2 digit number in one cell, press
to move on to the next cell.
If the entered IP address or the default gateway or primary DNS number is same
as the default setting, IP address setting will be set to
ut
. (The manually entered
umber will be saved)
en
a
ress sett
ng
s set to
anua
, the setting of DNS setting will
automat
ca
y
e
anua
an
w
en
a
ress sett
ng
s set to
ut
, you can se
t
er
ut
o
anua
for DNS setting