4-1 A9PH1DC
CABINET DISASSEMBLY INSTRUCTIONS
Notes: 1. Please put your machine on soft material to avoid to scrape panel when you disassemble it.
2. The installation specifications of the part are subject to change without notice.
3. By the difference of the LCD panel, the method of installing each part might be different.
1. Assembly/Panel Removal
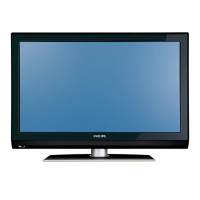
Front view
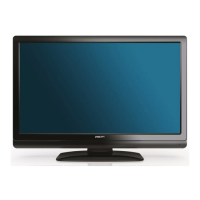
Back view
1. Remove the stand.
Remove the 4 screws.
2. Remove the Back cover assembly.
Remove the 22 screws.
3. Remove the Loudspeaker assy Left and Right.
Remove the 8 screws.
4. Remove the SSB.
Remove the 6 connectors. (1312, 1C12, 1G50,
1G51, 1M95, 1M99)
Remove the 8 screws.
5. Remove the Power supply Module.
Remove the 3 connectors. (CN1, CN2, CN3)
Remove the 8 screws.
6. Remove the ASSY Tact SW CBA.
Remove the 2 screws and connector J1.
 Loading...