15
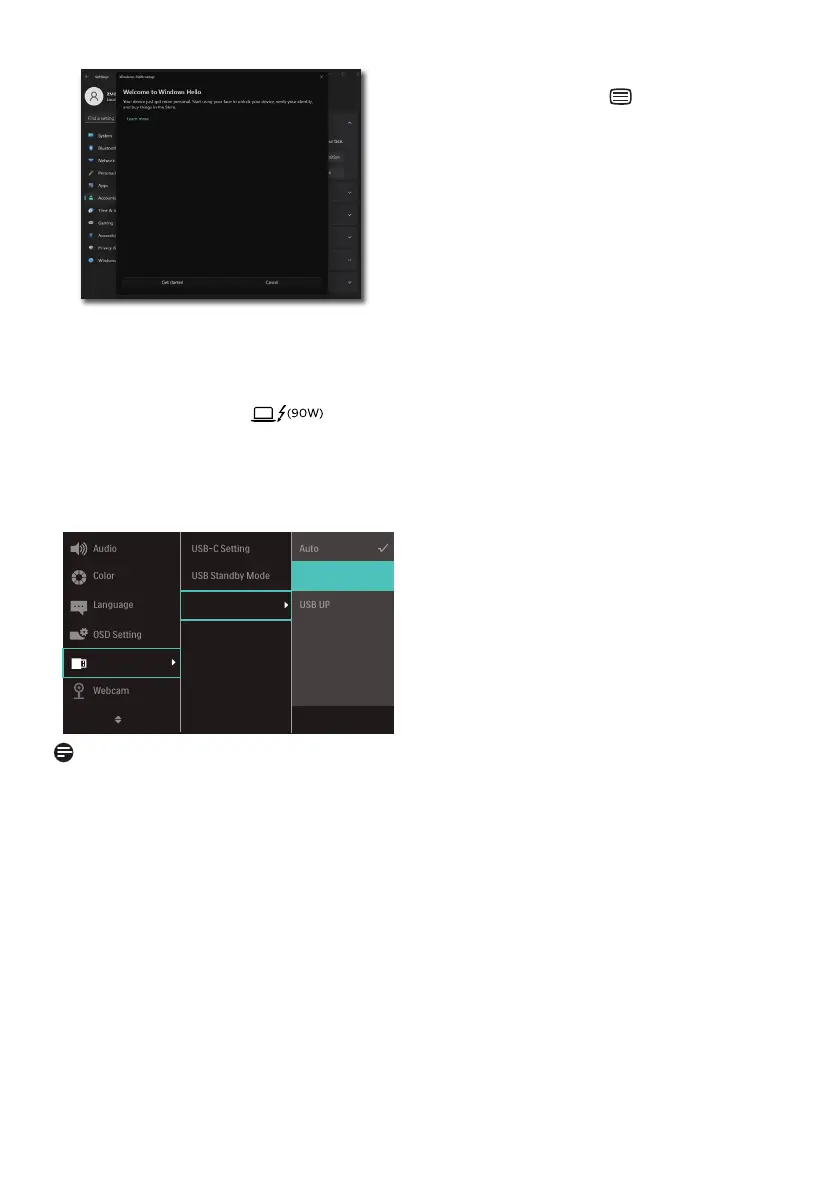
e. Click on "Get started." The setting
is complete.
4. If you connect the USB cable from
“Thunderbolt input ” port of
this monitor, please enter OSD menu
to make a appropriate selection of
“Thunderbolt” under the “KVM”
layer.
Note
1. Please always go to Windows
ocial website to access the latest
information, the information in EDFU
is subject to change without further
notice.
2. Dierent regions have dierent
voltages, with inconsistent voltage
setting may cause water ripple when
using this webcam. Please make the
voltage setting same as the voltage
of your region.
3. This monitor has a webcam active
beacon that lights up when the
webcam is in use. There are four
brightness options, 0=OFF to
4=HI, default 3. You can press
the OSD button to enter the
on-screen display menu, under
Webcam>Webcam light, to adjust
the brightness level.