5
2. Setting up the
monitor
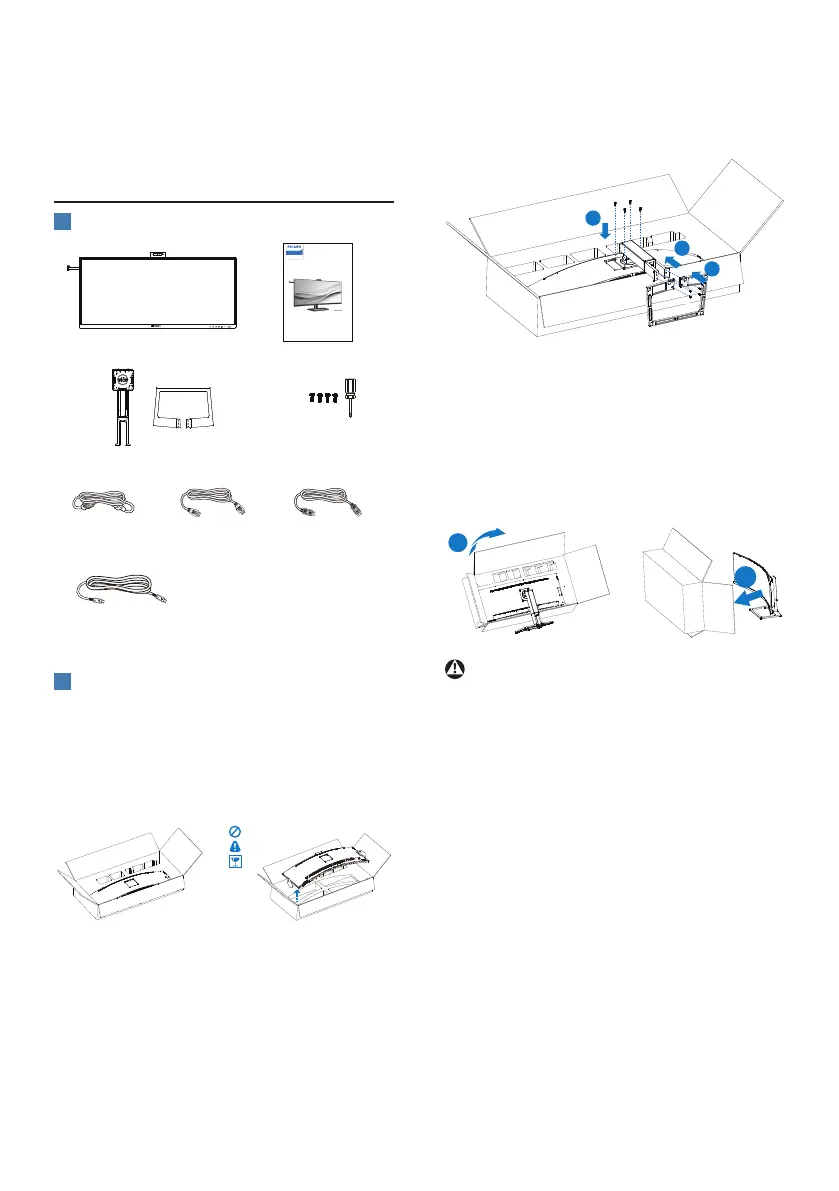
2.1 Installation
1
Package contents
*DP
*HDMI
*Thunderbolt
TM
4
Power
Quick start
Register your product and get support at www.philips.com/welcome
40B1U6903CH
Curved Business
Monitor
6000 Series
Screw and screwdriver
M4 x 4
*Dierent according to region.
2
Install the base
1. To well protect this monitor and
avoid scratching or damaging of
the monitor, keep the monitor face
down in the cushion for the base
installation.
2. Hold the stand with both hands.
(1) Use a screwdriver to tighten the
assembly screws, and secure the
stand to the monitor tightly.
(2) Gently attach the base to the
stand.
(3) Use a screwdriver to tighten the
screws located at the bottom of
the base, and secure the base to
the stand tightly.
1
2
3
3. After attaching the base, erect
the monitor with both hands
holding the monitor together with
styrofoam rmly. Now you can pull
out the styrofoam. When you pull
out the styrofoam, do not squeeze
the panel.
1
2
Warning
This product is a curve design. When
attaching/detaching the base, place the
protective material under the monitor
and do not press down on the monitor.