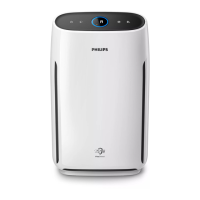
Filter alert light
status
Action
A3 displays on
the screen
Replace
NanoProtect lter
Series 3 (FY1410)
C7 displays on the
screen
Replace the
NanoProtect lter
AC (FY1413)
A3 and C7 display
on the screen
alternately
Replace both
lters
1 Turn o the air purier and unplug
from the wall outlet.
2 Take out the used air lter according
to the lter alert light status
displayed on the screen (g. y).
Discard used lter.
Note
• Do not touch the pleated lter
surface, or smell the lter as it has
collected pollutants from the air.
3 Remove all packaging material from
the new lter (g. f).
4 Place the new lters into the air
purier (g. g).
5 Put the plug of the air purier in the
wall outlet.
6 Touch and hold the for 3 seconds
to reset the lter lifetime counter
(g. z).
7 Wash your hands after changing a
lter.
6 Replacing the
filter
Filter replacement
indicator
This air purier is equipped with a
lter replacement indicator to make
sure that the air purication lter is in
optimal condition when the air purier
is operating. When the lters need to be
replaced, the lter code displays on the
screen.
If the lters are not replaced in 14 days,
the air purier will stop operating and
automatically lock.
Replacing the lters
Note
• The air lters are not washable or
reusable.
• Always turn o the air purier and
unplug from the electrical outlet
before replacing the lters.
• Do not clean the lter with a
vacuum.
10 EN

 Loading...