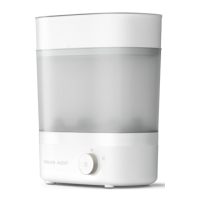
5 Turn the on/o button to “Auto” mode. Then press it to
switch on the appliance�
• The appliance starts sterilising rst. The entire progress
indicator lights ash to show the appliance is sterilising.
• After that, drying will start automatically� The progress
indicator lights ash and o gradually to show the
appliance is drying�
• When the whole process is nished, the lights go o and
the appliance switches o automatically.
Caution: The base, the baskets and the lid become hot during
or shortly after operation.
2
1
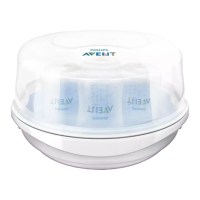
6 Remove the lid�
7 Remove the bottles and other items from the basket� Use the tongs to remove the
smaller items�
Be careful� The sterilised items may still be hot�
Note: Make sure you wash your hands thoroughly before you touch the sterilised
items.
Note: The drying result may vary depends on the ambient temperature, ambient
humidity and loading of steriliser. You can run one more drying cycle if necessary.
8 Unplug the appliance and wait until the appliance has cooled down completely�
9 Remove the small basket and large basket�
Note: When you remove the large basket, be aware of the remaining water on the
base drip tray.
10 Detach the bottom plate from the large basket� Pour out any remaining water
from the large basket drip tray and clean it (see section “Cleaning”).
- 15 -