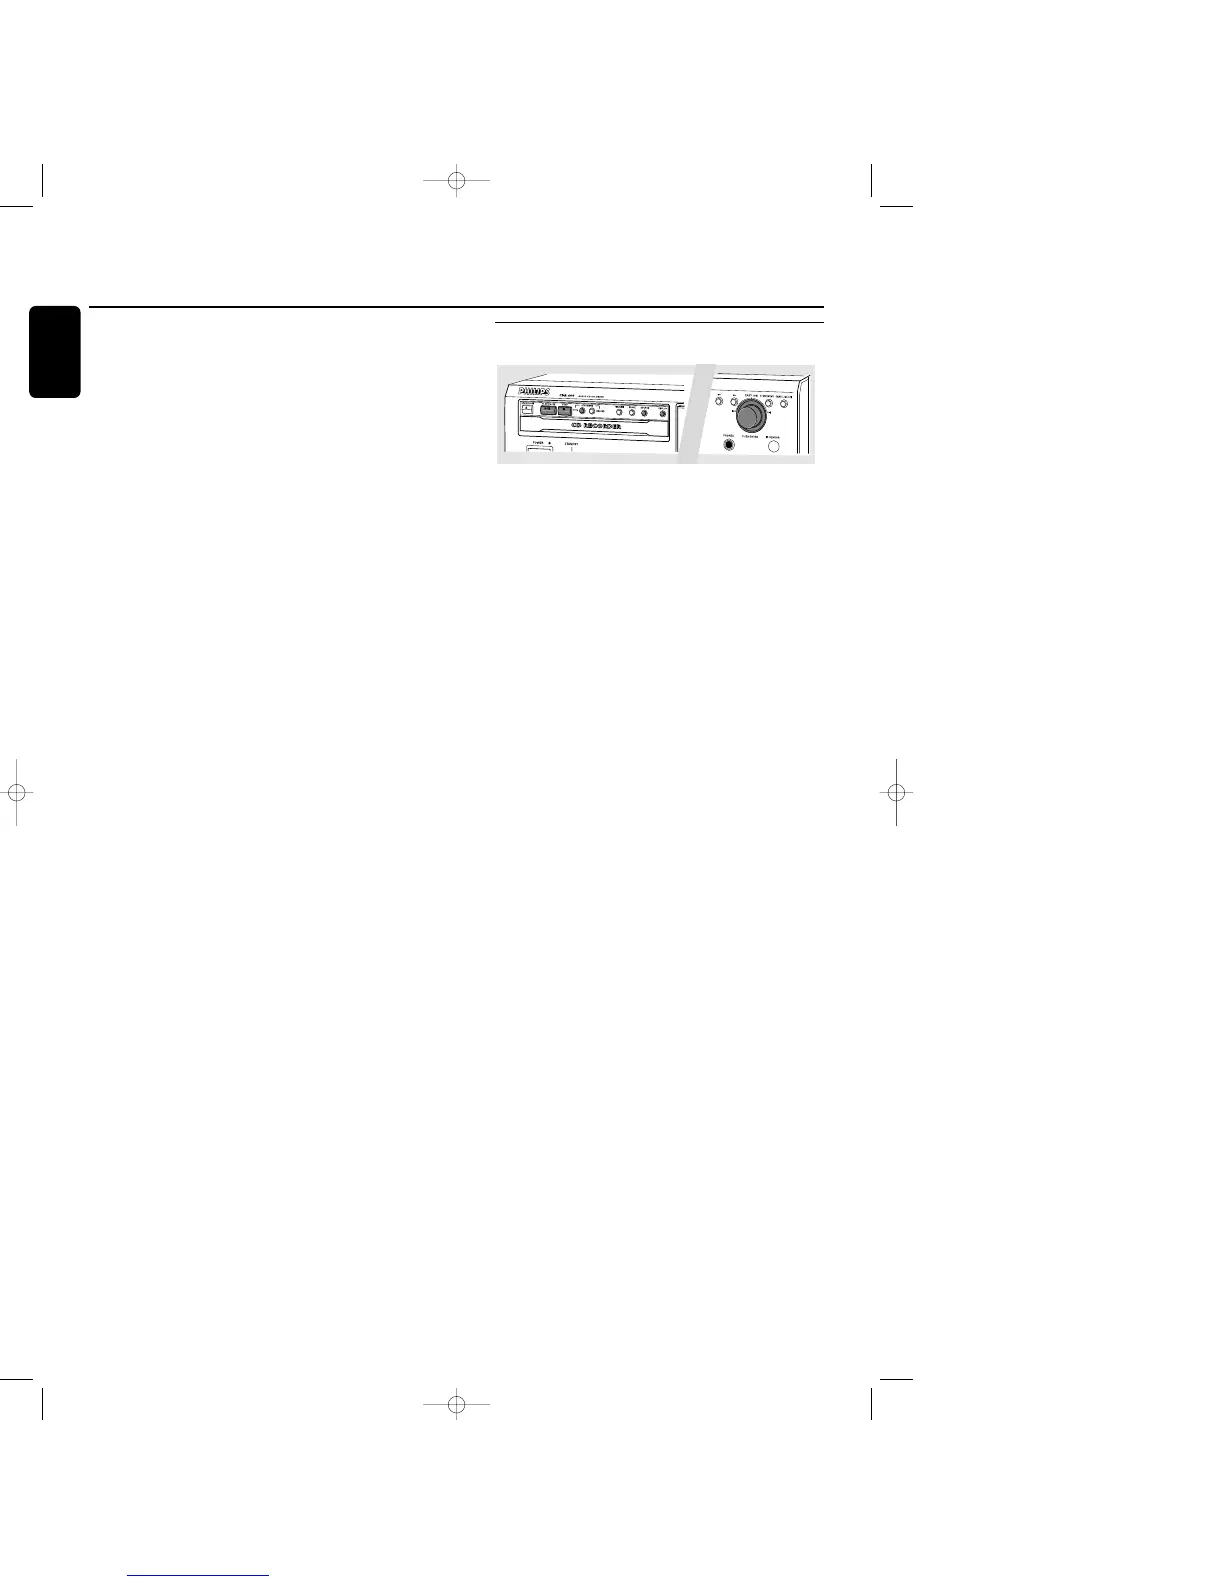
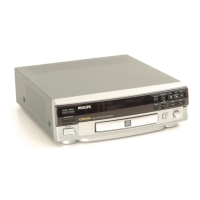
Recording
1 To start recording,press Play on the external source from
which you want to record.The CD recorder automatically
starts recording.
0 If, however,you start the source during a track, recording
will start at the beginning of the next track or after
2.7 seconds of silence in analog recordings.
0 Track numbers are automatically incremented.During an
analog recording you can insert additional track numbers
during recording by simply pressing TRACK INCR.on the
remote control.
0 The EASY JOG/ENTER key can be used to adjust the
recording level.
0 The recorder stops automatically in case of digital recording
from a CD.With AUTO TRACK ON, the recorder pauses
and waits for a new track for 1 minute before going to
stop.Recordings from DAT,DCC or analog sources will
only stop after 20 seconds of silence.
2 To stop recording manually, press STOP 9 on the
CD recorder.
➜ sync goes out and the display will show UPDATE for
several seconds.
Finalizing
If you want to play the recorded CD(RW) on a normal
CD player,you must first finalize the disc.Please note that
you cannot add anymore tracks on a finalized CDR.
See Finalizing CDR and CDRW discs.
Recording a single track
This feature enables you to record a single track from a
CD, LP or cassette.
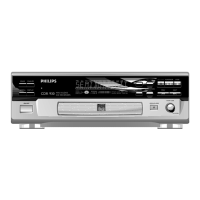
Preparing
1 Place an unfinalized recordable disc,absolutely free of
scratches and dust particles in the CD recorder tray.
2 Press SOURCE repeatedly to select the type of connection
you made to your source of recording.Examples:
- CD-player is connected with its digital out connector
directly to the digital in connector of your CD-recorder:
connection is DIGITAL I.
- CD-player is connected with its analog out connectors
directly to analog in connectors of your CD-recorder:
connection is ANALOG
- Turntable is connected with its analog out connectors to
amplifier/receiver which is connected to the analog in
connectors of your CD-recorder: connection is ANALOG
➜ DIGITAL I, OPTICAL I or ANALOG lights up and
DIGITAL 1,OPTICAL 1 or ANALOG will appear on
the display.
3 With the recorder stopped, press RECORDING TYPE two
times to to select REC TRACK for recording of a single
track.
➜ d and sync start to flash and the display shows the
selection.
Recording
1 To start recording,press Play on the external source from
which you want to record.The CD recorder automatically
starts recording.
0 If, however,you start the source during a track,recording
will start at the beginning of the next track or after
2.7 seconds of silence in analog recordings.
0 The EASY JOG/ENTER key can be used to adjust the
recording level.
0 The recorder stops automatically in case of digital recording
from a CD. Recordings from DAT, DCC or analog sources
will only stop after 20 seconds of silence.
2 To stop recording manually, press STOP 9 on the
CD recorder.
➜ sync goes out and the display will show UPDATE for
several seconds.
Finalizing
If you want to play the recorded CDR(W) on a normal
CD player,you must first finalize the disc.Please note that
you cannot add anymore tracks on a finalized CDR.
See Finalizing CDR and CDRW discs.
Recording
20
English
xp CDR 600/17 English 20-03-2001 13:27 Pagina 20