10
Note
If you are not going to use the remote control for a long •
time, remove the battery.
Set clock
1 In standby mode, press CLOCK for 3 seconds
to activate clock setting mode.
» [SET CLOCK] scrolls on the display, then
the time format [24H] and [12H] appears.
2 Press ALBUM/PRESET to select 24H or 12H,
then press CLOCK to confirm.
The hour digits begin to blink. »
3 Press ALBUM/PRESET to set hour, then press
CLOCK again.
The minute digits begin to blink. »
4 Press ALBUM/PRESET to set minute.
5 Press CLOCK to confirm the clock setting.
Note
If no button is pressed in 30 seconds, the system exits •
clock setting mode automatically.
Turn on
1 Press .
The unit switches to the last selected »
source.
Switch to standby mode
1 Press for over 3 seconds to switch the unit
to Eco Power Standby mode.
The backlight on the display panel turns off. »
The blue Eco Power indicator turns on. »
To switch the unit to standby mode:
1 In Eco Power Standby mode, press for over
3 seconds.
The clock (if set) appears on the display »
panel.
The blue Eco Power indicator turns off. »
Store radio stations automatically
When the unit is connected to power and no radio
stations are stored, the unit begins to store radio
stations automatically.
1 Connect the unit to power supply.
» [AUTO INSTALL PRESS--PLAY KEY](auto
install press - play key) is displayed.
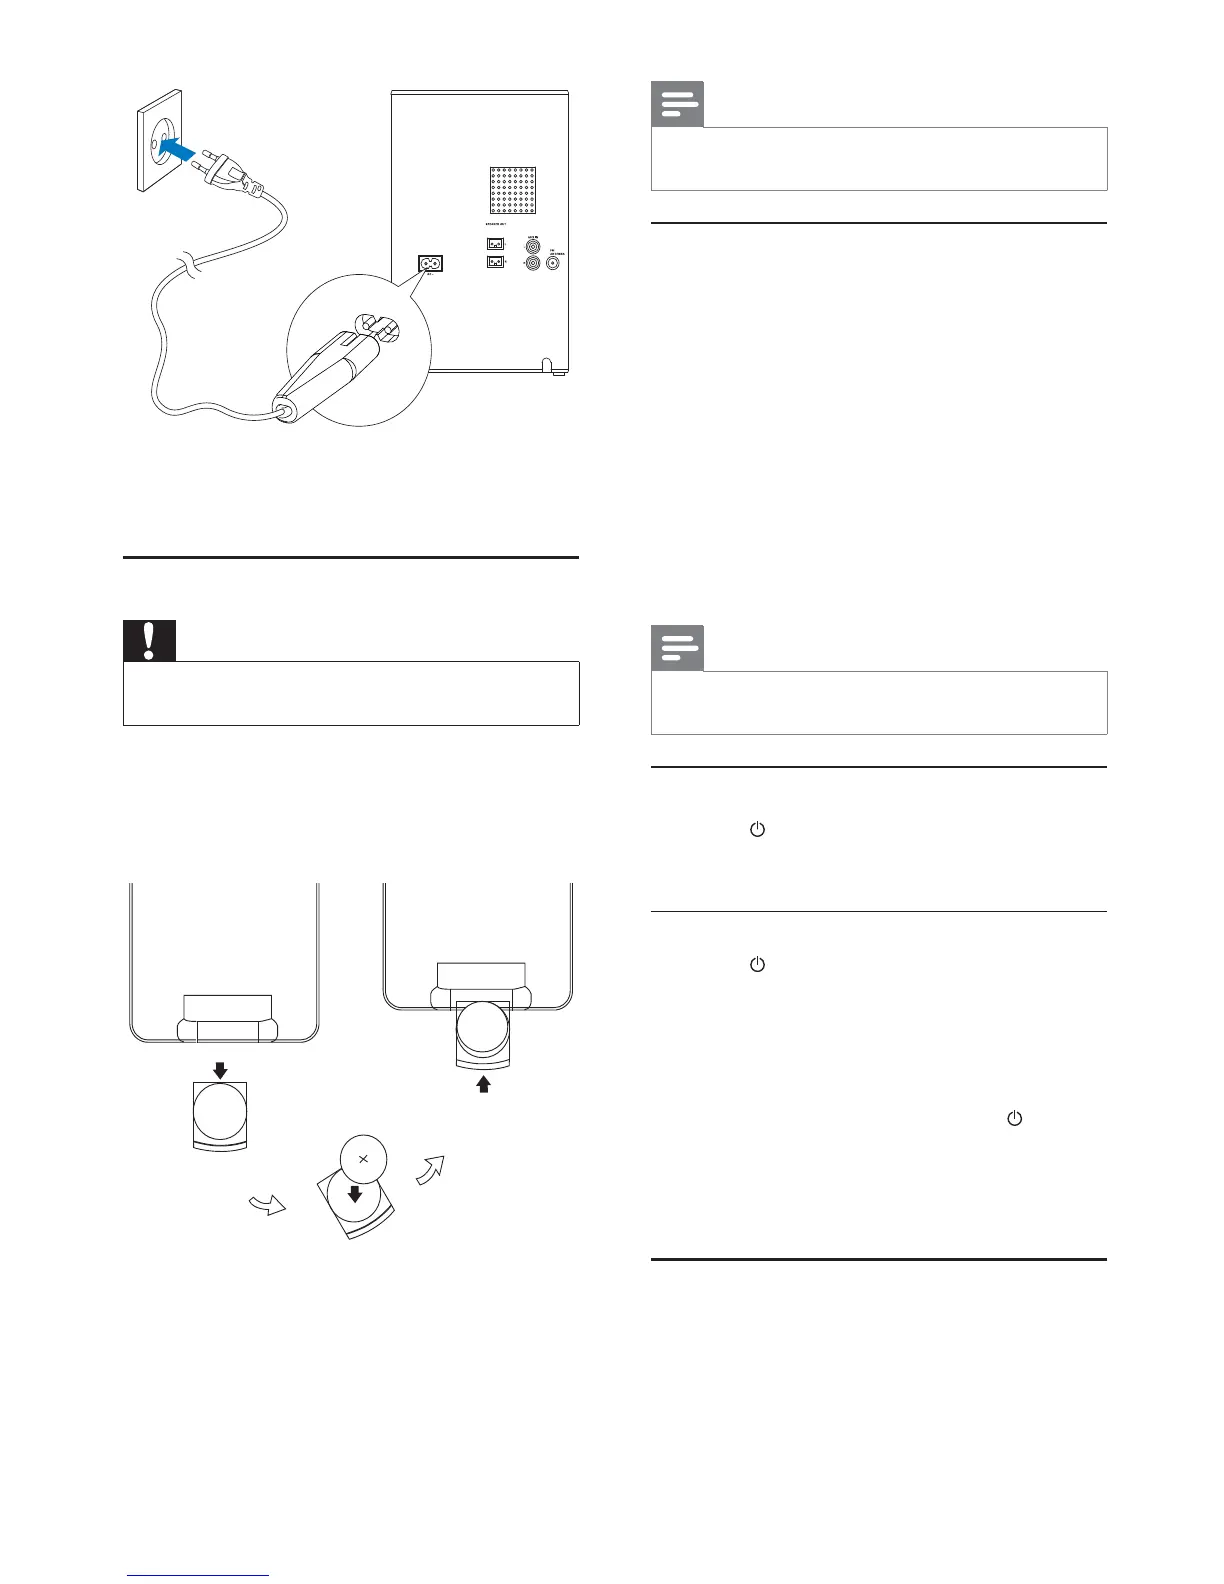
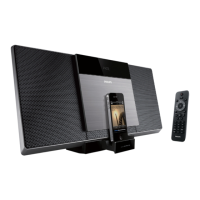
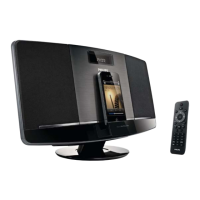
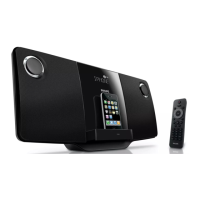
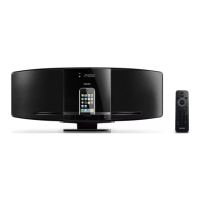
1 Connect the power cable to:
the • AC~ jack on the main unit.
the wall socket.•
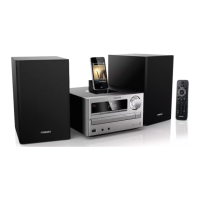
Prepare the remote control
Caution
Risk of explosion! Keep batteries away from heat, •
sunshine or fire. Never discard batteries in fire.
For first-time use:
1 Remove the protective tab to activate the
remote control battery.
To replace the remote control batteries:
1 Open the battery compartment.
2 Insert one lithium CR2025 battery with
correct polarity (+/-) as indicated.
3 Close the battery compartment.
EN