EPIQ 5 & 7 Training Manual
© 2016 Conquest Imaging
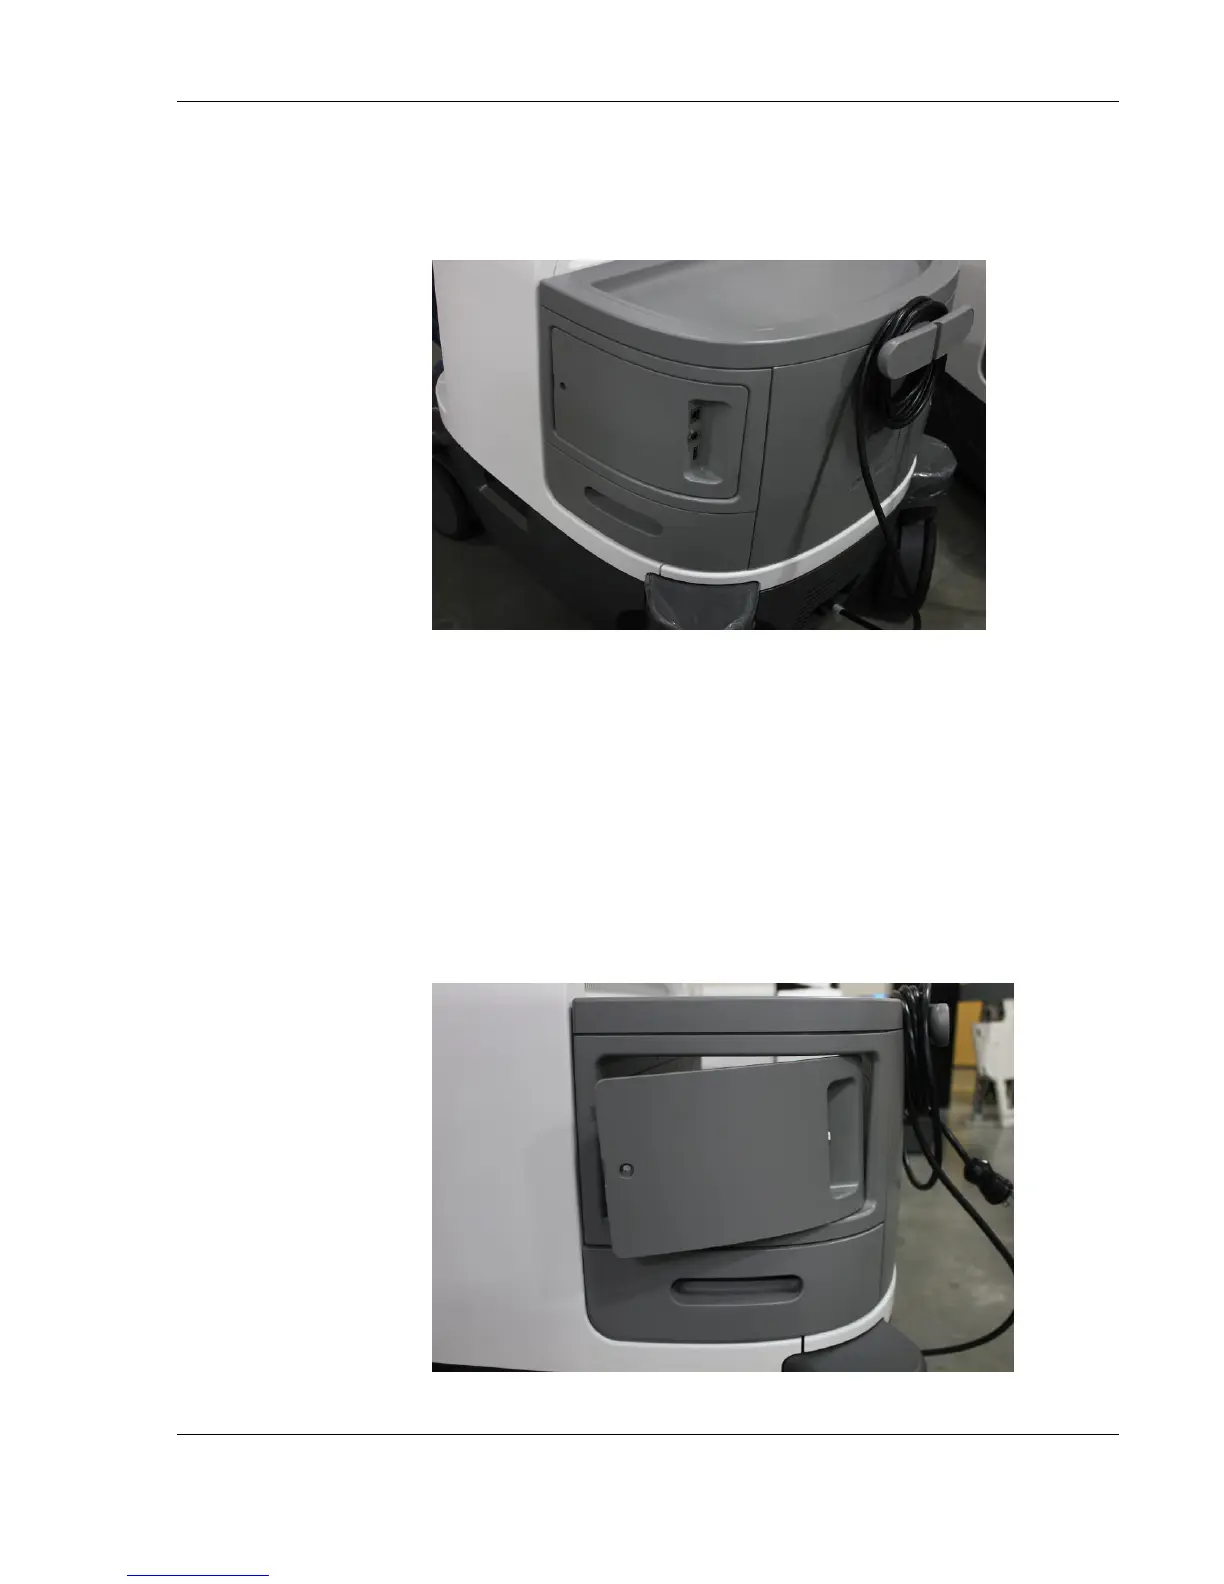
Rear I/O Panel Assembly for Peripherals
To remove the I/O panel and PCB assembly:
Locate the side of the peripheral baywhere the Rear I/O panel is
installed.
Using a T20 TORX screwdriver, remove the screw that secures the
Rear I/O panel to the peripheral bay.
Using a wide-blade slot screwdriver, insert the screwdriver into
the recess slot next to the screw hole in the panel and gently pry
the panel away from the peripheral-bay wall.