Important:
Before you operate the system, complete
the preparation procedures.
Plug and Play
The system provides PLUG and PLAY feature
that allows you to store all available radio
stations automatically upon power up. If PLUG
and PLAY has been installed beforehand, it
will go to standby or demonstration mode
after 5 seconds.
1
Press and hold PLAY (on the system only) for 5
seconds; when the system is in standby or
demonstration mode.
● If the PLUG and PLAY has not been installed
before, you can access this feature by switching
on the system from the main power outlet.
➜ “AUTO INSTALL - PRESS PLAY” will be
displayed.
2
Press PLAY to start installation.
➜ “INSTALL” will be displayed and followed by
“TUNER” and then "AUTO".
➜ The
PROGRAM
starts flashing.
➜ PLUG and PLAY will start searching for all
radio stations on FM band and then followed by
radio stations on MW and LW bands
respectively.
➜ All available radio stations with sufficient signal
strength will be stored. Up to 40 presets may be
stored.
➜ The last preset radio station will appear on
the display when PLUG and PLAY is completed.
● To exit without storing the PLUG and PLAY,
press Ç button (on the system only).
Notes:
– PLUG and PLAY will be reinitiated again during
the next power up if :
i) PLUG and PLAY installation was not
completed.
ii) No stereo frequency being detected during
PLUG and PLAY, "CHECK ANTENNA" will be
displayed.
–You can store any radio stations manually or
automatically after PLUG and PLAY.
– When PLUG and PLAY is used, all previously
stored radio stations will be replaced.
– During PLUG and PLAY, if no button is pressed
within 15 seconds, the system will go to
demonstration mode (if demonstration mode is
enable)
Demonstration mode
The system has a demonstration mode that
shows the various features offered by the system.
To disable the demonstration mode
● Press and hold Ç (on the system only) for 5
seconds when the system is in demonstration
mode.
➜ "DEMO OFF" is displayed.
➜ The system will switch to standby mode.
12
English
To enable the demonstration mode
● Press and hold Ç (on the system only) for 5
seconds when the system is in standby mode.
➜ The demonstration will begin.
Notes:
– If the demonstration mode has not been disabled,
it will resume 5 seconds later after the system
switches to standby mode.
– When the system is switched on from the main
power outlet, the CD changer tray may open and
close again to initialize the set.
– Even though the AC power cord is removed from
and reconnected to the wall socket, the
demonstration will remain off until it is switched on
again.
Switching the system ON
¶ Press CD, TUNER, TAPE or AUX.
¶ Press STANDBY-ON in demo.
You can also switch on the system by pressing
any one of the CD DIRECT PLAY buttons (on
system only).
Switching the system to standby
mode
¶ Press STANDBY-ON or B on the remote
control.
➜ The system will switch to standby mode.
Selecting the Source
¶ Press the respective source selection button: CD,
TUNER, TAPE or AUX.
➜ The display indicates the selected source.
Note:
–For an external source, make sure you have
connected the audio left and right OUT terminals
of the external equipment (TV, VCR, Laser Disc
player, DVD player or CD Recorder) to the AUX IN
terminals.
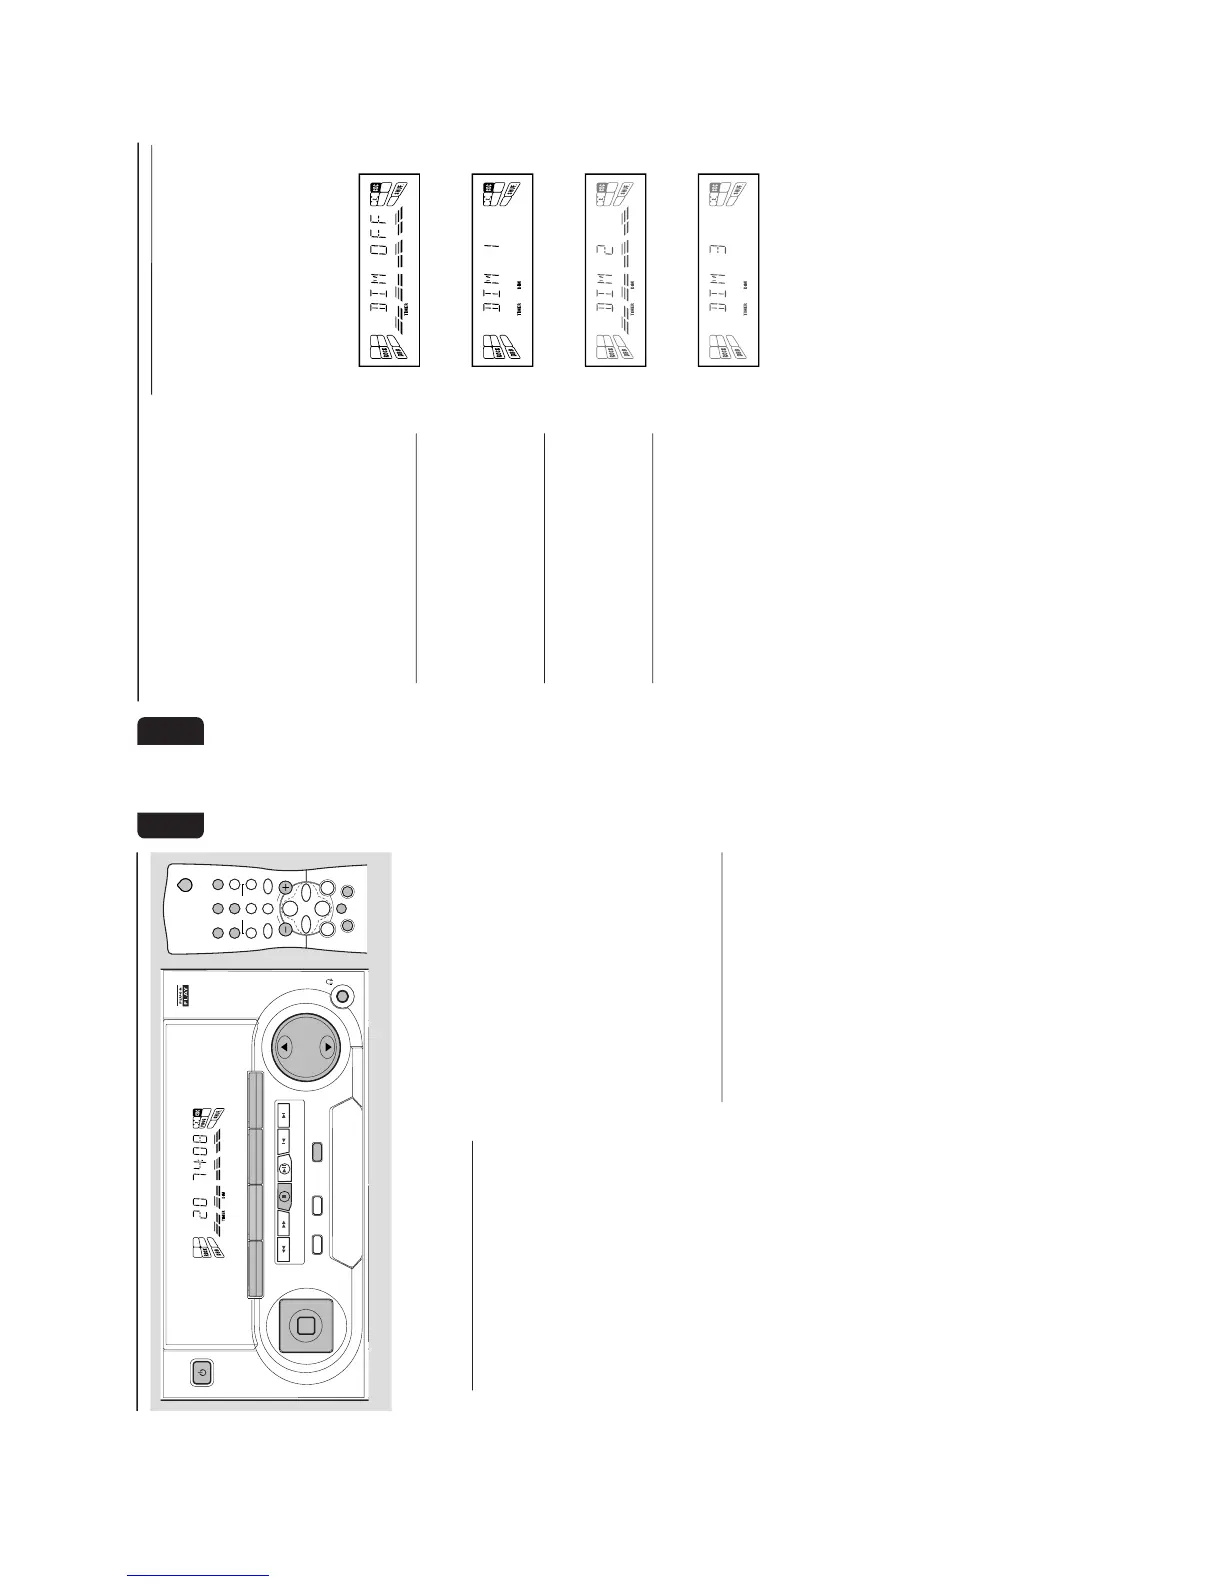
DIM mode
(only on remote control)
You can select the desired brightness for the
display.
¶ Press DIM to select DIM 1, DIM 2, DIM 3 or
DIM OFF display mode.
➜ The
DIM
display lights up.
➜ "DIM 1", "DIM 2", "DIM 3" or "DIM OFF"
will be displayed depending on the mode
selected.
DIM OFF - normal brightness with Volume
Indicator On
DIM 1 - normal brightness with Volume
Indicator Off
DIM 2 - half brightness with Volume
Indicator On
DIM 3 - half brightness with Volume
Indicator Off
Operating the System
 Loading...