EasyManua.ls Logo

Philips GC 3006 User Manual

Philips GC 3006
5 pages
To Next Page IconTo Next Page
Page #1 background imageLoading...
Page #1 background image
Service Manual
Philips Domestic Appliances and Personal Care
Published by Philips Domestic Appliances and Personal Care Printed in the Netherlands © Copyright reserved Subject to modification
Steam Iron Elance
GC 3006
PRODUCT INFORMATION
Features
- Colour classic blue
- Careeza soleplate
- Tank capacity (300ml)
- Steam rate (30 g/min)
- Shot of steam (75 g/min)
- Integrated cord winder
- Cord length : 2 m.
4322 277 00716
02/03
This product meets the requirement regarding
interference suppression on radio and television.
TECHNICAL INFORMATION
Voltage : 220 - 240 V
Frequency : 50 - 60 Hz
Power consumption : 1800 W
Water advice : Suitable for tap water use. However if
the tap water in your area is very hard,
we advise you to mix it with a equal
portion of distilled water or to use
distilled water only.
Cleaning of the Iron : Use only the Calc clean button for
cleaning of the Iron.
Never use vinegar, starch or chemically
descaled water.
Soleplate
Careeza is a multi layer chemical substance that gives an excellent
gliding over various fabrics and better care for the garments.
Question and Answer IconNeed help?

Do you have a question about the Philips GC 3006 and is the answer not in the manual?

Philips GC 3006 Specifications

General IconGeneral
SoleplateCeramic
Water tank capacity300 ml
Cord length1.8 m
TypeSteam iron
Vertical steam functionYes
Spray functionYes
Drip stopYes
Calc clean functionYes
Anti-calc systemYes

Summary

Product and Technical Information

Product Features

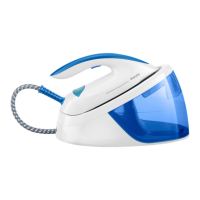
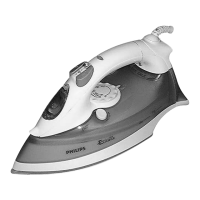
Details on the iron's color, soleplate, tank capacity, steam rate, and cord length.

Technical Specifications

Information on voltage, frequency, power consumption, and water advice for the iron.

Soleplate Description

Explanation of the Careeza soleplate's multi-layer chemical substance for gliding.

Disassembly Advice

Dial and Inlay Removal

Instructions for removing Dial I, Backplate 2, Cord Set 3, Swivel 4, and Inlay 5.

Handle and Dosing Unit Removal

Steps for disassembling the Handle 14 and Dosing Unit 13.

Tank and Thermostat Bush Removal

Guidance on removing the Tank 17 and Thermostat Bush 18.

Shield and Cover Removal

Instructions for removing the Shield 19 and Cover 20.

Seals and Soleplate Assembly Removal

Steps for removing SOS Seal 21, Dosing Seal 22, and Soleplate Assy 23.

Parts List and Schematic

Component Part Numbers

A list of iron components with their positions and service codes.

Electrical Schematic

Diagram showing the electrical connections including fuse, thermostat, and heating unit.

Screw Specifications

Details on screw types (A-G) with their dimensions.

Exploded View and Adjustments

Exploded View Diagram

An illustrated breakdown of the iron's components with numerical references.

Important Notes

Guidance on using specified cord sets and post-repair functionality checks.

Thermostat Adjustment

Information that the thermostat is pre-adjusted and should not be altered.

Related product manuals