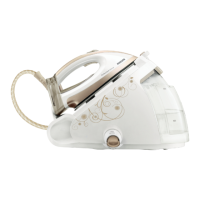
GC9550
5-12
DISASSEMBLY ADVICE - STAND
WATER TANK PRINTED
ASSY 58
TRAY MOLDED 53
DISPLAY COVER PRINTED
ASSY 50
STAND TOP MOLDED 45
POWER CORD STORAGE
MOLDED 42
HOSE CORD STORAGE
COMPARTMENT ASSY 43
RINSE CAP ASSY 56
RINSE HOUSING
PRINTED 39
BOILER ASSY 36
BUTTON PANEL ASSY 51
POWER BOARD PCB
ASSY 60
FLOATING PLATFORM
ASSY 61
Remove WATER TANK PRINTED ASSY 58
Remove TRAY RUBBER CAP 54
Remove Screws K1, K2
Disassemble TRAY MOLDED 53
Remove Screws L1 - L4
Remove Screw M
Remove Screws N1 - N4
Disassemble DISPLAY COVER PRINTED ASSY 50
Remove Screws P1 – P3
Disassemble STAND TOP MOLDED 45
Remove Screws Q1, Q2
Disassemble POWER CORD STORAGE MOLDED 42
Disassemble HOSE CORD STORAGE COMPARTMENT
ASSY 43
Remove RINSE CAP ASSY 56
Remove Screws R1, R2
Disassemble RINSE HOUSING PRINTED 39
Remove Screws S1, S2, S3
Disassemble BOILER SUPPORT BRACKET MOLDED 41
Disassemble BOILER ASSY 36
Remove Screws T1, T2
Disassemble BUTTON PANEL ASSY 51
Remove Screw U
Disassemble POWER BOARD PCB ASSY 60
Remove Screws X1 - X4
Disassemble PLASTIC CAP MOLDED 62
Disassemble FLOATING PLATFORM ASSY 61

 Loading...