13
6 Change settings
This section helps you to change the settings of
your home theater.
Caution
Many of the settings are already confi gured •
with the best value for the home theater.
Unless you have a specifi c reason to change a
setting, it is best to leave it at the default value.
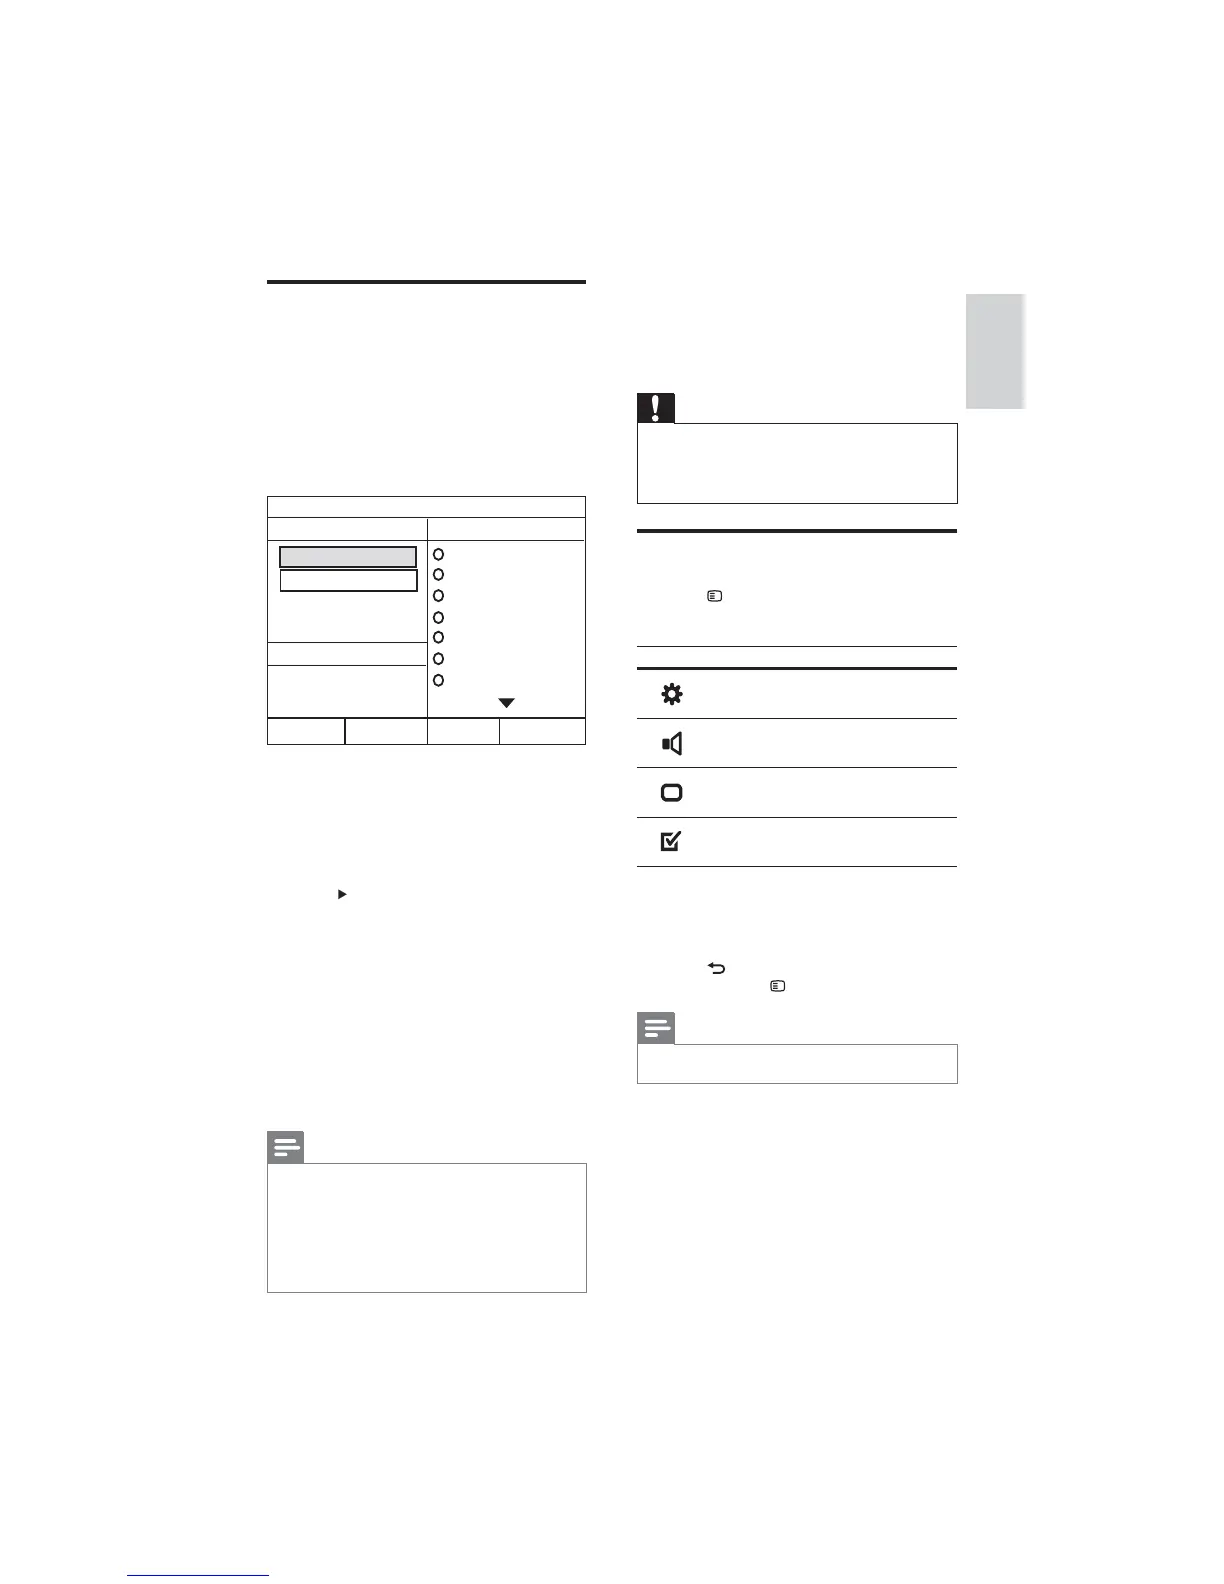
Access the setup menu
1 Press SETUP.
The following menu appears.»
Symbol Description
[General Setup]
[Audio Setup]
[Video Setup]
[Preference Setup]
2 Select a setup menu, then press OK.
See the following sections for information
about how to change the settings of your
home theater.
3 Press BACK to return to the previous
menu, or press
SETUP to exit.
Note
You cannot change a setting that is grayed out.•
Create MP3 audio les
Use the home theater to convert audio CDs into
MP3 audio fi les.
1 Insert an audio CD (CDDA/HDCD) into
the home theater.
2 Connect a USB storage device to the home
theater.
3 When audio is played, press CREATE MP3.
4 Select the conversion settings in the
[OPTIONS] panel, then press OK.
• [Speed] : Selects the write-to-fi le
speed.
• [Bitrate] : Selects the conversion
quality.
5 Press to access the [TRACK] panel.
6 Select an audio track, then press OK.
• [Select All] : Selects all tracks.
[
• Deselect all] : De-selects all tracks.
7 Select [Start] in the menu to convert, then
press OK.
A new folder is created in the USB »
storage device to store all the new MP3
audio fi les.
To exit the menu, select
• [Exit] and
press OK.
Note
During the conversion process, do not press •
any buttons.
DTS CDs and copy-protected CDs cannot be
•
converted.
Write-protected or password-protected USB •
storage device cannot be used to store MP3
fi les.
CREATE MP3
OPTIONS
TRACK
Bitrate 128kbps
SUMMARY
Select Track 0
Start Exit
Select All
Deselect All
Time 00:00
Track01 04:14
Track02 04:17
Track03 03:58
Track04 04:51
Track05 03:53
Track06 04:09
Track07 04:38
Speed Normal
English
EN