2-26
Chapter 2: Installing the IntelliVue Smart-hopping 1.4 GHz Core Access Point
Mounting the IntelliVue Smart-hopping Remote Antenna to a Wall (CA
Earthquake Rated)
You can mount the IntelliVue Smart-hopping Remote Antenna onto walls using an
optional California (CA) earthquake-rated wall plate. Use of this quick release wall
plate enables you to relocate 1.4 GHz IntelliVue Smart-hopping RAs within your
facility quickly and easily.
To mount the 1.4 GHz IntelliVue Smart-hopping RA to a wall:
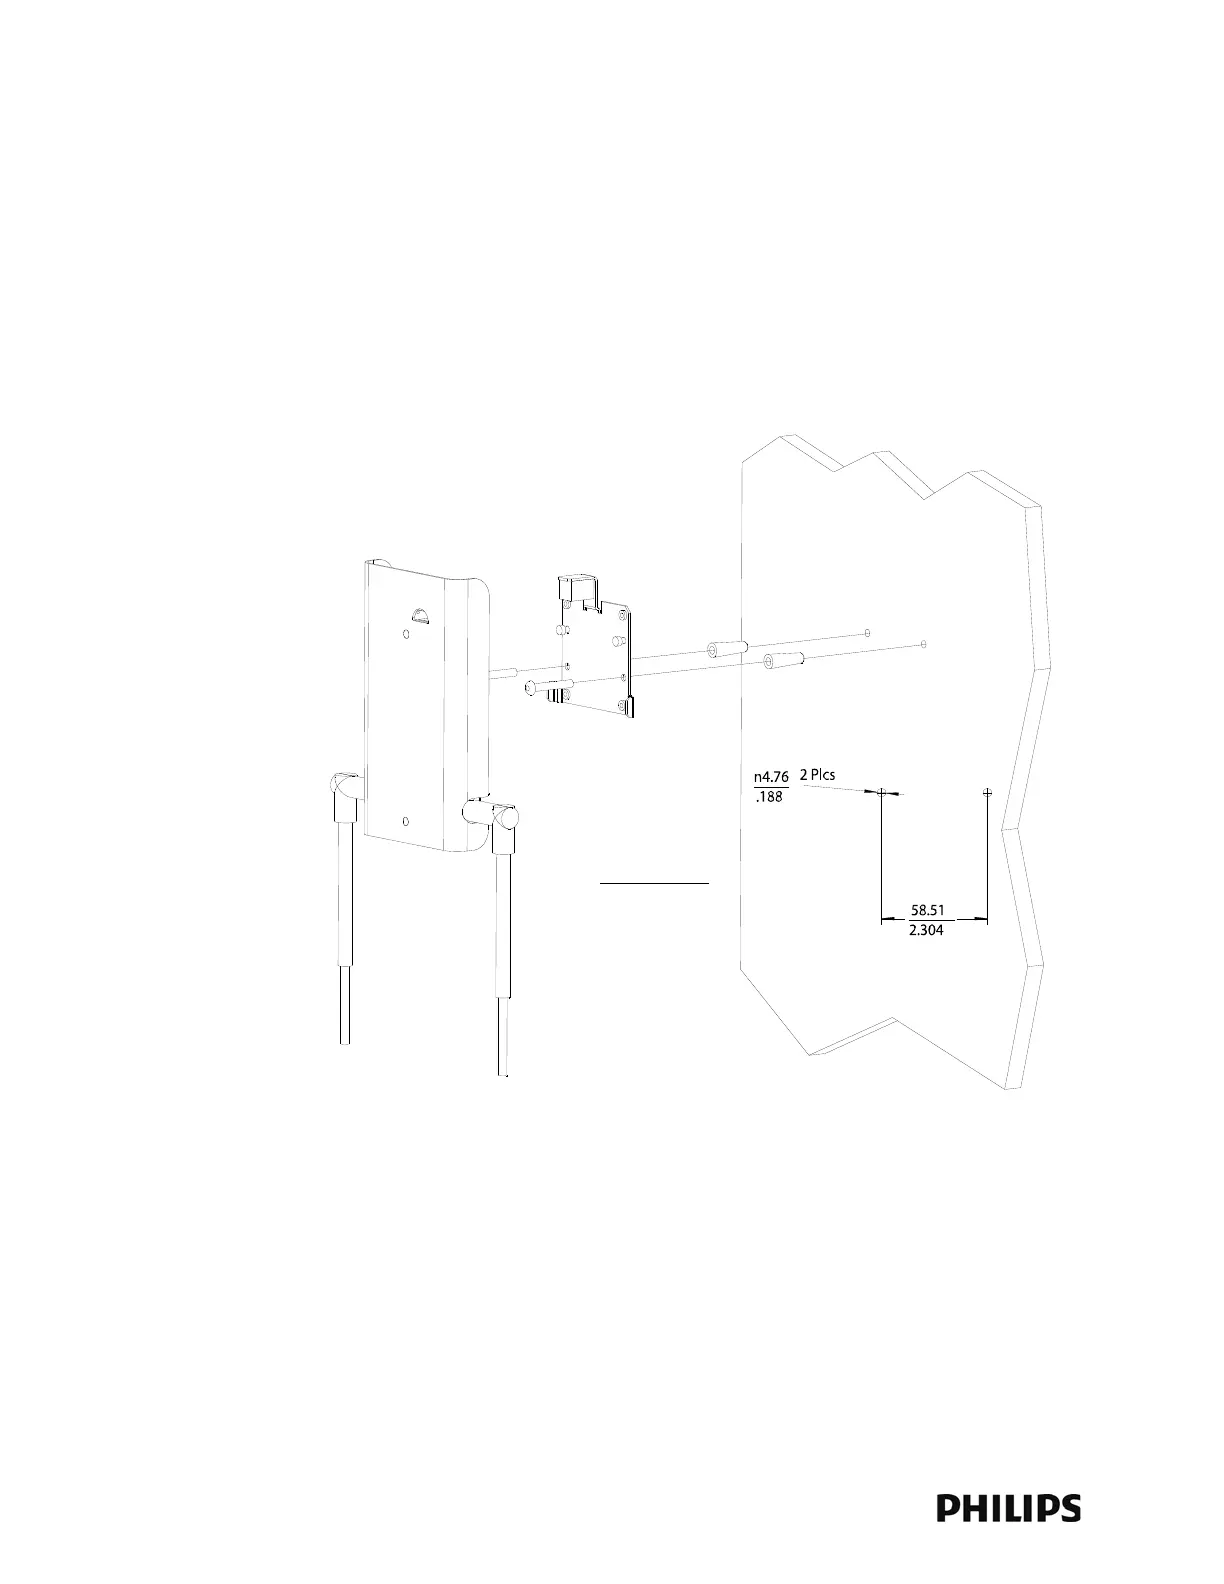
1. Using a 3/16-inch drill bit, drill two pilot holes 0.188 inches (5 mm) in diameter
at the locations shown in Figure 2-17.
2. Tap a supplied plastic screw anchor into each pilot hole until flush with the wall
surface.
This step is not necessary if mounting the IntelliVue Smart-hopping RA on a
wood surface.
3. Secure the quick release wall plate to the wall by screwing a supplied #6 x 1
1/4 inch self-tapping screw through the wall plate into each screw anchor (or
pilot hole) as shown in Figure 2-17.
Tighten each screw until the wall plate is fixed securely in place.
Figure 2-17: Mounting the IntelliVue Smart-hopping 1.4 GHz RA to a Wall (CA Earth-
quake Rated)