Do you have a question about the Philips Norelco Shaver 2500 and is the answer not in the manual?
Using foam or gel consumes more energy, potentially draining the shaver's battery faster than dry shaving.
Both dry and wet shaving have advantages; dry is convenient, wet is refreshing and good for sensitive skin.
Indicates charging status; blinks orange when low, and shows white, green, or blue while charging.
A white flashing symbol reminds users to unplug cordless-only shavers before use.
Indicates issues like blocked heads, overheating, or metal objects on a charging pad.
A blinking tap symbol appears after switching off as a reminder for daily cleaning.
Activates by holding the power button for three seconds to prevent accidental switching on.
A flashing shaving head symbol or beep indicates it's time to replace heads, typically every two years.
Shower/bath symbol means waterproof; tap symbol means washable, crossed-out tap means not washable.
Lights up on S7000 shavers for important messages within the Philips Groom Tribe App.
S and XS symbols on S7000 shavers indicate sensitive and extra-sensitive shave settings.
New users should allow 2-3 weeks for skin to adapt, using moisturizer to minimize irritation.
Trimming long beards before shaving prevents discomfort and reduces shaving time.
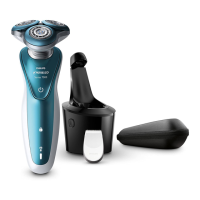
Rinse shaver and head under water, remove head, rinse thoroughly, and air dry components.
Rinse shaver under warm water, press release to open head, rinse holder, and air dry.
Pull off head, rinse under water, shake off excess, clean head parts separately, and reattach.
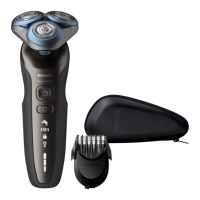
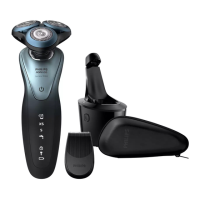
Detach attachments like beard stylers or brushes and rinse them with warm water.
Rinse shaver, place in SmartClean holder, lock, and start cleaning program via the system.
Pull off holder, twist retaining rings, remove heads, keep cutter and guard together, then reassemble.
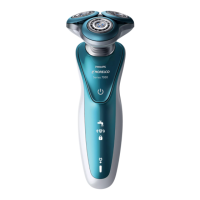
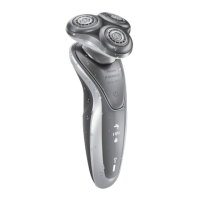
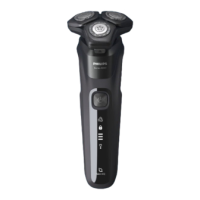
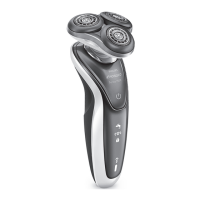
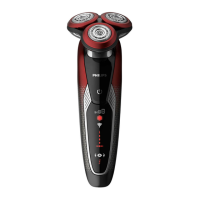
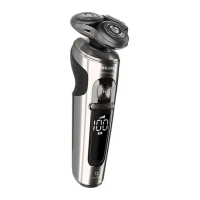
| Shaver Type | Rotary |
|---|---|
| Power Source | Rechargeable battery |
| Heads | 3 |
| Replaceable Head | Yes |
| Wet & Dry | Yes |
| Display | No |
| Automatic voltage | Yes |
| Precision mode | No |
| Cordless use | Yes |
| Quick charge | No |
| Washable | Yes |
| Travel lock | No |
| Charging Time | 8 hours |