Do you have a question about the Philips PerfectCare Viva RI7035/34 and is the answer not in the manual?
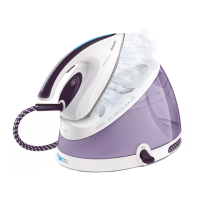
Details about the steam generator's features, technology, and performance for effective crease removal.
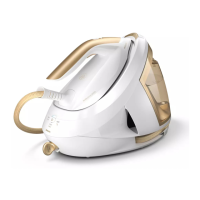
Usability aspects including cord storage, heat-up time, hose length, and water tank capacity for user convenience.
Information on eco-friendly design choices such as energy saving modes and use of recycled materials in the user manual.
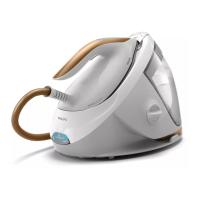
Procedures and features for managing scale buildup, including reminders and recommended cleaning solutions.
Compliance with interference suppression standards and post-repair safety requirements.
Electrical details such as voltage and physical dimensions of the product and its packaging.
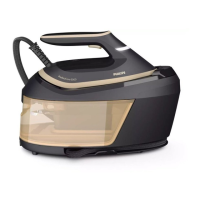
List of accessories provided with the steam generator for maintenance and operation.
Disassembly step involving the Inlay component (part 10) of the iron.
Disassembly step for the main Printed Circuit Board Assembly (PCBA) of the iron (part 6).
Disassembly and removal of the trigger spring, cap, and trigger mechanism (part 9).
Procedure for removing the bottom cap of the iron.
Disassembly step for the decorative plate component (part 11) of the iron.
Disassembly step for the dosing head component (part 2) of the iron.
Disassembly step for the rubber cap covering the iron's housing.
Disassembly step for the rubber bung component.
Disassembly step for the main cover (part 3) of the iron.
Disassembly step for the internal chassis (part 8) of the iron.
Disassembly and removal of the soleplate assembly (part 1) from the iron.
Disassembly steps for the tray cap and its associated rubber component.
Disassembly of the water tray and the integrated locking mechanism.
Disassembly of the hose guide and the bottom cap of the stand base.
Disassembly of the hose guide assembly located on the stand's bottom.
Disassembly and removal of the top assembly of the stand unit.
Disassembly of the water tank filling door and the button frame assembly.
Disassembly of the clamp securing the power cord and the cord itself.
Disassembly step for the Printed Circuit Board Assembly (PCBA) for the stand unit (part 25).
Disassembly and removal of the water pump assembly (part 14) from the stand.
Comprehensive list of all replaceable spare parts for the iron component, including service codes.
Comprehensive list of all replaceable spare parts for the stand component, including service codes.
Visual representation of the iron's components in an exploded format, illustrating assembly.
Visual representation of the stand's components in an exploded format, illustrating assembly.
Diagram illustrating the electrical connections between the stand electronics and the iron components.
Important guidelines regarding cord sets, damage checks, and post-repair safety compliance.
Procedure to check if the soleplate temperature meets the required IEC specifications.
Testing procedure to ensure earth leakage current is within the specified IEC limit.
Verification of no water leaks and proper operation of all product functions after repair.
Ensuring no loose parts and checking for blown fuses, potentially related to choked water tubes.
Guidelines for handling failed PCBs with ESD bags and using correct screws for repairs.
Step-by-step instructions for cleaning the pump restrictor when the pump is not delivering water.
Record of changes, updates, and version history for the service manual.